-
Essential Oil Spotlight: Manuka
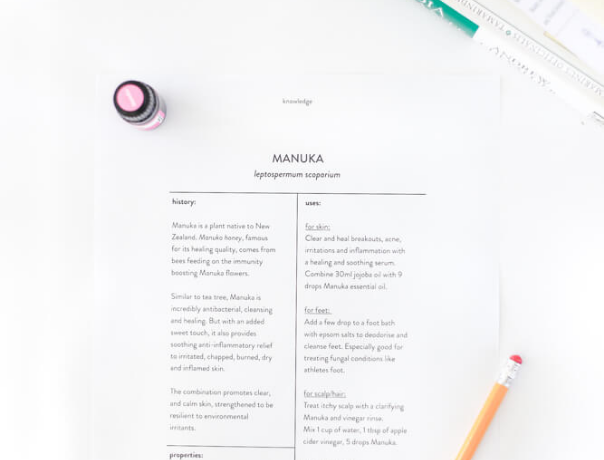
Learn all about Manuka Essential oil
-
For your Indoor Garden: Aloe Vera
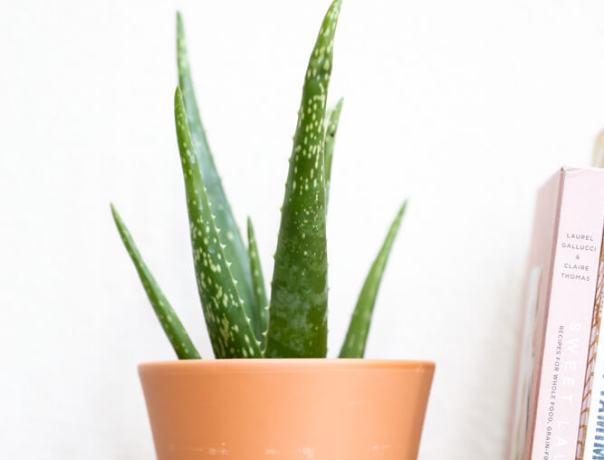
I’m loving the growing trend of indoor plants… ferns, alocasia, monsteras… and I want to make a case for adding to that list – a very beautiful, usable, medicinal plant: Aloe Vera! Aloe vera plants are one of the easiest plants to grow, they require such little attention – yet provide so many benefits. Like…
-
Pantry Ingredient: Salt
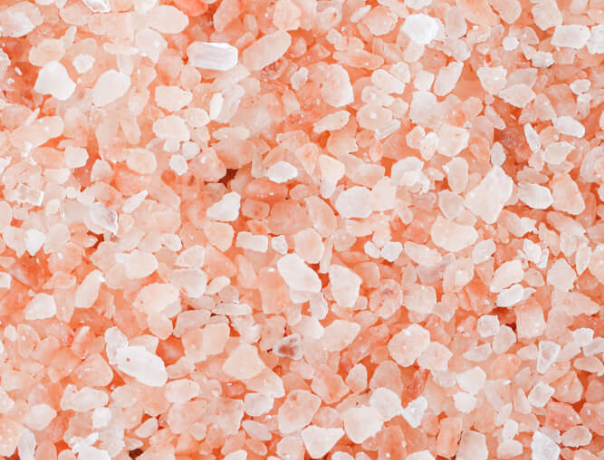
One of the most common pantry ingredients, salt, has an incredible history of topical use for strengthening our entire system. In this article, I’ll show you some of the ways that you can use salt in the bath for your overall wellness, to treat skin conditions, relieve aches and sores and some other fun ideas…
-
Self Care for your Hair
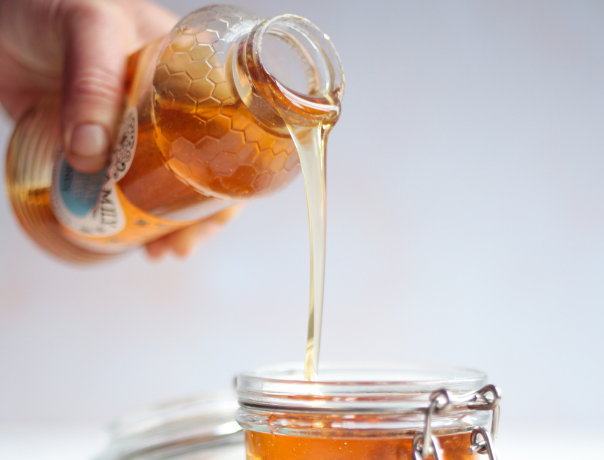
When your shower is full of bottles of conditioner and deep treatments, but your hair still feels dehydrated… and you feel let down – you may find that what you needed was actually in your pantry all along. In this article I’ll show you how to use honey as your weekly deep conditioning treatment to restore…
-
These four farmer’s market ingredients make healthy skincare!
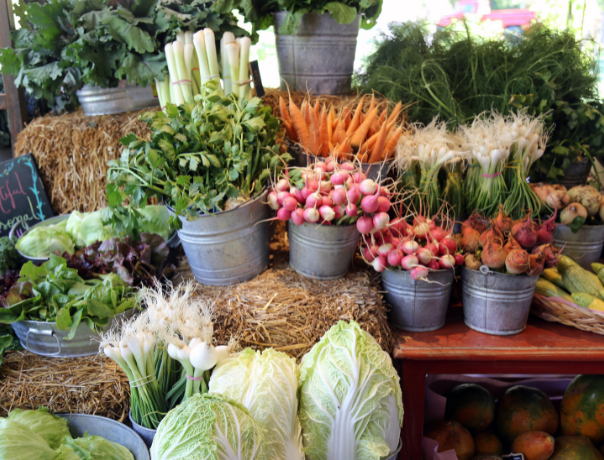
The Farmer’s Market is my favorite place to shop for fresh ingredients. Filling up my basket, always inspires gorgeous meals and wellness in my home. What we can do is take this experience of food and nourishment – and extend out into our skincare as well. In this article, you’ll learn how to use farmer’s market…
-
SOS Tonic – An Herbal Simple Remedy for Stress Relief
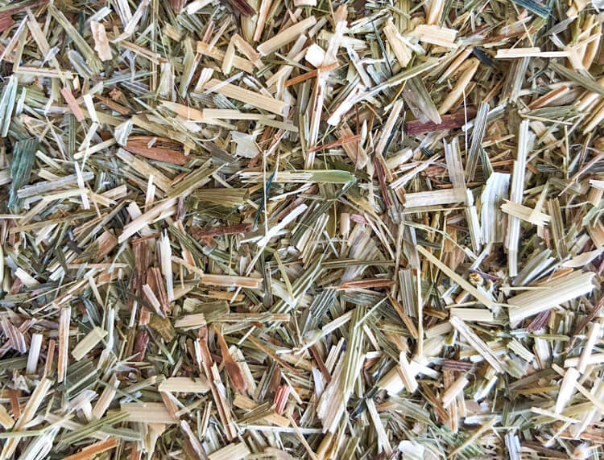
Imagine drinking a water infusion, that gives your body a mineral rush of magnesium, calcium, iron, zinc – fuels your cells with chlorophyll, soothes your system, relieves anxiety, helps you sleep and makes you feel restored. It’s called a herbal simple and it’s amazing. You might just start replacing that $10 juice! I was first…
-
Pantry Ingredients for Skin’s Different Needs
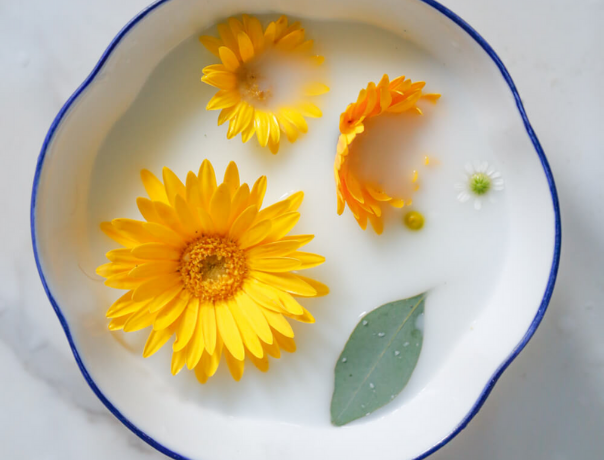
Natural living has become this thing, which the further I wade into the waters, the further I want to go – because there’s just so much to know. And that’s been the fun part: learning and putting things into practice and making sense of what makes you feel good. Basic, whole food ingredients nourish the…
-
My Favorite Stores for Buying Natural Ingredients
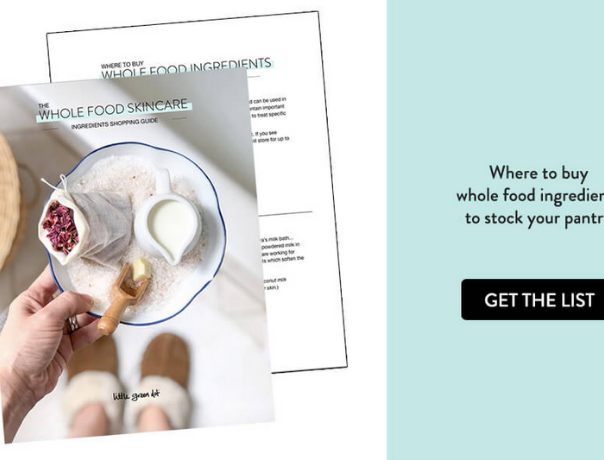
When you want to create healthy skincare at home, the first step is to set yourself up with the essentials. The ingredients that you need to make the things that you want for yourself. When you think about it, it’s the same way you run a real-food kitchen. It’s about having those basic ingredients in…
-
Get to know: Tulsi, Holy Basil
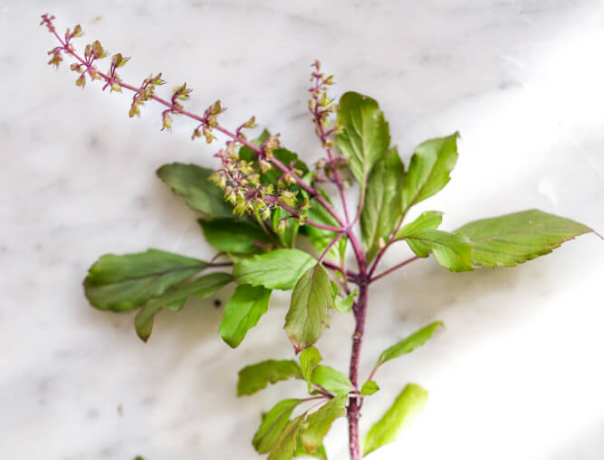
I just returned from the Florida Herbal Conference, and soaked up so much cool information, from plant walks and workshops and conversations – that I had to share with you. Today I’d like to introduce you to Tulsi and ways to use it. It may be a less common ingredient than Italian or Thai Basil…
-
The Desert-Island Herb: Lavender

Not sleeping well? Lavender Skin’s feeling totally irritated? Lavender Breakouts happening? Lavender Bug bites. Sunburn. Weird rash? Lavender Feeling stressed out (probably from any of the above) Lavender Lavender is your first aid treatment: the go-to for almost any skincare concern. If you could only bring one ingredient to a desert island – it would…