
Today’s recipe for Homemade Yogurt comes straight from Genevieve, creator of The Edible Co. a line of hand-crafted granolas. With flavours like cacao & roselle and coconut gula melaka, they’re really unique and I knew she would have something great to share with us!
Genevieve developed this yogurt recipe for herself at home – stripping it down to be as easy as possible. With a busy schedule, it needs to be simple!
If you can boil milk, you can make yogurt! It’s one of those things that seems complicated until you see just how simple it really is.
Making your own yogurt at home is a handy skill to have – to eat well, save money and create something you’d normally need to buy! It’s a superpower. Let’s see how to make it…
It’s just a 3 step process: milk, bacteria, cultivate.
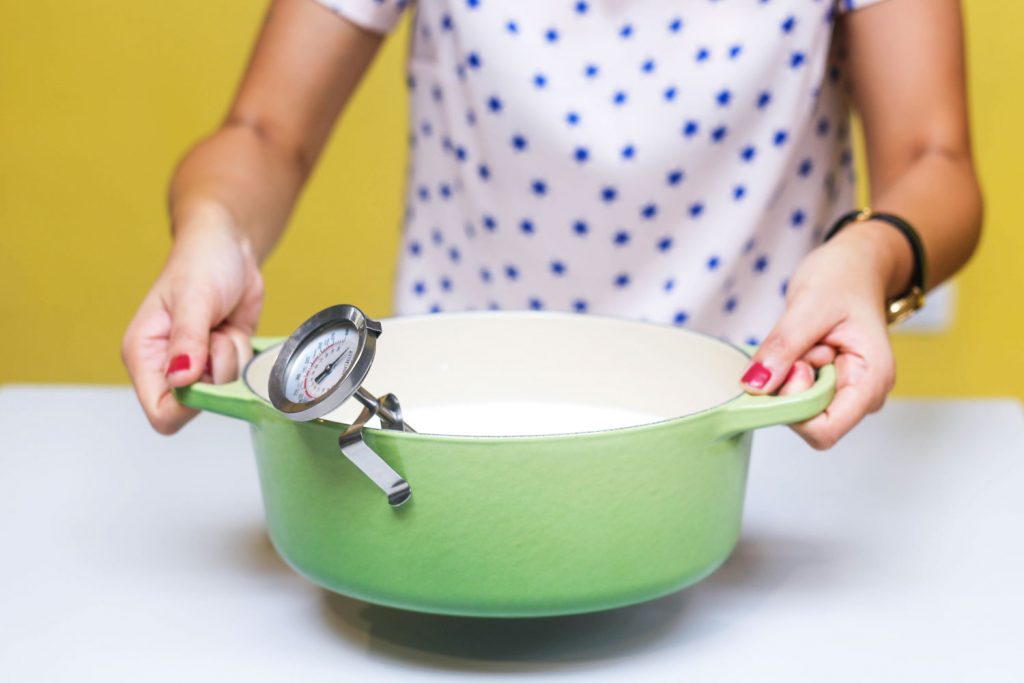
Boil the milk. Genevieve recommends you use a candy thermometer – she’s tried it without – but always gets best results when the milk reaches the right temperature, 92 degrees Celsius. They’re inexpensive and you can pick them up in any kitchen supply shop.
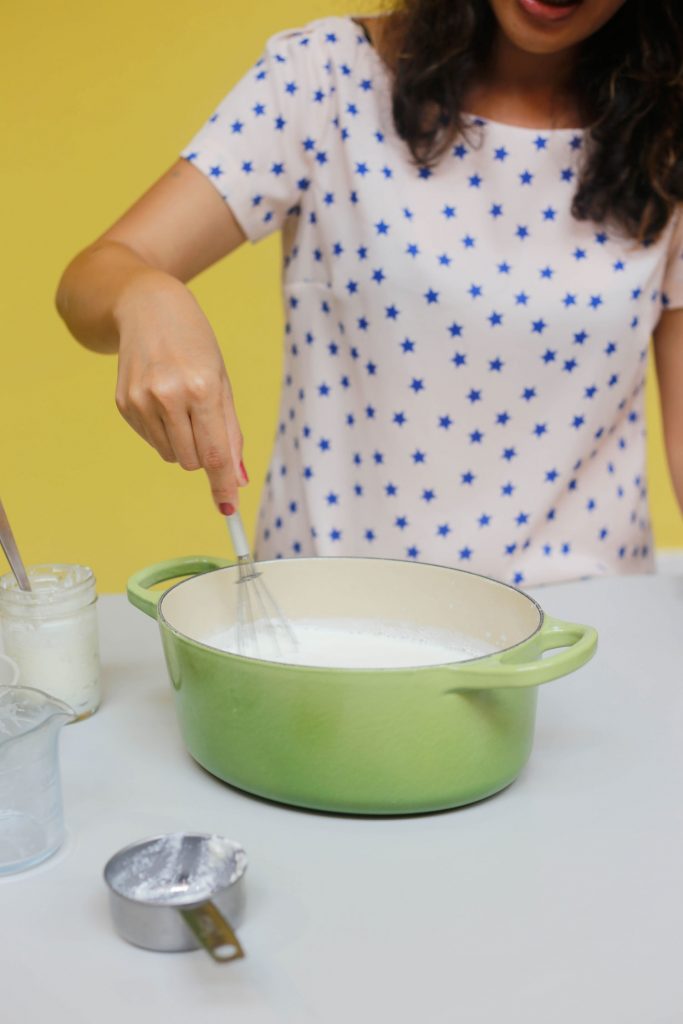
As the milk boils, stir it often to break up any film that forms on the top or the bottom of the pot. You want your milk to be smooth, no clumps!
TIP: If you want to flavour your yogurt with vanilla, scrape a fresh pod and add in to the milk before you set to boil. Your yogurt will be speckled and lovely!

Introduce the Starter Culture. For your first batch, you’ll use a store bought yogurt as the starter culture – it turns your milk into yogurt. Like magic.
Use a plain, unflavoured yogurt – with live cultures and no added ingredients, something like this.
From then on your homemade yogurt becomes the starter – and you won’t need to buy another tub of yogurt – for the next 8 batches!
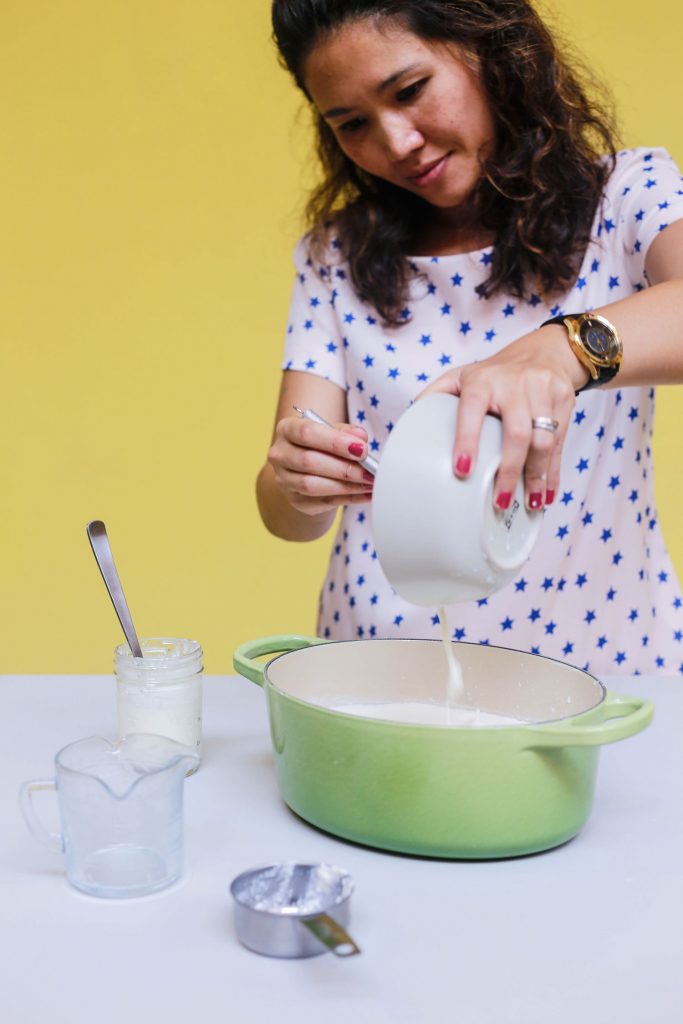
Once the milk has cooled down to just warm – slowly introduce the bacteria (starter yogurt) in a separate bowl
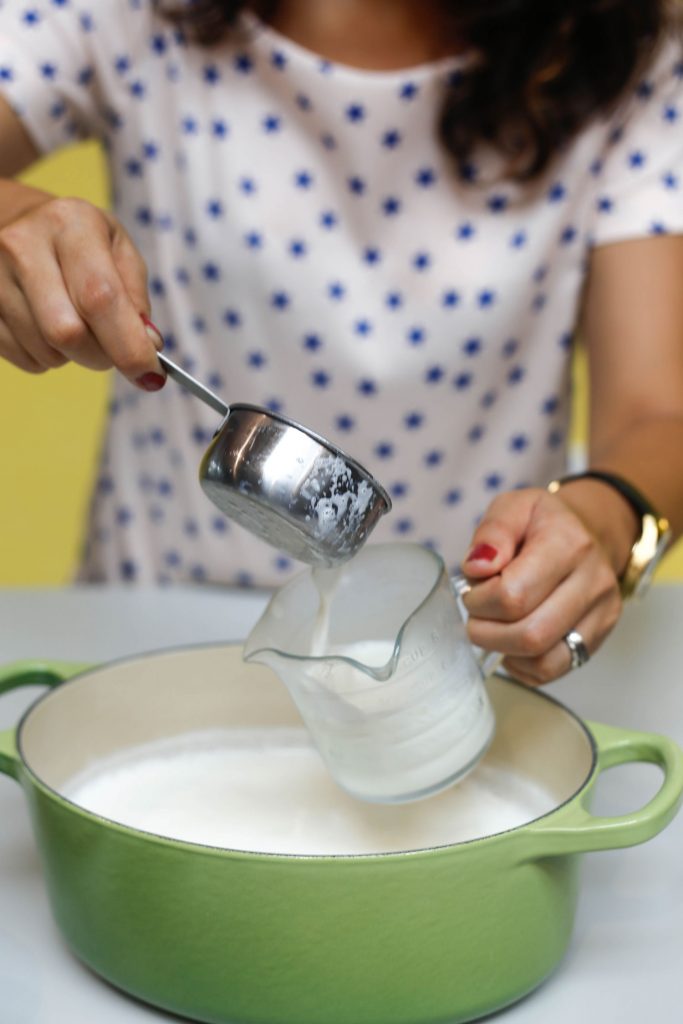
combine some warm milk and the starter yogurt in a separate bowl…
Mix it well and then pour it back into the pot.
Set it to cultivate. Now, you just tuck it in to bed – and let nature finish the work.
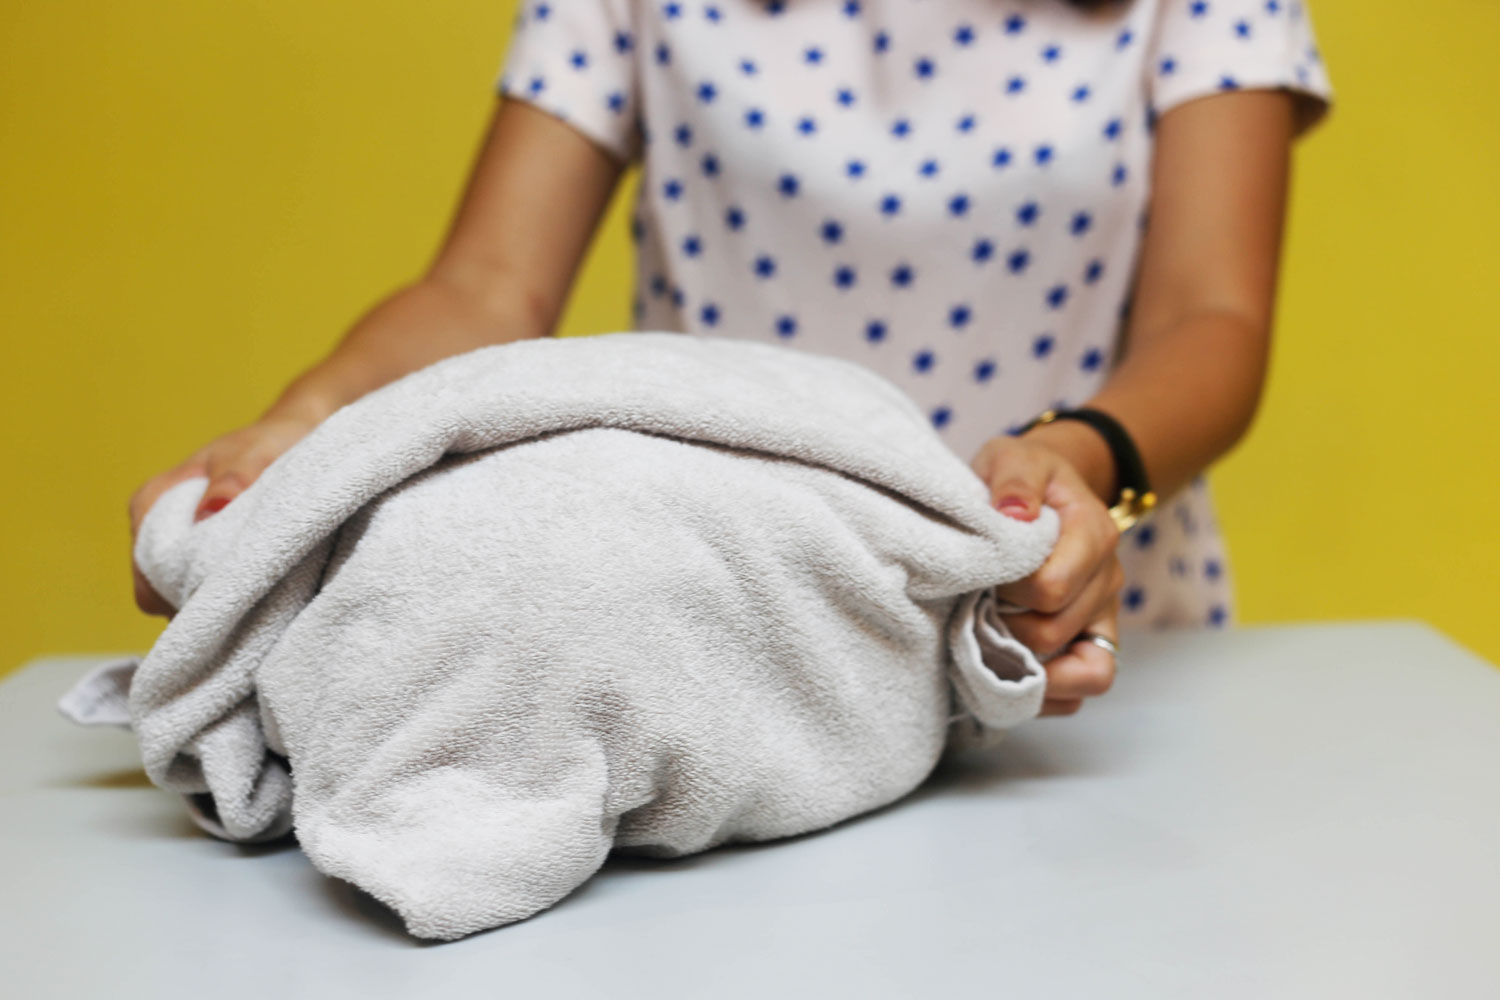
After experimenting a lot, Genevieve found that room temperature is hot enough to cultivate the yogurt. While that milk is still warm in the pot, close the lid and wrap it up in a heavy towel to insulate. Then, place it in the oven (no heat)
That said – we do live on the equator, so if it’s cool where you live – you can turn on the oven light to add warmth.
In just 8 hours (overnight) you have yogurt! It will be room temperature and a little soft yet. Store it in the fridge, after a few hours it’s ready to eat.
TIP: Genevieve recommends this plan: make yogurt Sat morning, let it cultivate all day. At night store it in the fridge. On Sunday morning it’s perfect all week!
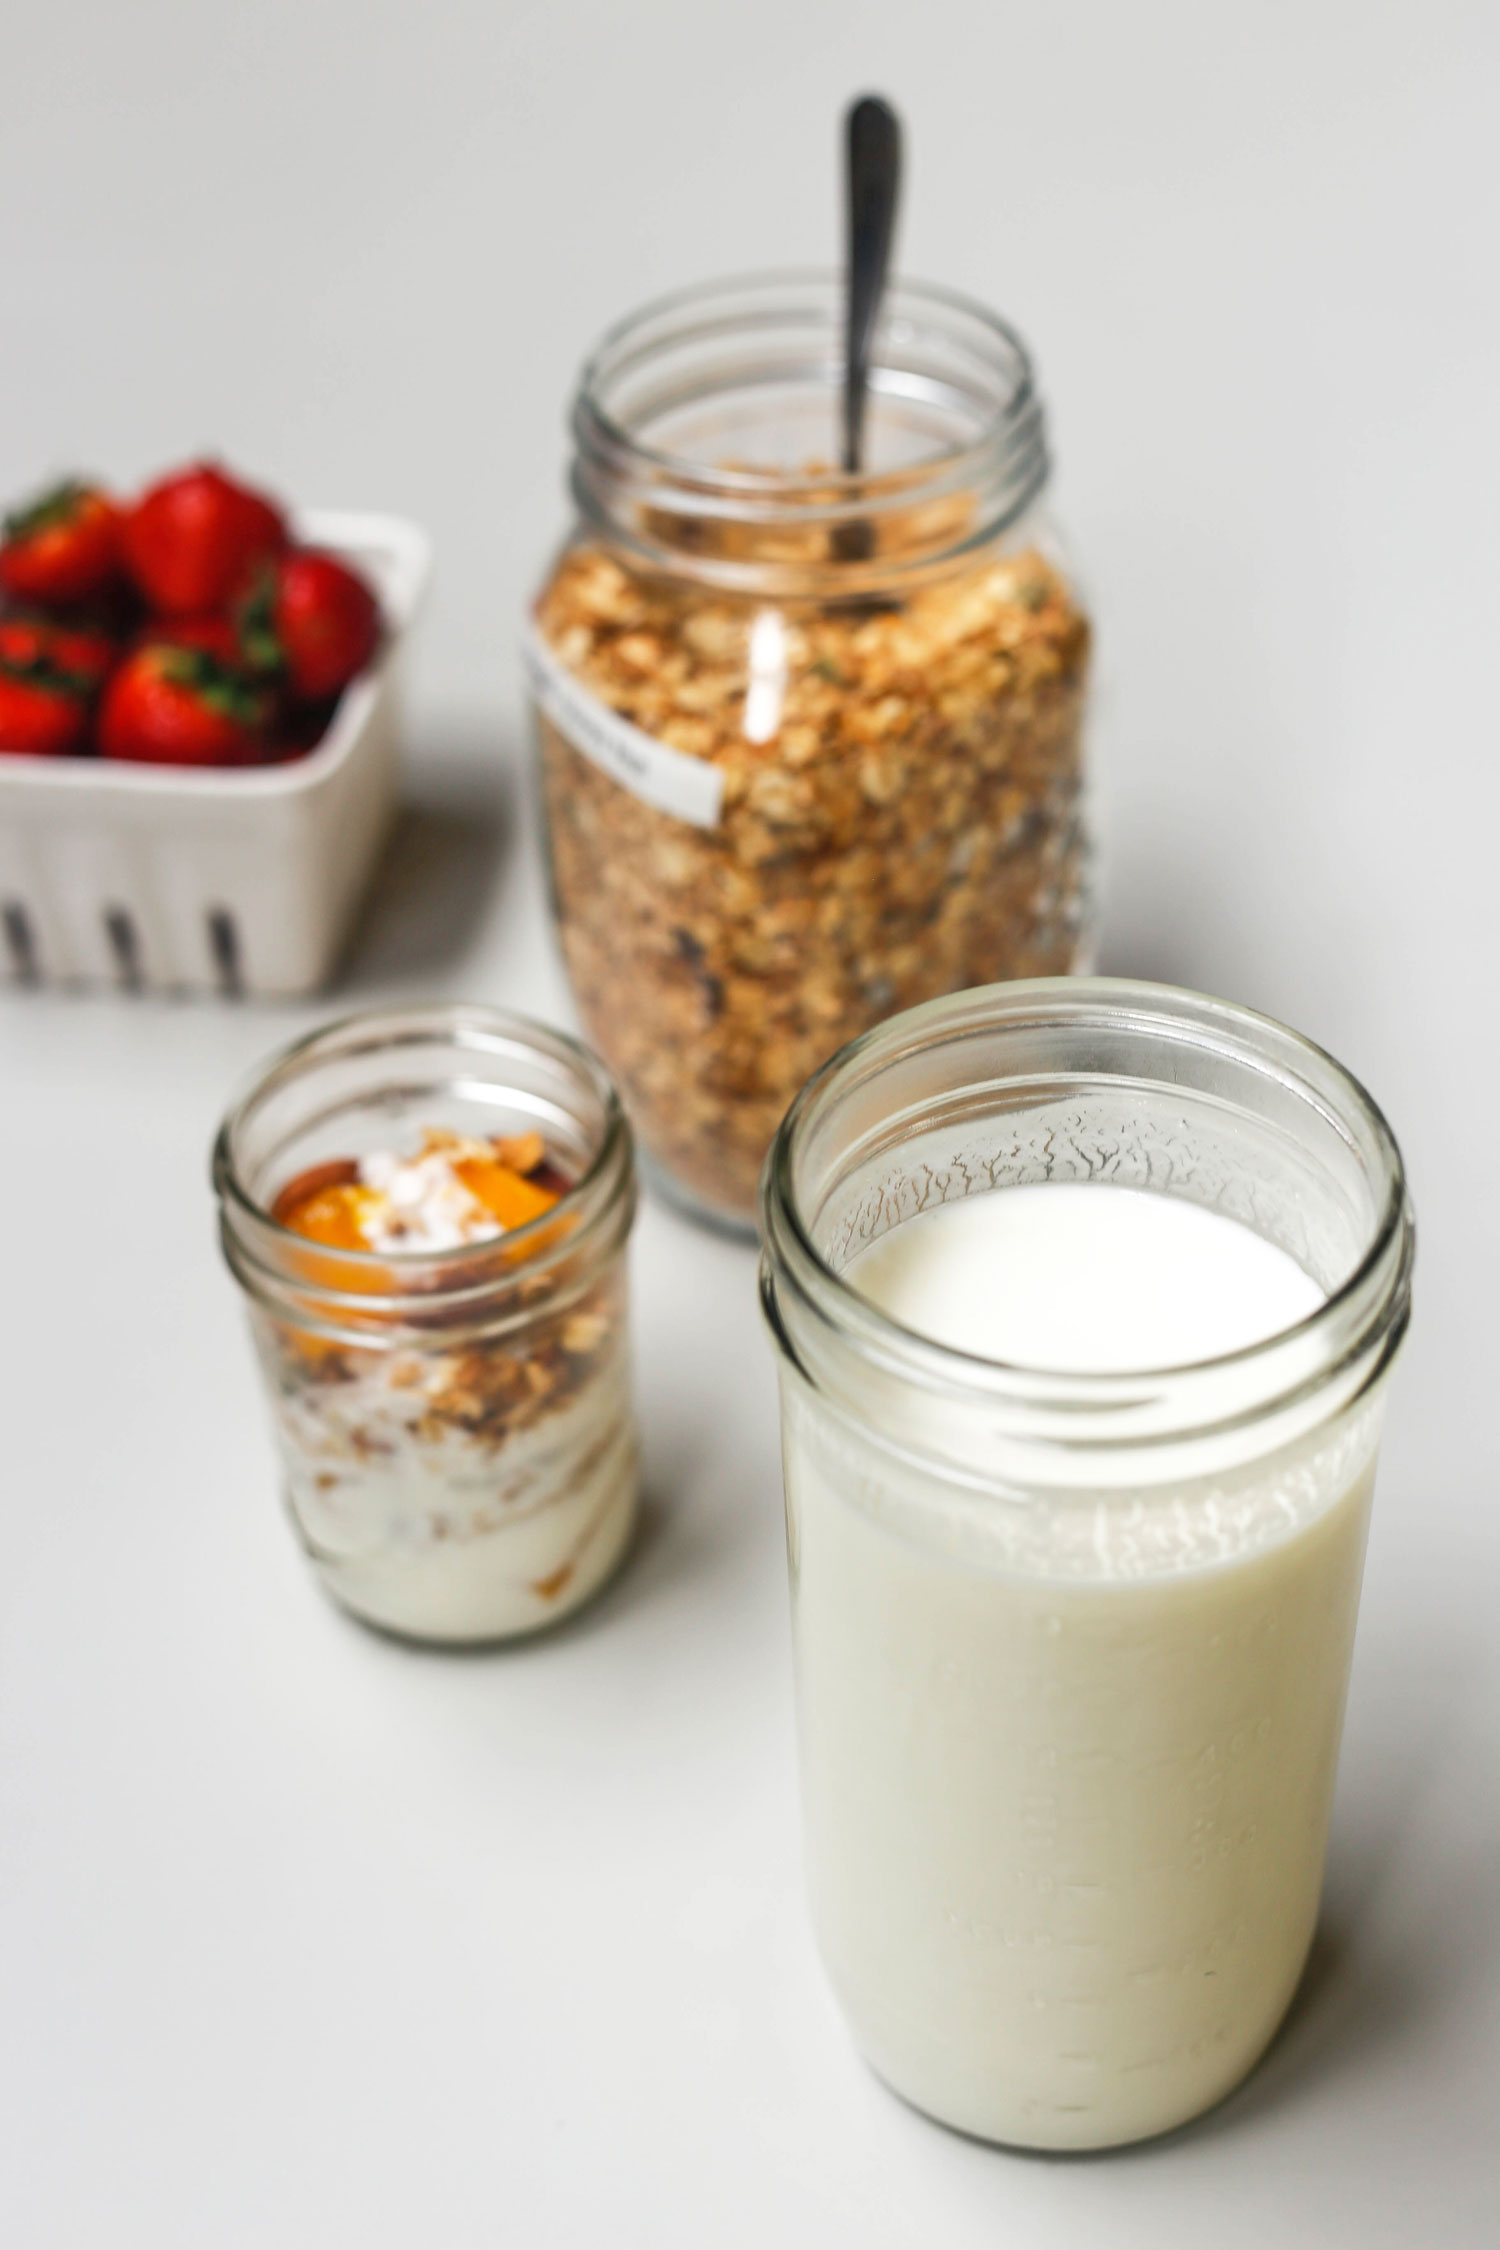
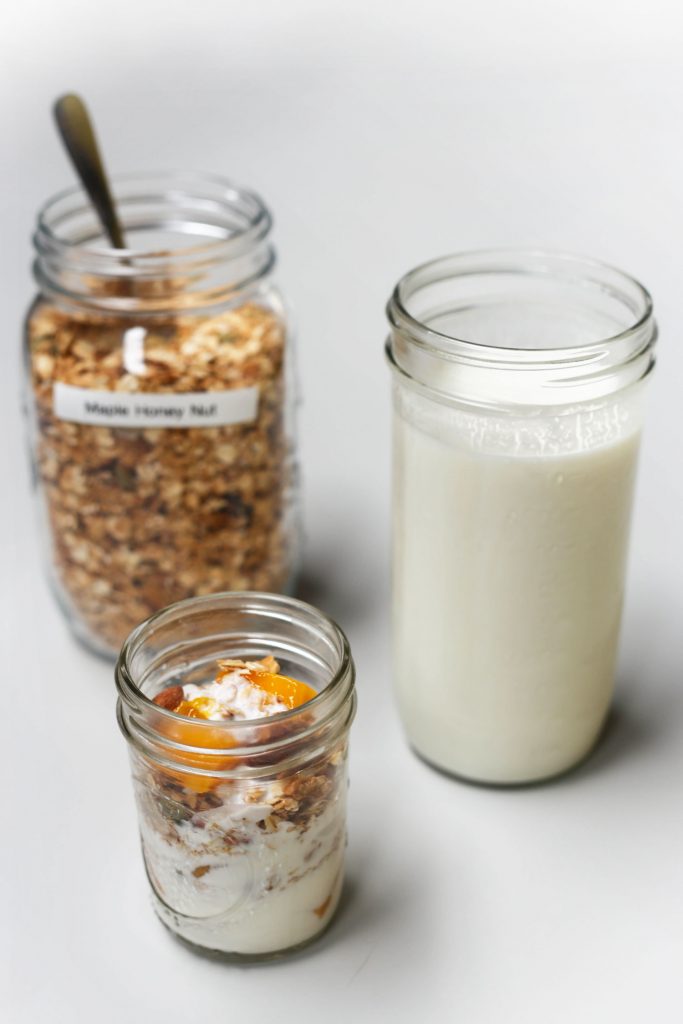
Keep it plain, flavour it with swirls of pureed fruit… Your yogurt is your canvas, create what you love.
Genevieve made up these granola parfait jars, layered with granola, yogurt and fresh fruit. What you do is make a parfait jars at night and then in the morning, just grab & go! Simple!
Get the full yogurt recipe below….

Homemade Yogurt Recipe
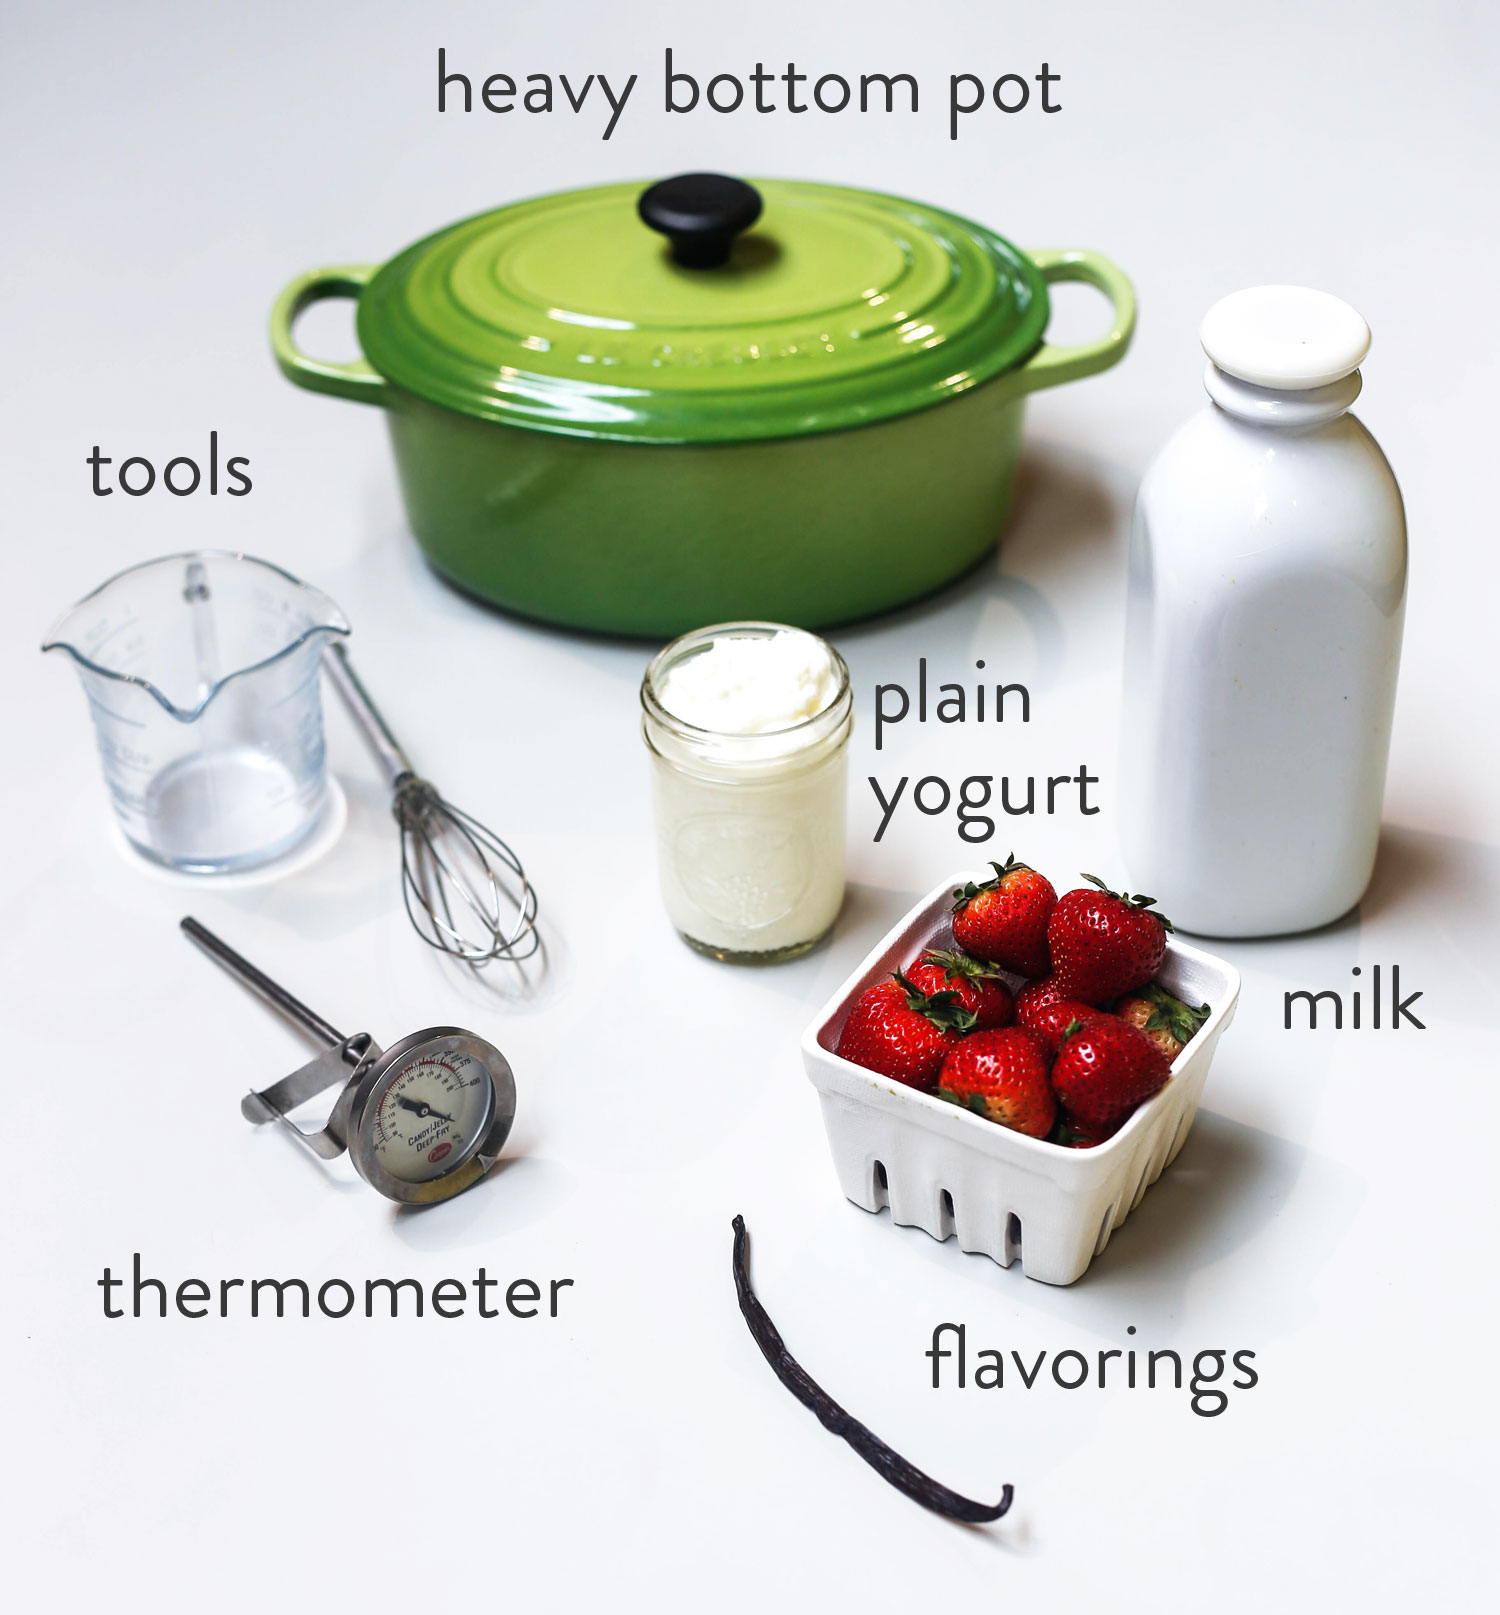
- An enamelled cookware/ casserole heavy pot with a lid that is big enough to hold 2 litres of milk and room for stirring. Importance to use a heavy pot to keep temperature steady during incubation.
- Whisk
- Small measuring cup
- Candy thermometer
- Spatula / Large wooden spoon
- A medium size bowl
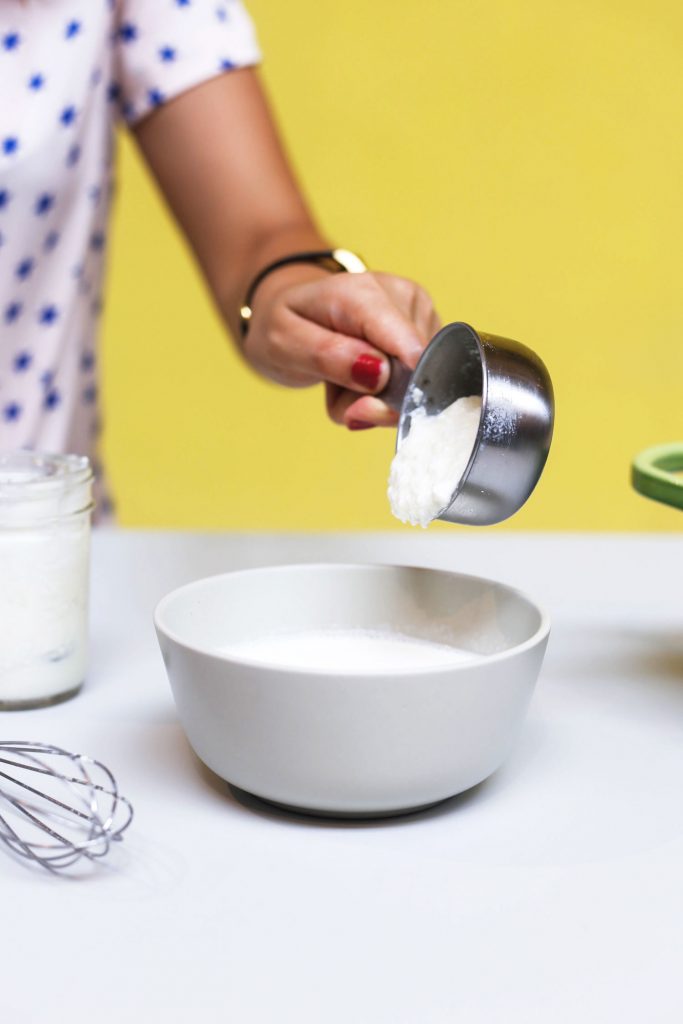
- 2 litres Full Cream Whole Milk
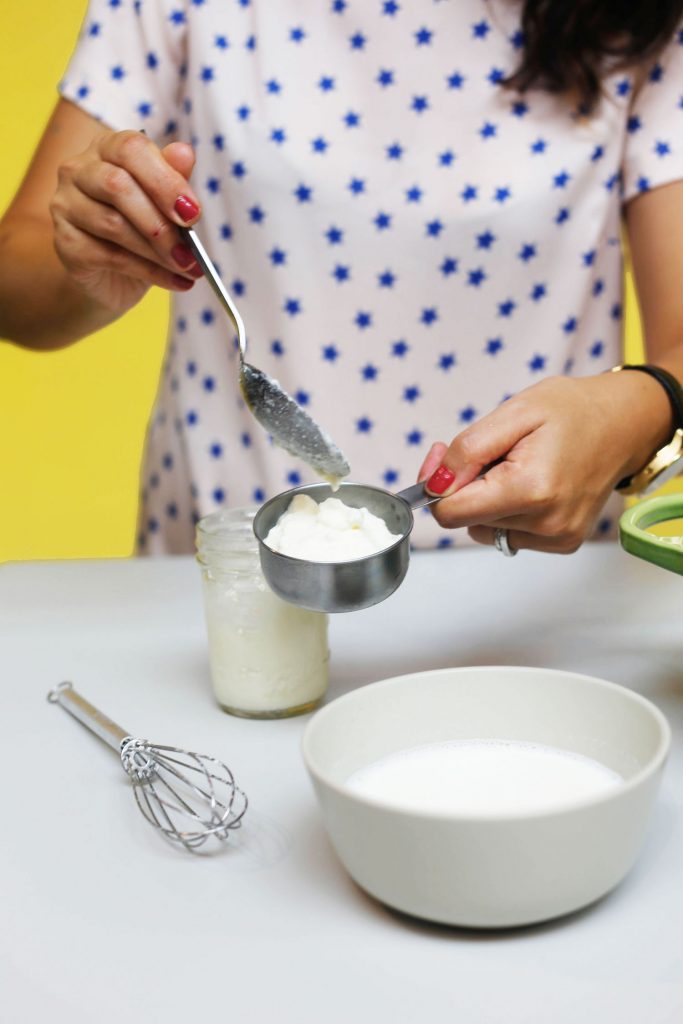
- 1/2 Cup of your favourite Yogurt (Plain is the best and make sure the ingredients contains Active Live Cultures)
directions:
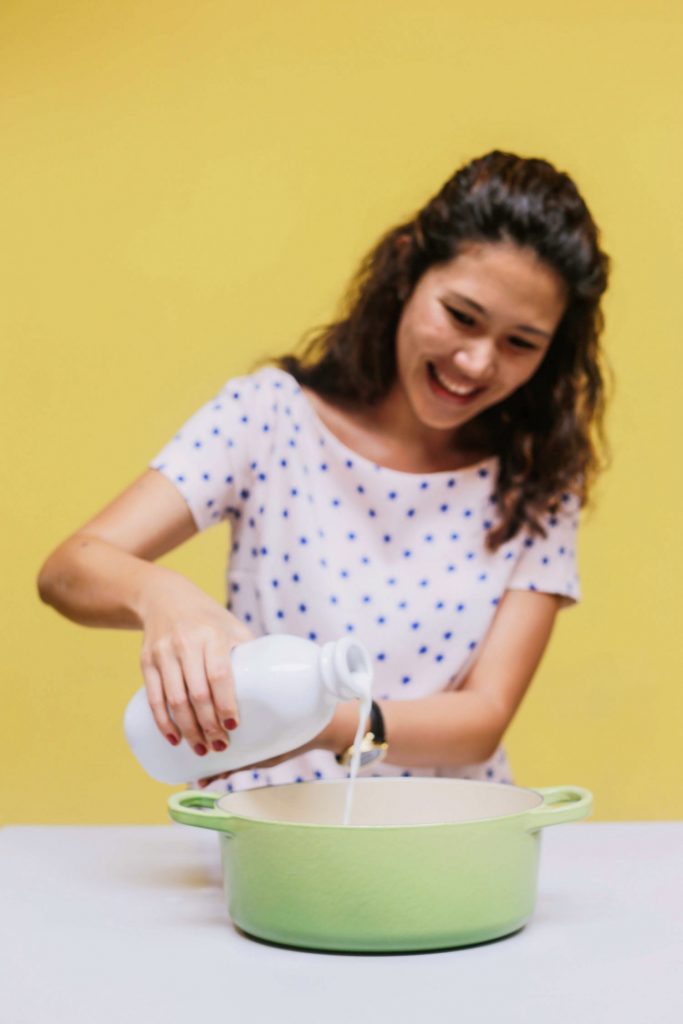
- Pour milk into heavy pot and set the stove to medium heat. Put your candy thermometer at the edge of the pot. Warm the milk to around 90 – 92 degrees celsius making sure to give it a stir every 5 mins to prevent a skin from forming. But even if it does, just dissolve it using your wooden spoon/ spatula. Once it reaches 92 degrees celsius, take it off the heat.
- Let the milk cool until it’s warm enough to touch. around 45 – 50 degrees, warm enough for your finger and doesn’t scald. While cooling, the skin will form on the top, give it a stir.
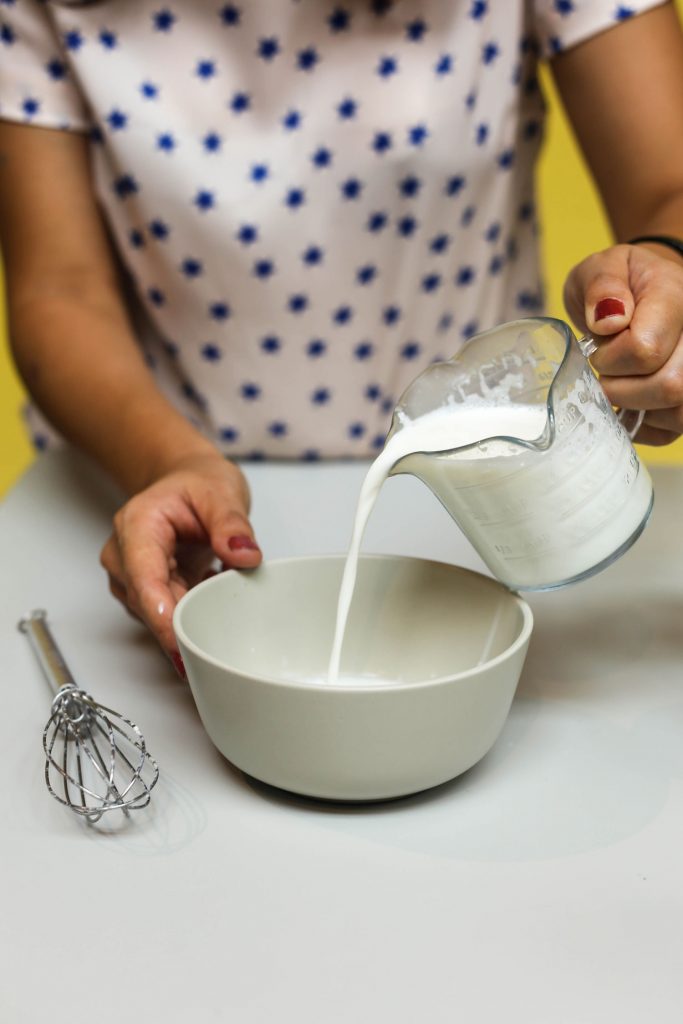
- In a bowl, put 1/2 cup of your yogurt in it. And using the measuring cup, scoop out a cup of the warm milk and add it into the yogurt. Give it a good whisk to make sure it’s smooth in consistency.
- Pour the mixture into the pot of milk and whisk gently. This is the part where the bacteria is being introduced.
- Cover with lid and wrap the whole pot up with a towel. This towel acts to help keep the temperature constant and warm.
- There’s an option to NOT use a towel and put the pot into the oven with ONLY the lights turned on (that will be around 45 degrees) Make sure no other temperature or settings are on. Or if you’re like me and want to be environmentally friendly – I choose to use a towel to incubate and not have to switch on the oven.
- Wait for about 6-8 hrs (Try not to open the oven door until 6 – 8 hours later
- If you want it thicker and sourer, keep it longer. You can start checking at 5 hrs and if it’s the consistency that you like, it’s done. If not, pop it back in and wait.
- Once done, put the whole pot into the fridge until it’s cool and Viola, your own homemade yogurt.
Or if you’re like me, I like my yogurt plain and only flavour it when I’m consume it.
5 responses to “In the Kitchen with The Edible Co. // Homemade Yogurt Recipe (Without a Yogurt Maker)”
Happy Birthday Militza and thank you for this Yogurt recipe! I just downloaded a recipe and didn’t notice until later that I had to buy a yogurt maker 🙁
I am excited to try this as I love yogurt! I love your recipe ideas!
Again, have a wonderful Birthday! xoxo Sherry
This recipe looks great, I love to make yogurt in my yogurt maker mostly, but if I have time then I will make it without. Your photos are exceptional! Really look great.
Thanks so much Belinda!! If you have the yogurt maker – I reckon that’s the way to go! 🙂 What brand do you have – do you recommend it?
Hi! Thanks for the recipe! I have fond memories of my mother’s home made yoghurt. She used a combination of the stove and an insulating yoghurt pot in Australia’s temperate climate. A friend told me she would just leave hers on the bench to cool in Singapore and I always wondered about it!
Just wondering, if I am shifting the yoghurt from my pot to jars for storage should I do that before or after the bench top/oven cooling? I only have an IKEA pot which isn’t particularly thick to use and am wondering if the jars would be better for insulation anyway.
[…] The recipe is on the blog – but at the workshop, a lot of questions were asked and Genevieve made a lot of really interesting points, which may inspire you too: […]