-
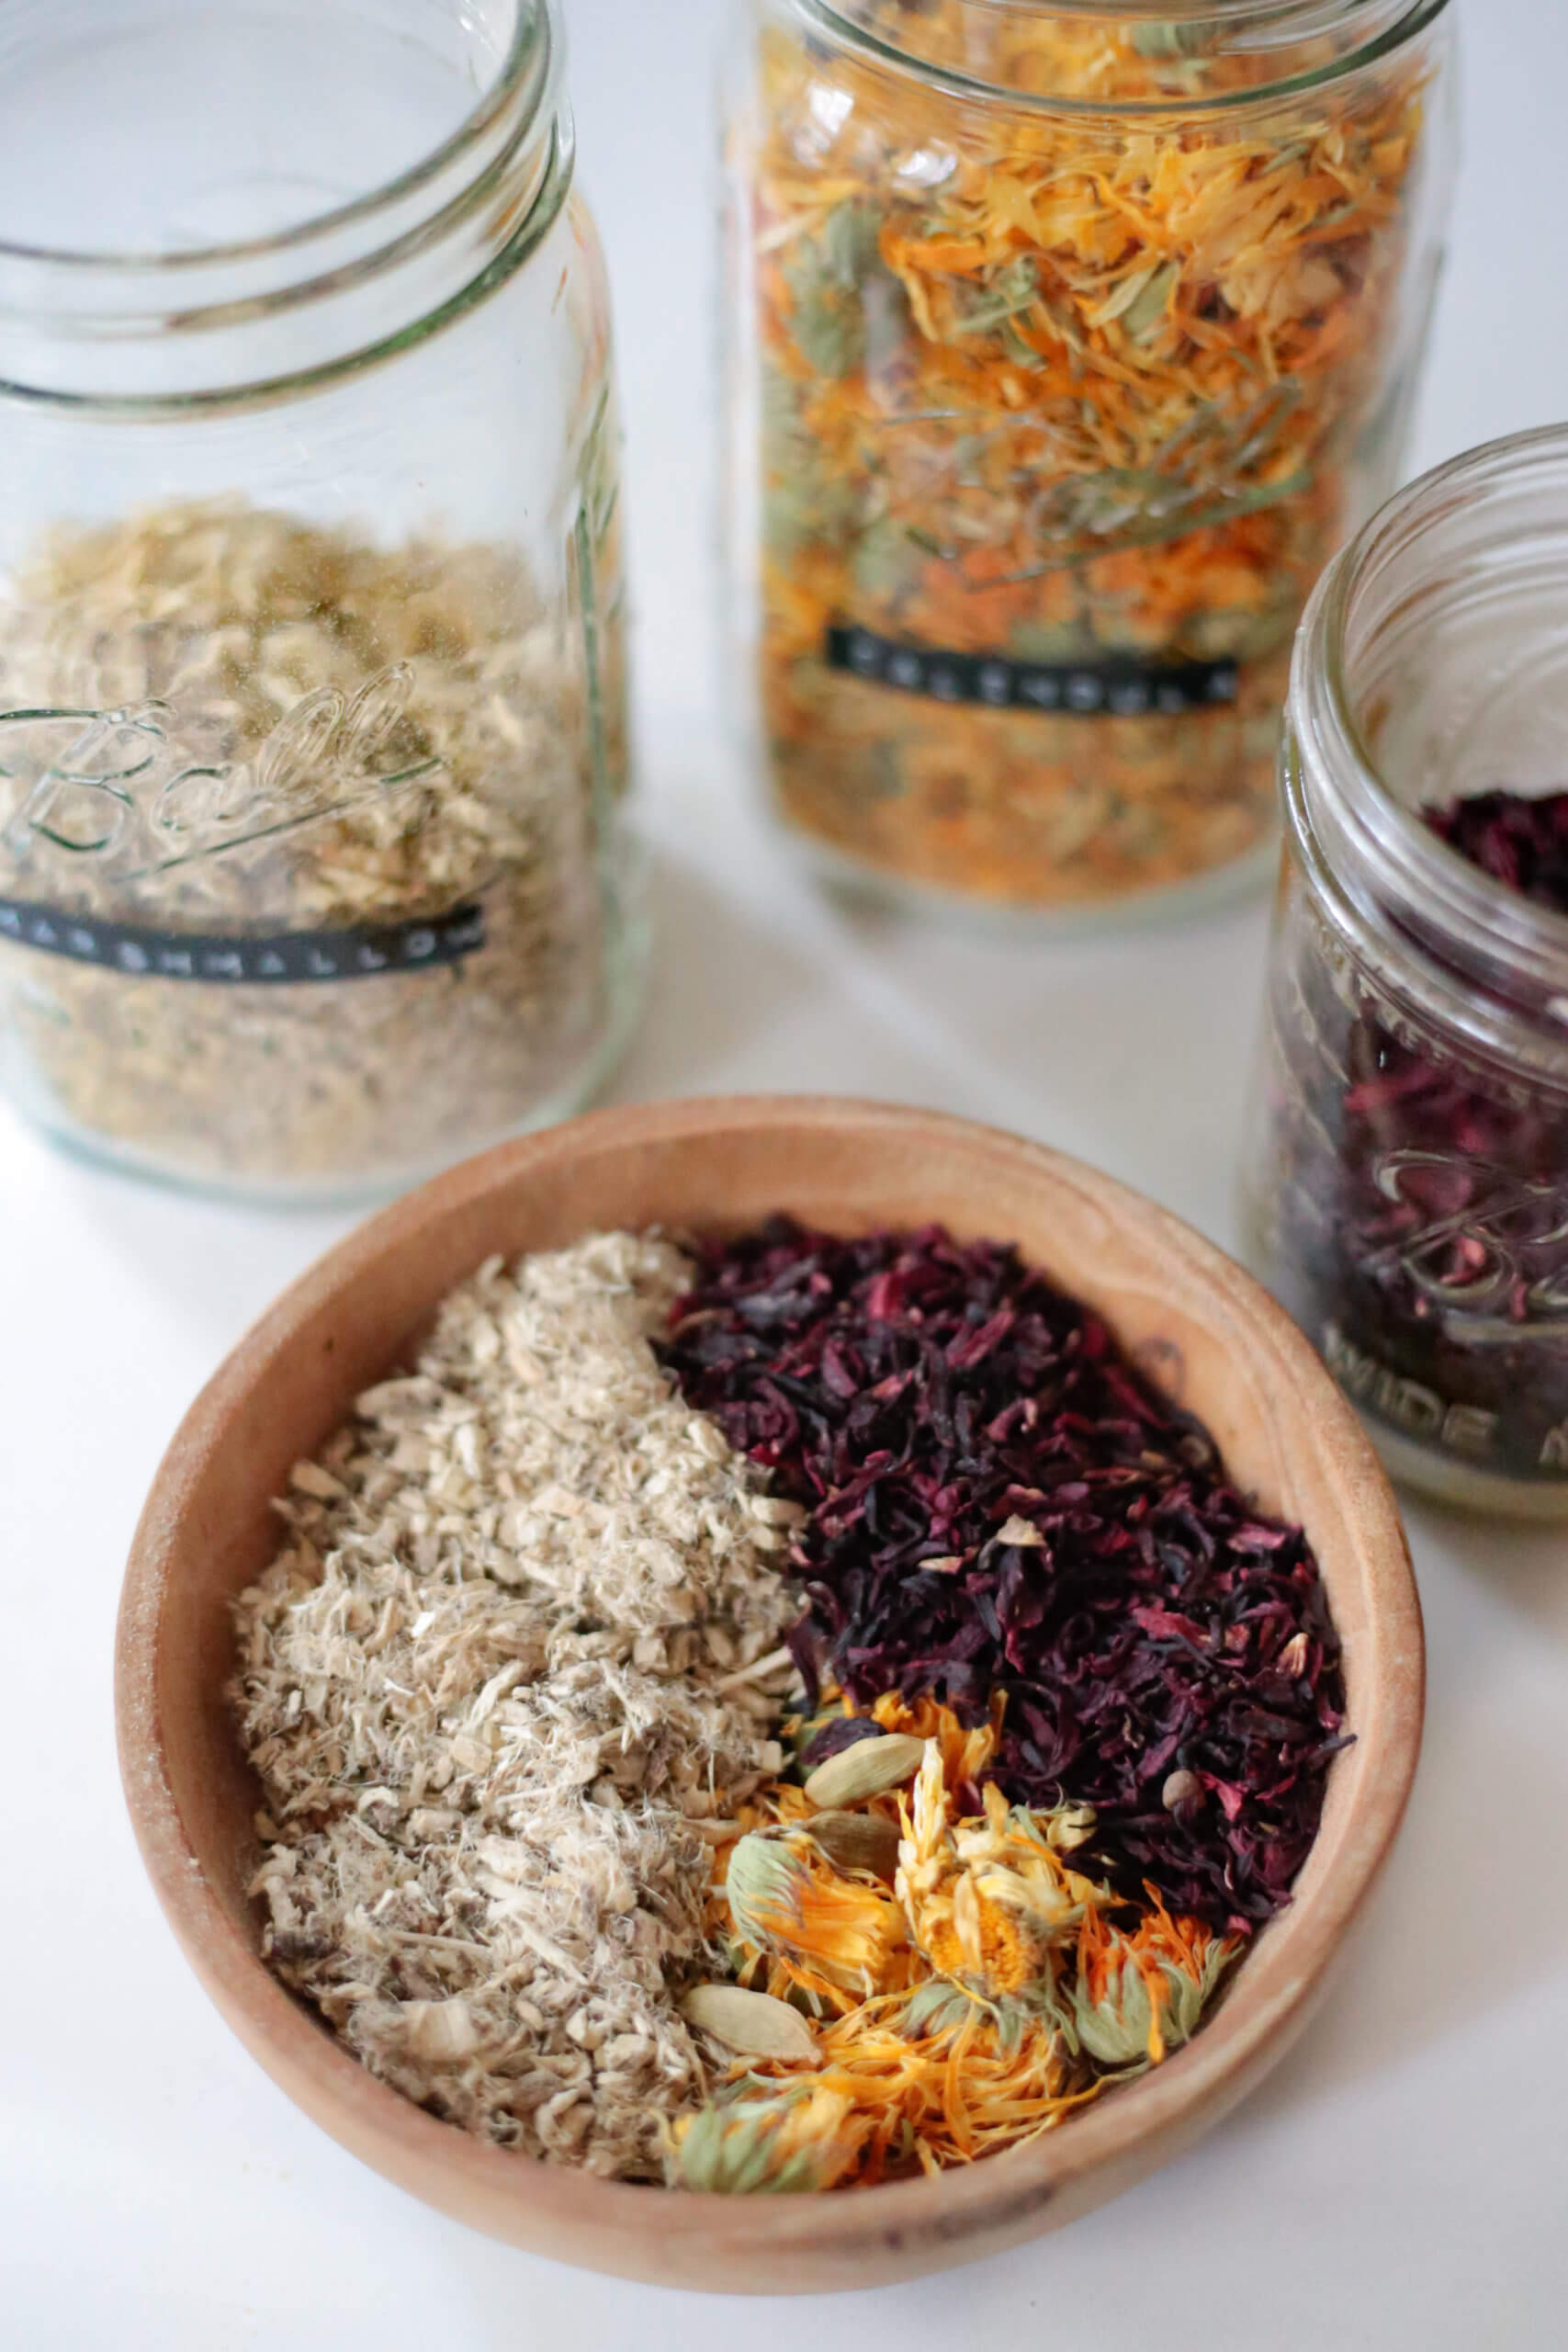
Balm/Salve Base Recipe
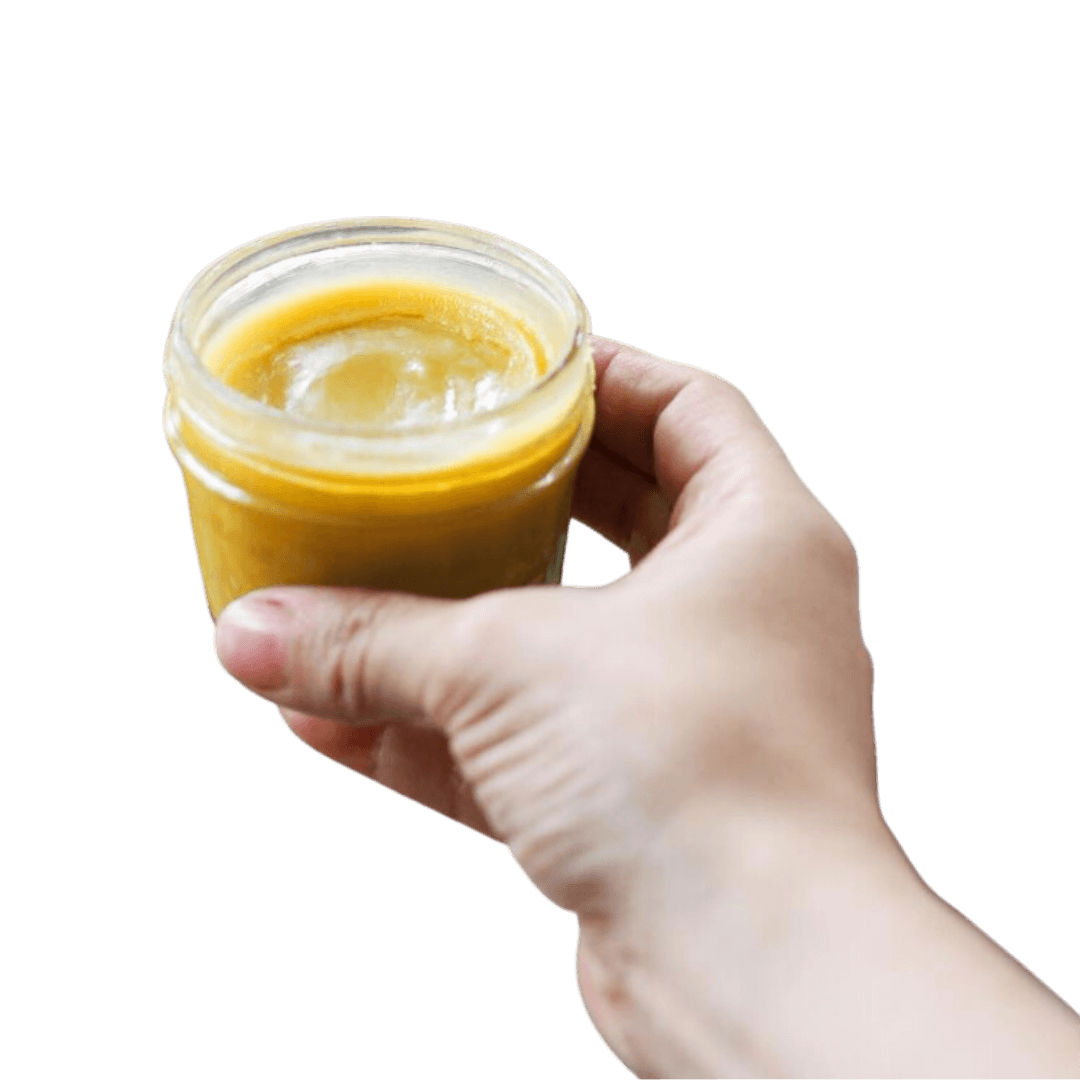
Balm/Salve BASE Recipe Balms and salves are old, traditional household remedies. They’re so useful and effective, you’ll find some sort of balm or salve in most homes today. And they’re simple to make! Here on this page, I’ll share the base recipe to make a balm and salve, and helpful information to help you make…
-
Topical Herbs & Oils for Aching Joints

Joint pain is one of the most common complaints that people ask about. Wether its a general achy-ness, or concentrated in one area… joint pain can make it hard to do the things that you want to enjoy. Why do my joints ache? Topical treatments can go a long way to help ease the discomfort…
-
Herbal Oil Infusion: Warm Winter Skin Tonic
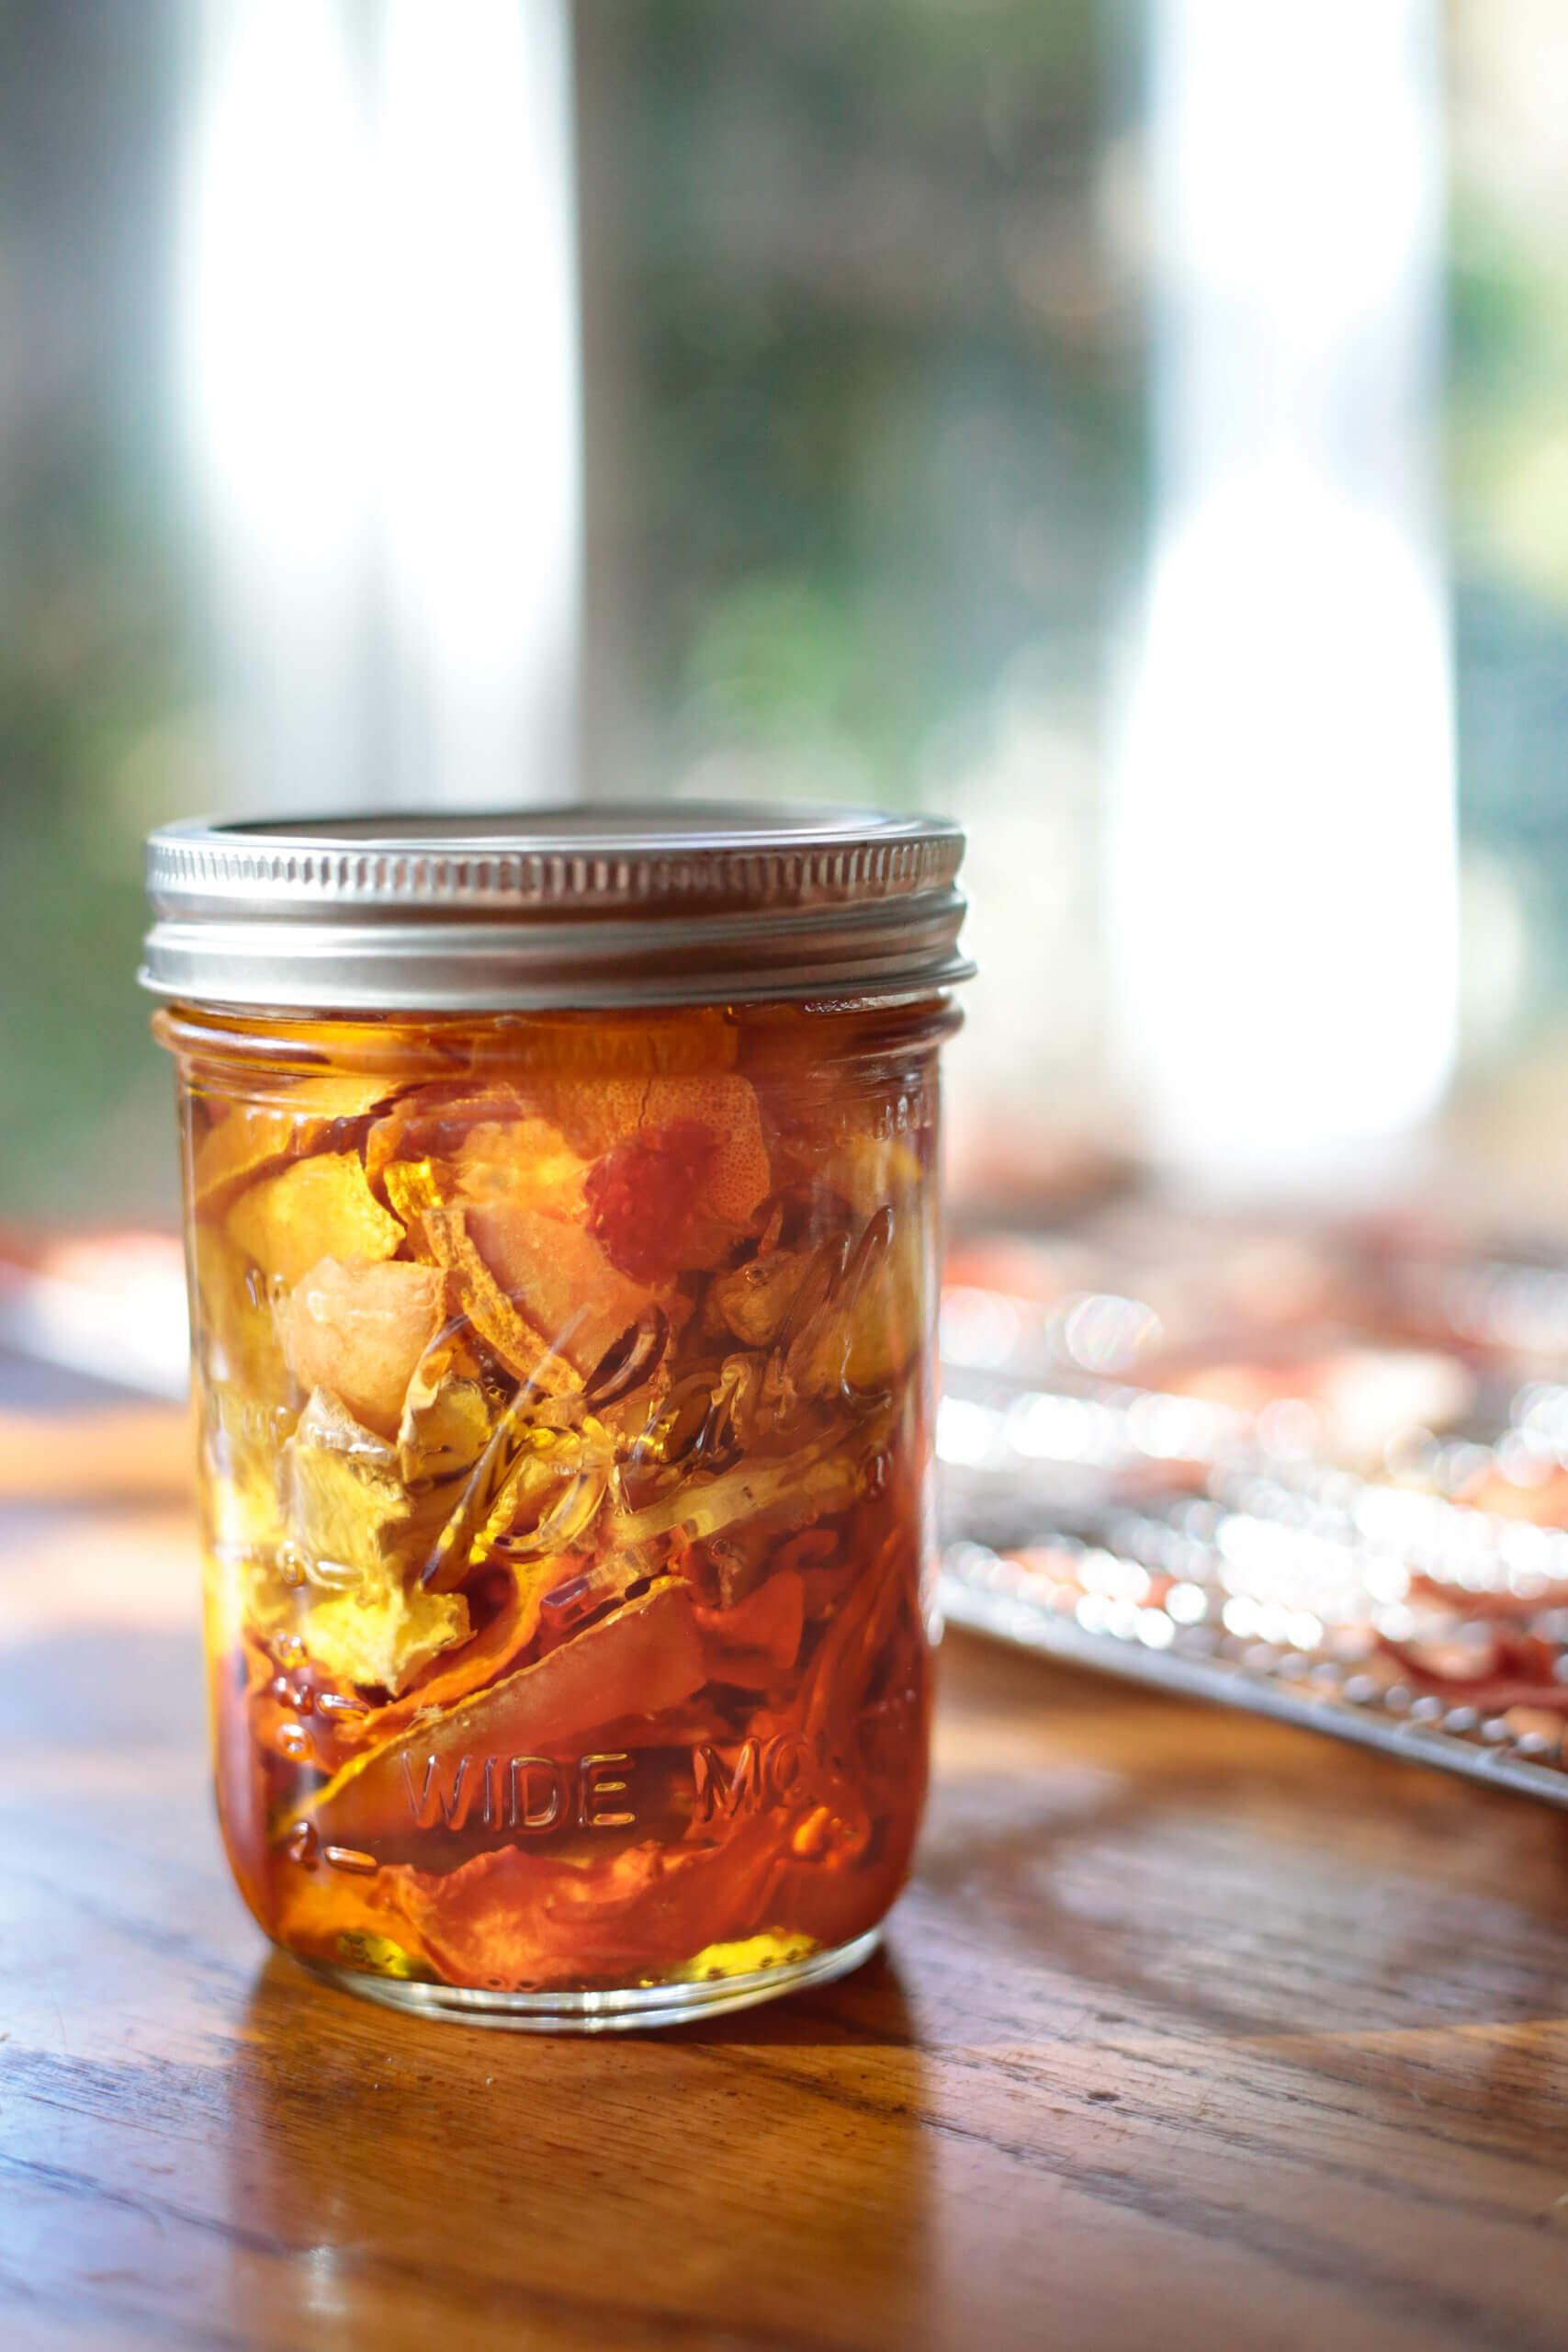
I came up with this herbal blend at the supermarket the bright, warm colors of the carrots, ginger, and grapefruit called out to me! Orange foods are rich in carotenoids, which have been shown to “accumulate mostly in the epidermis and act as a protective barrier.” (source) They make an incredible tonic for the skin…
-
Orange Mint Scalp Scrub
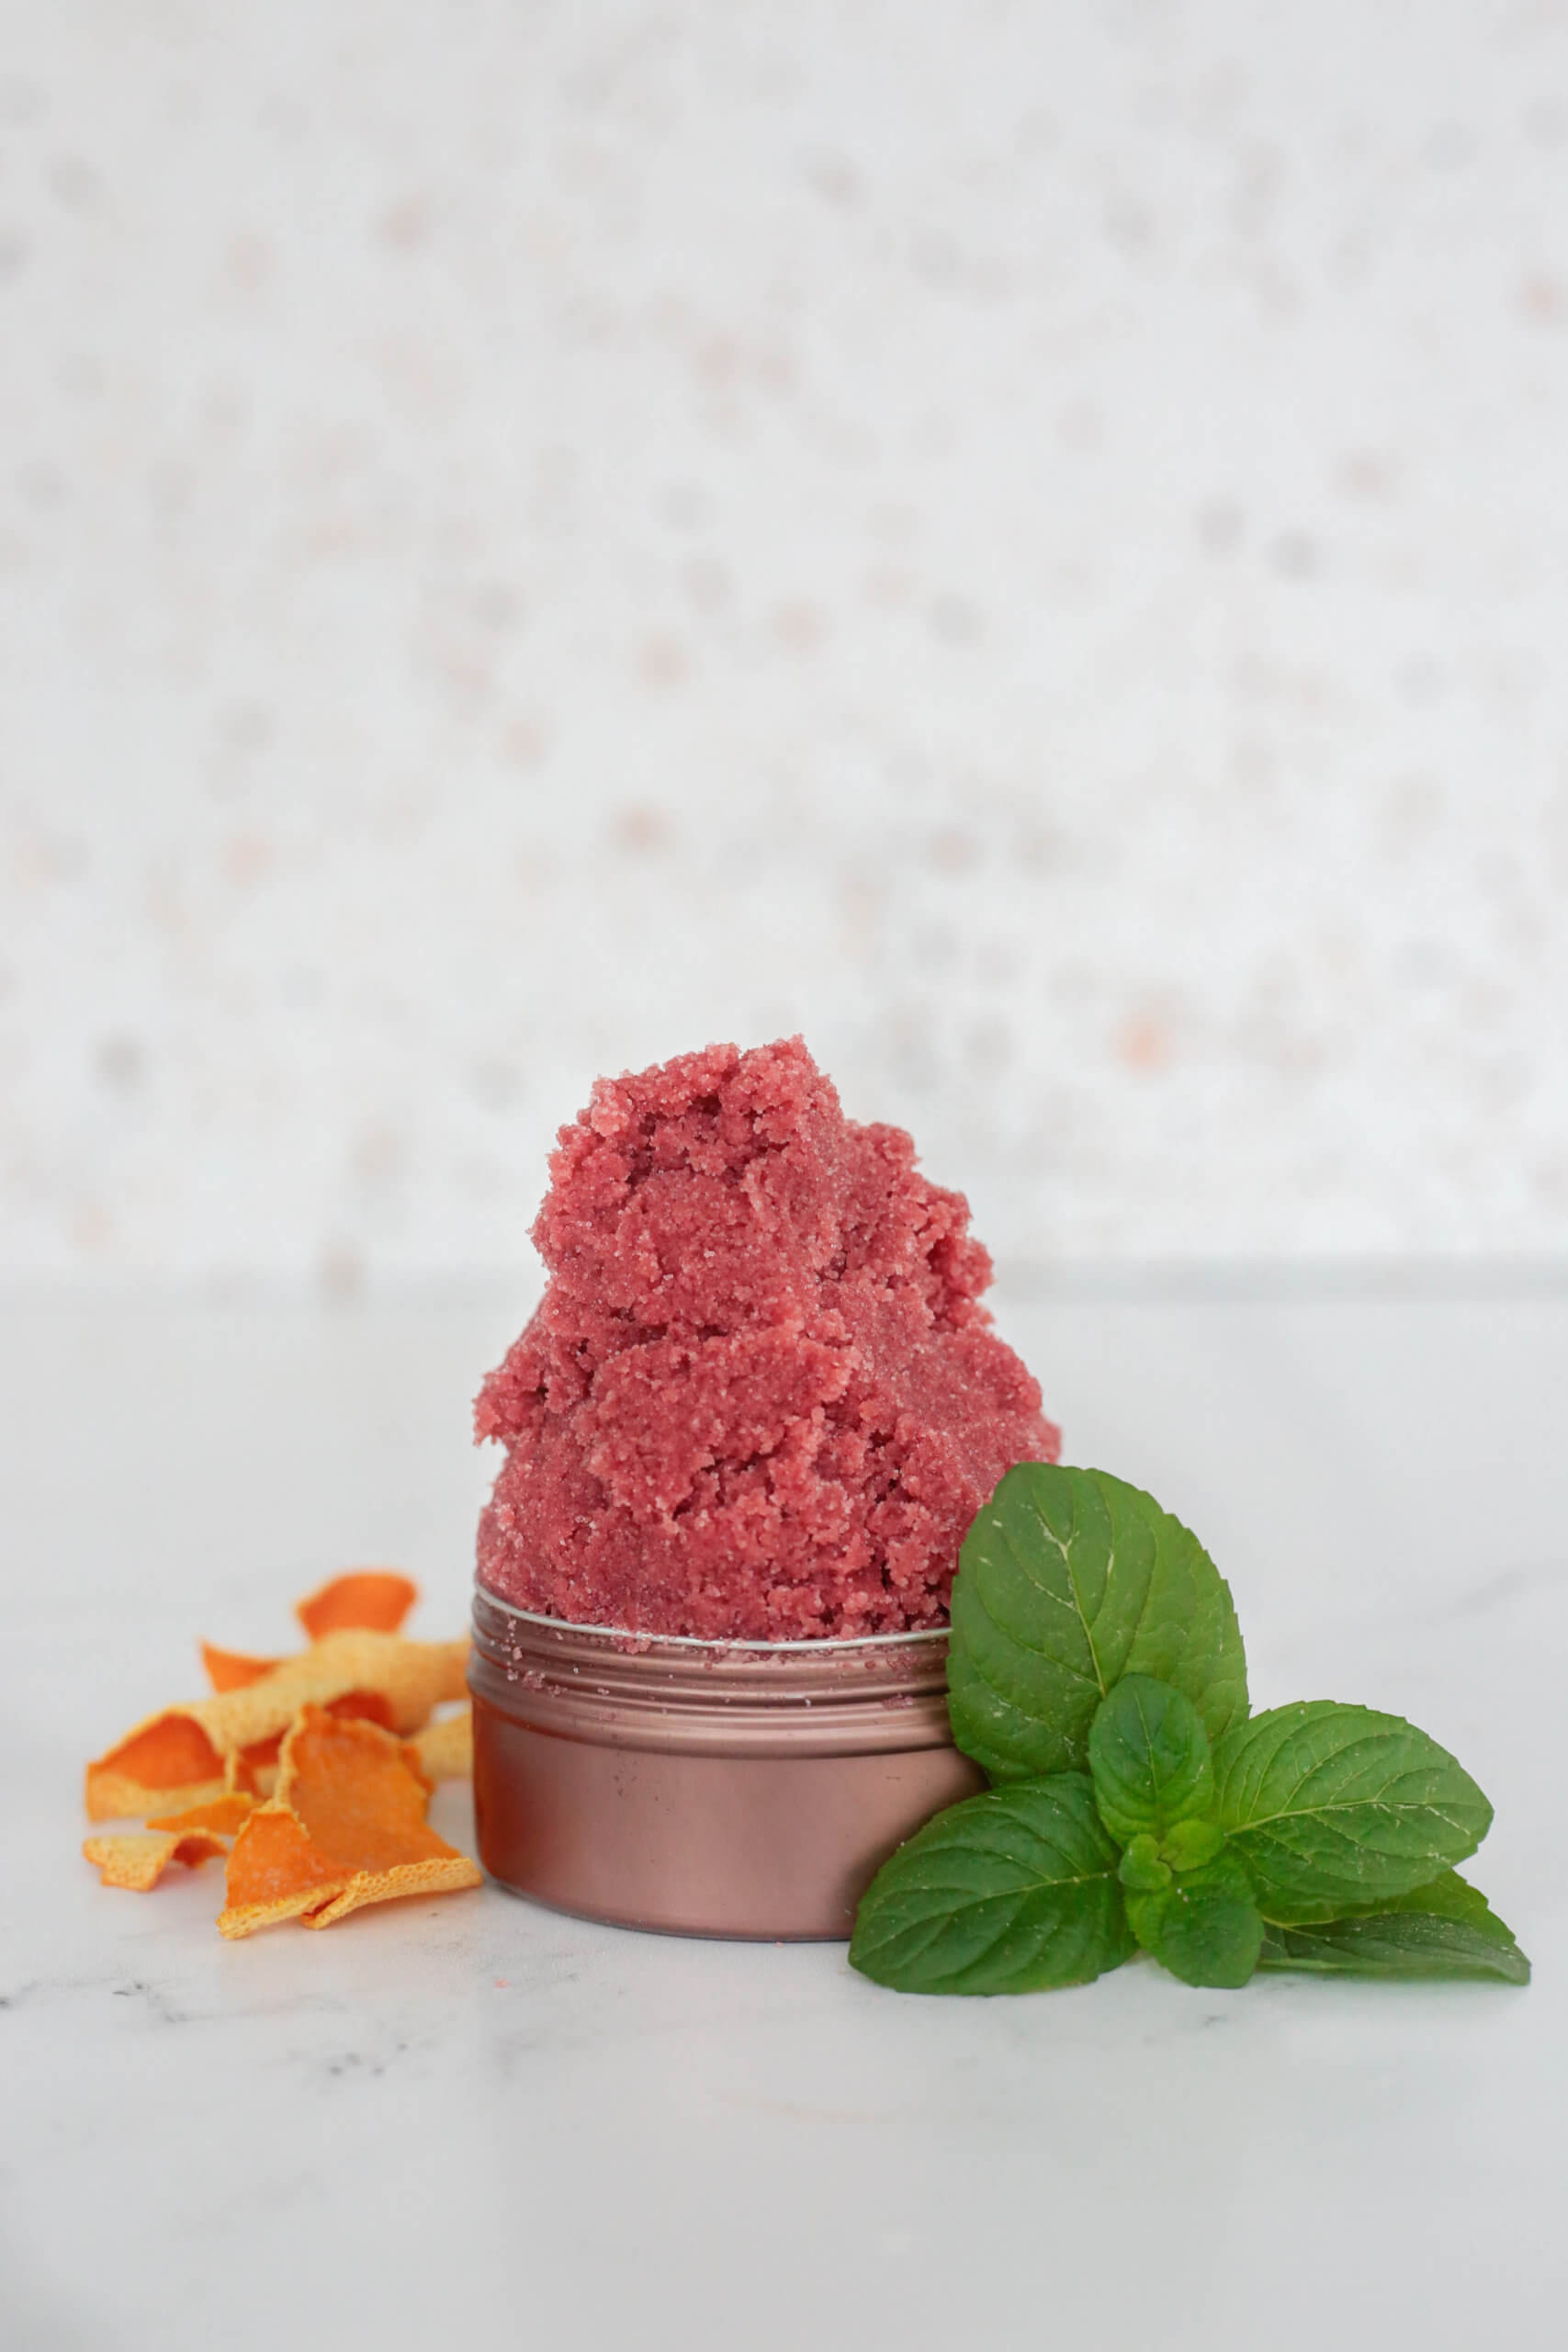
A scalp scrub does wonders for your hair. Scrubbing the scalp helps to remove buildup, exfoliate, and promote healthy hair growth. You can make a scalp scrub by adding salt to your regular shampoo. It can be that simple.I tried infusing herbal ingredients into the salt to see what happens – and the results have…
-
Regenerative Cleansing: Oat & Goat Milk Cleanser
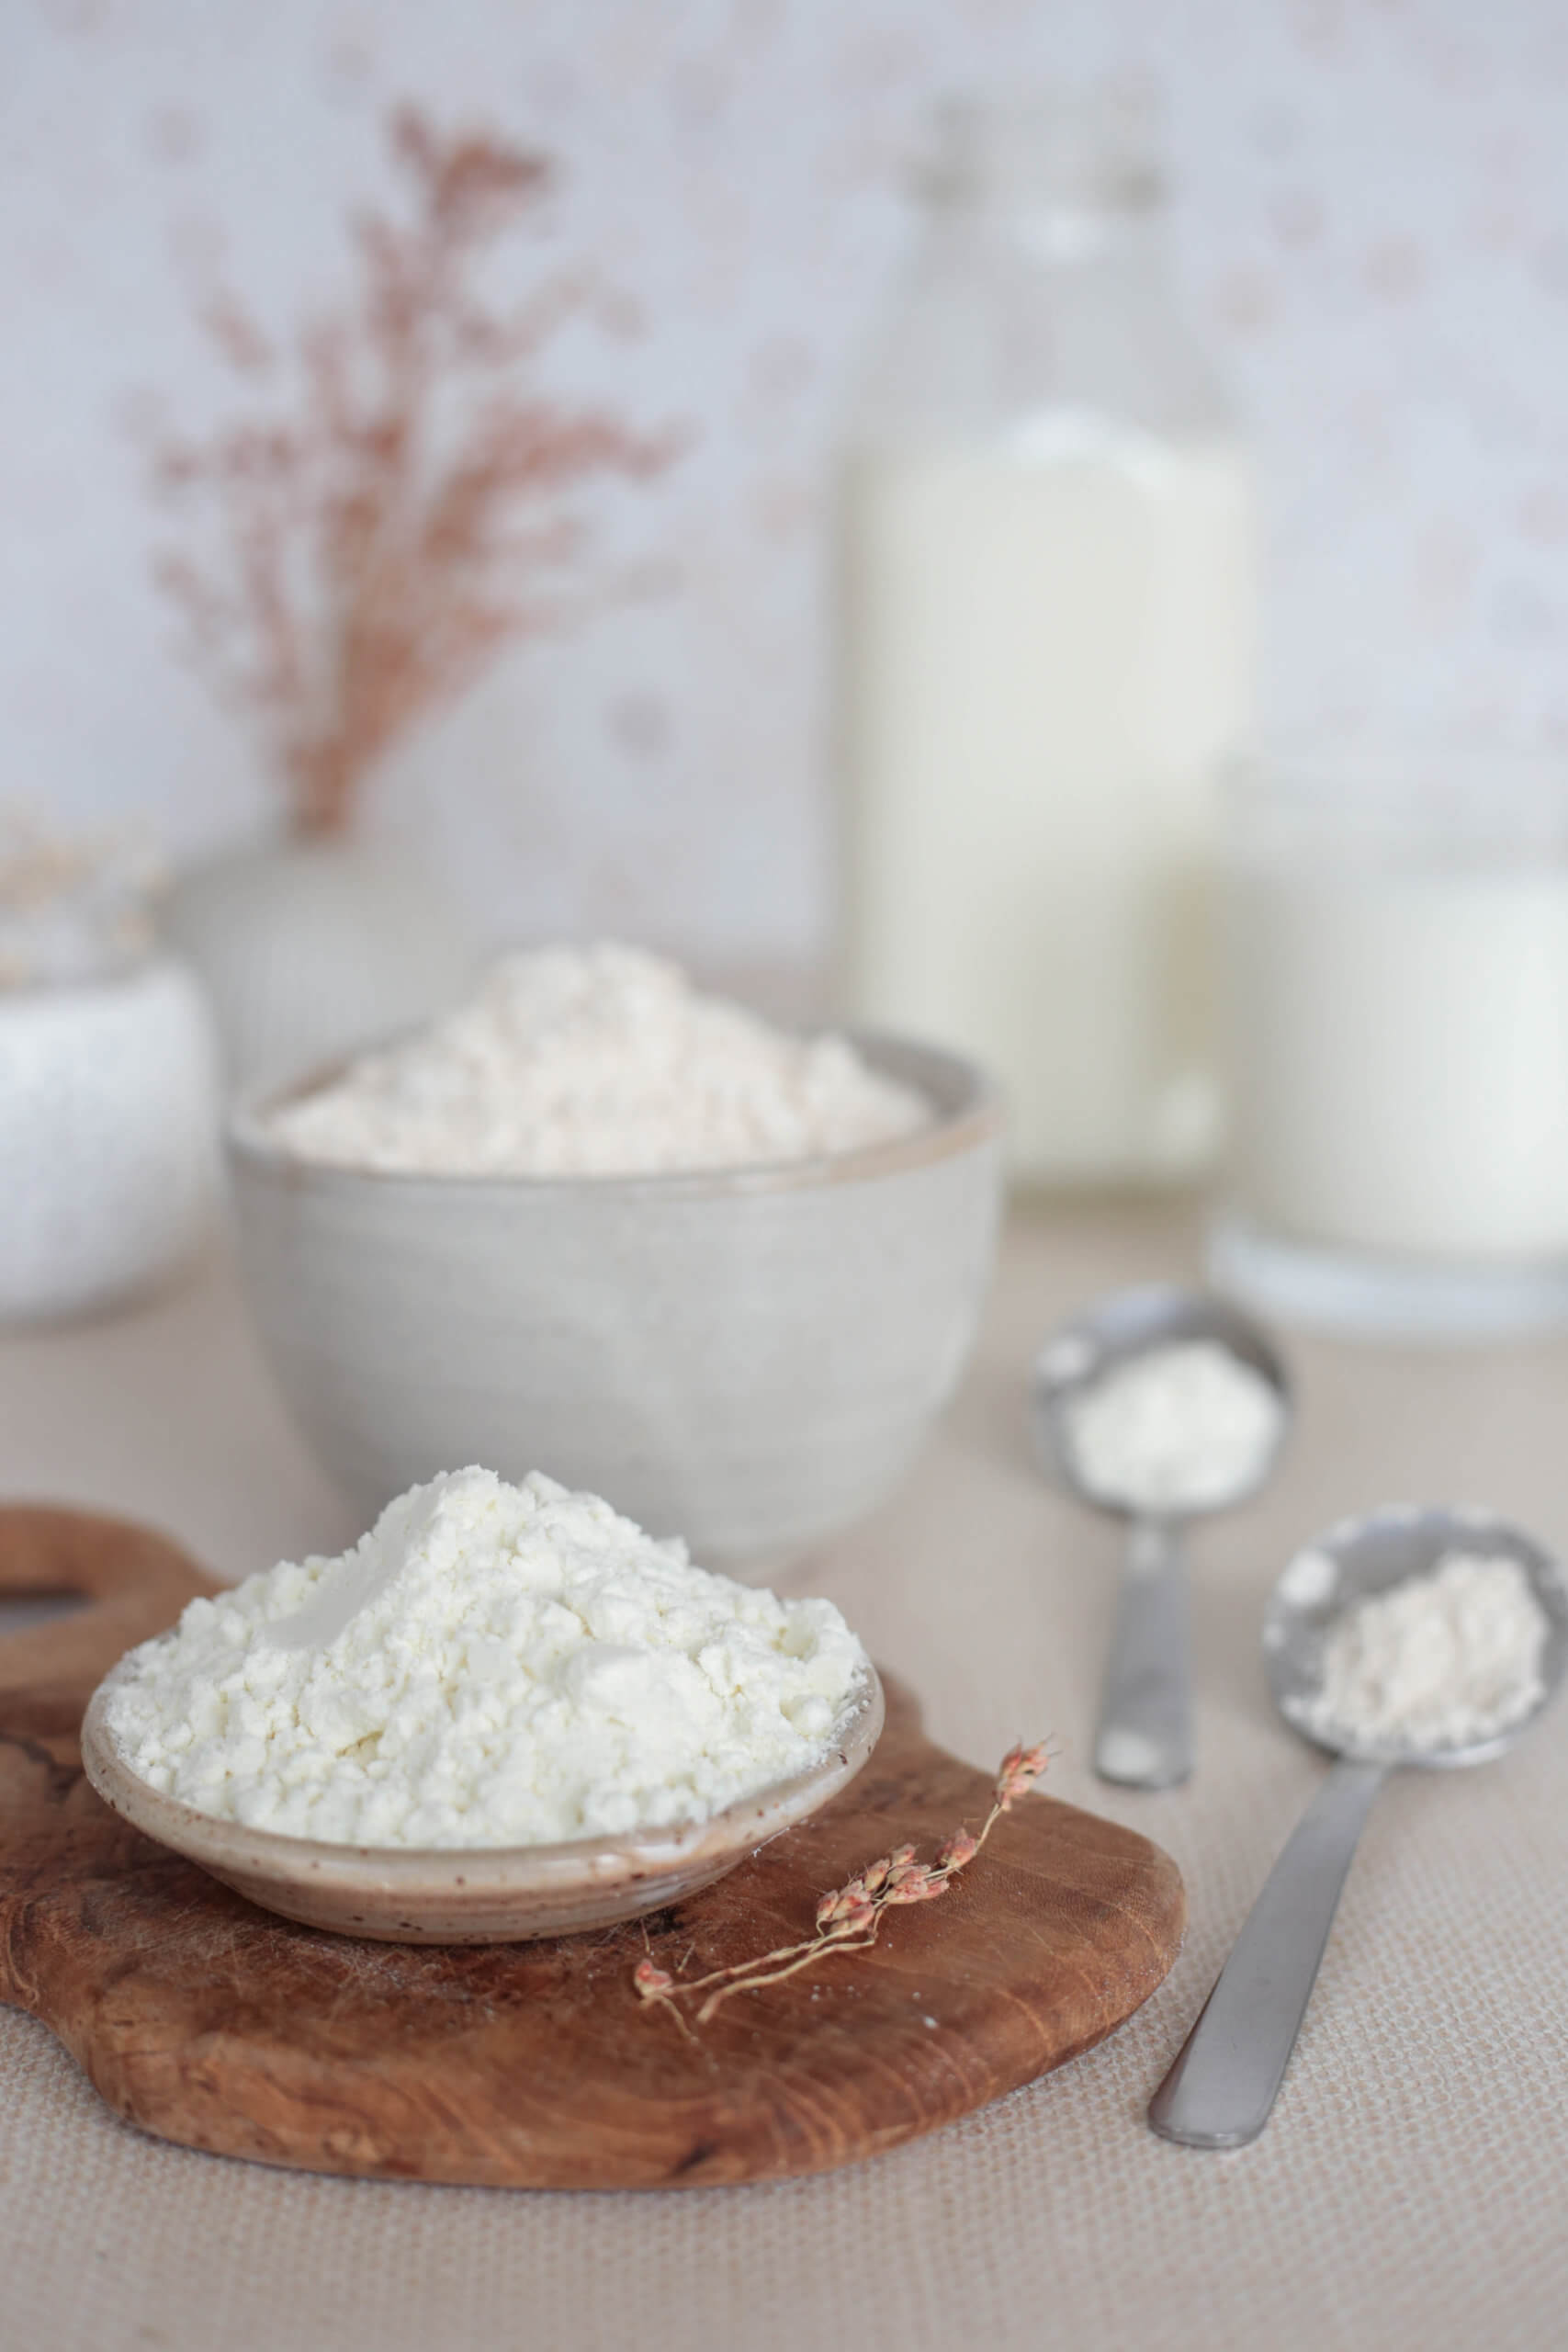
When it comes to cleansing, we often hear words like: removing, eliminating, and purifying. Words like replenishing, nourishing, and restoring aren’t usually part of the conversation —but this recipe shows why they should be. A way to transform our approach Typical body/facial cleansers work through actions of extraction and elimination. It helps you achieve the…
-
Shampoo + Conditioning Hair Rinse
Hair products accounted for the majority of plastic-bottle-clutter in my bathroom. Shampoo, clarifying shampoo, conditioner, deep conditioner… All different brands. All half-empty. Because the quest for finding the one that finally works —is never-ending. And then you make a hair rinse. It cleans like a clarifying shampoo. It softens like a conditioner. It makes your…
-
Deep Warmth: Ginger Infused Body Oil
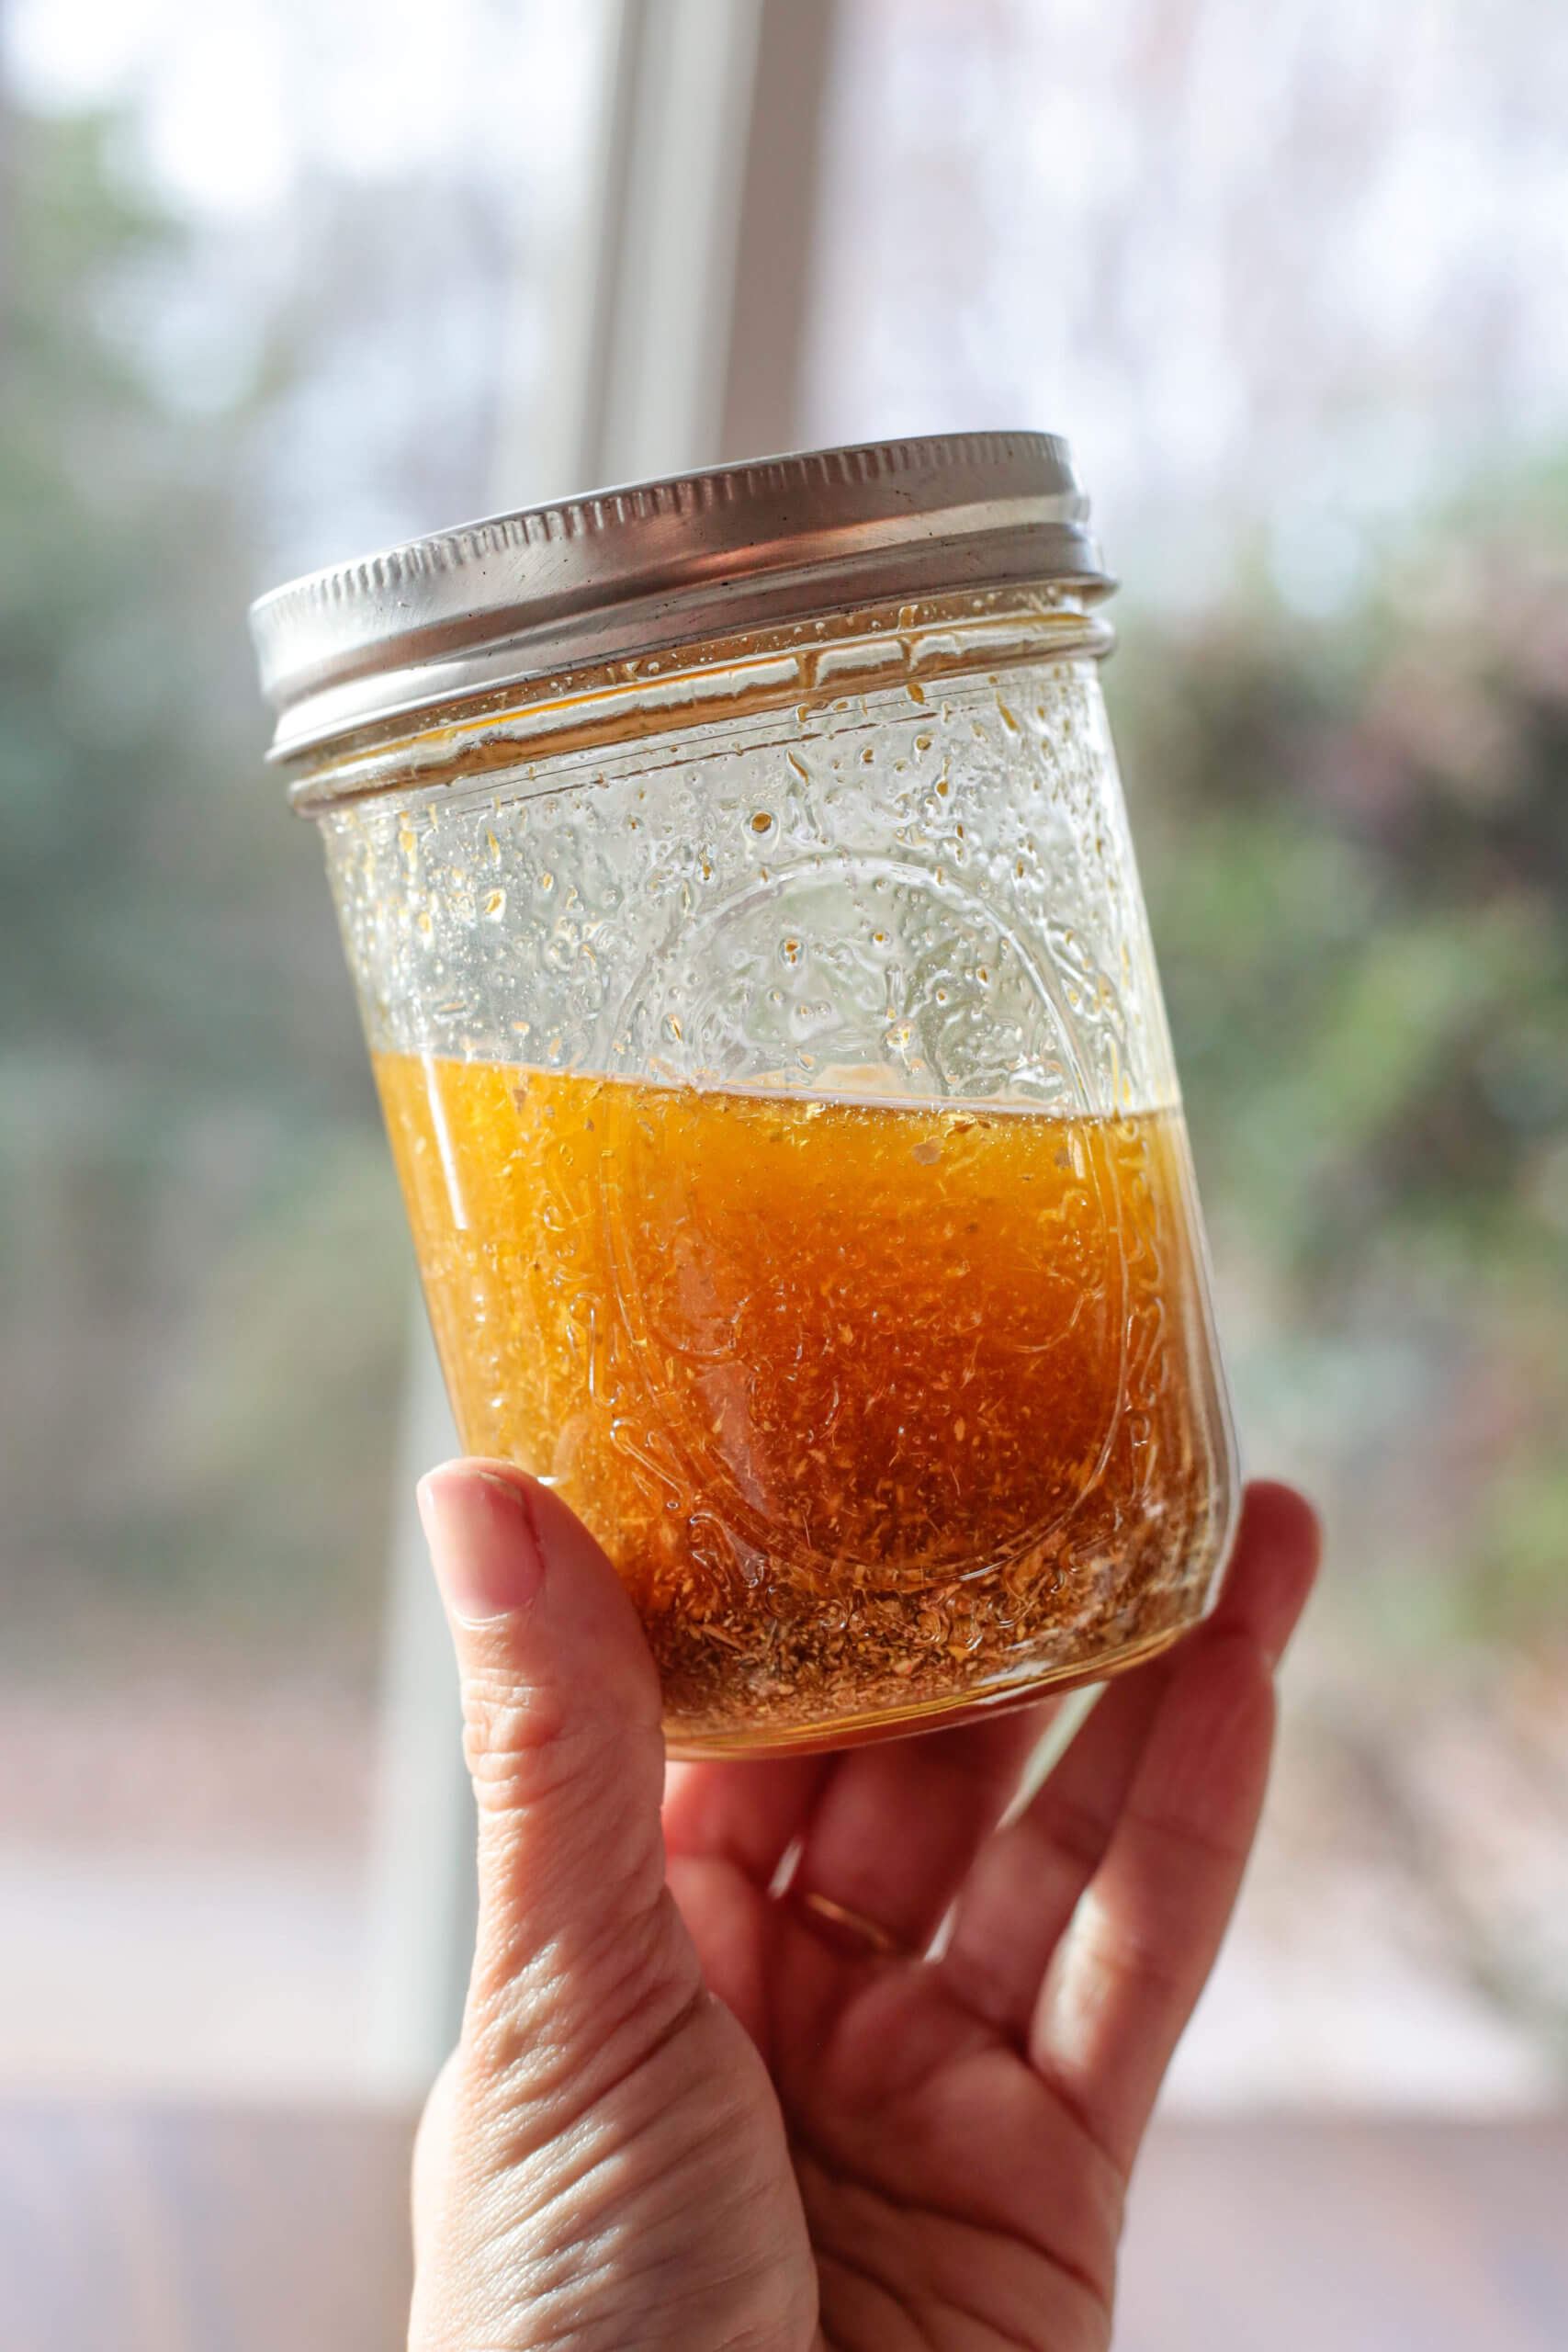
If thoughts of coziness and warmth sound good to you right now… you’ll love this ginger infused oil recipe. It’s simple, but it really packs a punch! And that’s because we’re working with ginger. This is not a shy herb – its stimulating, its warming, its pungent – and when you massage ginger oil over…
-
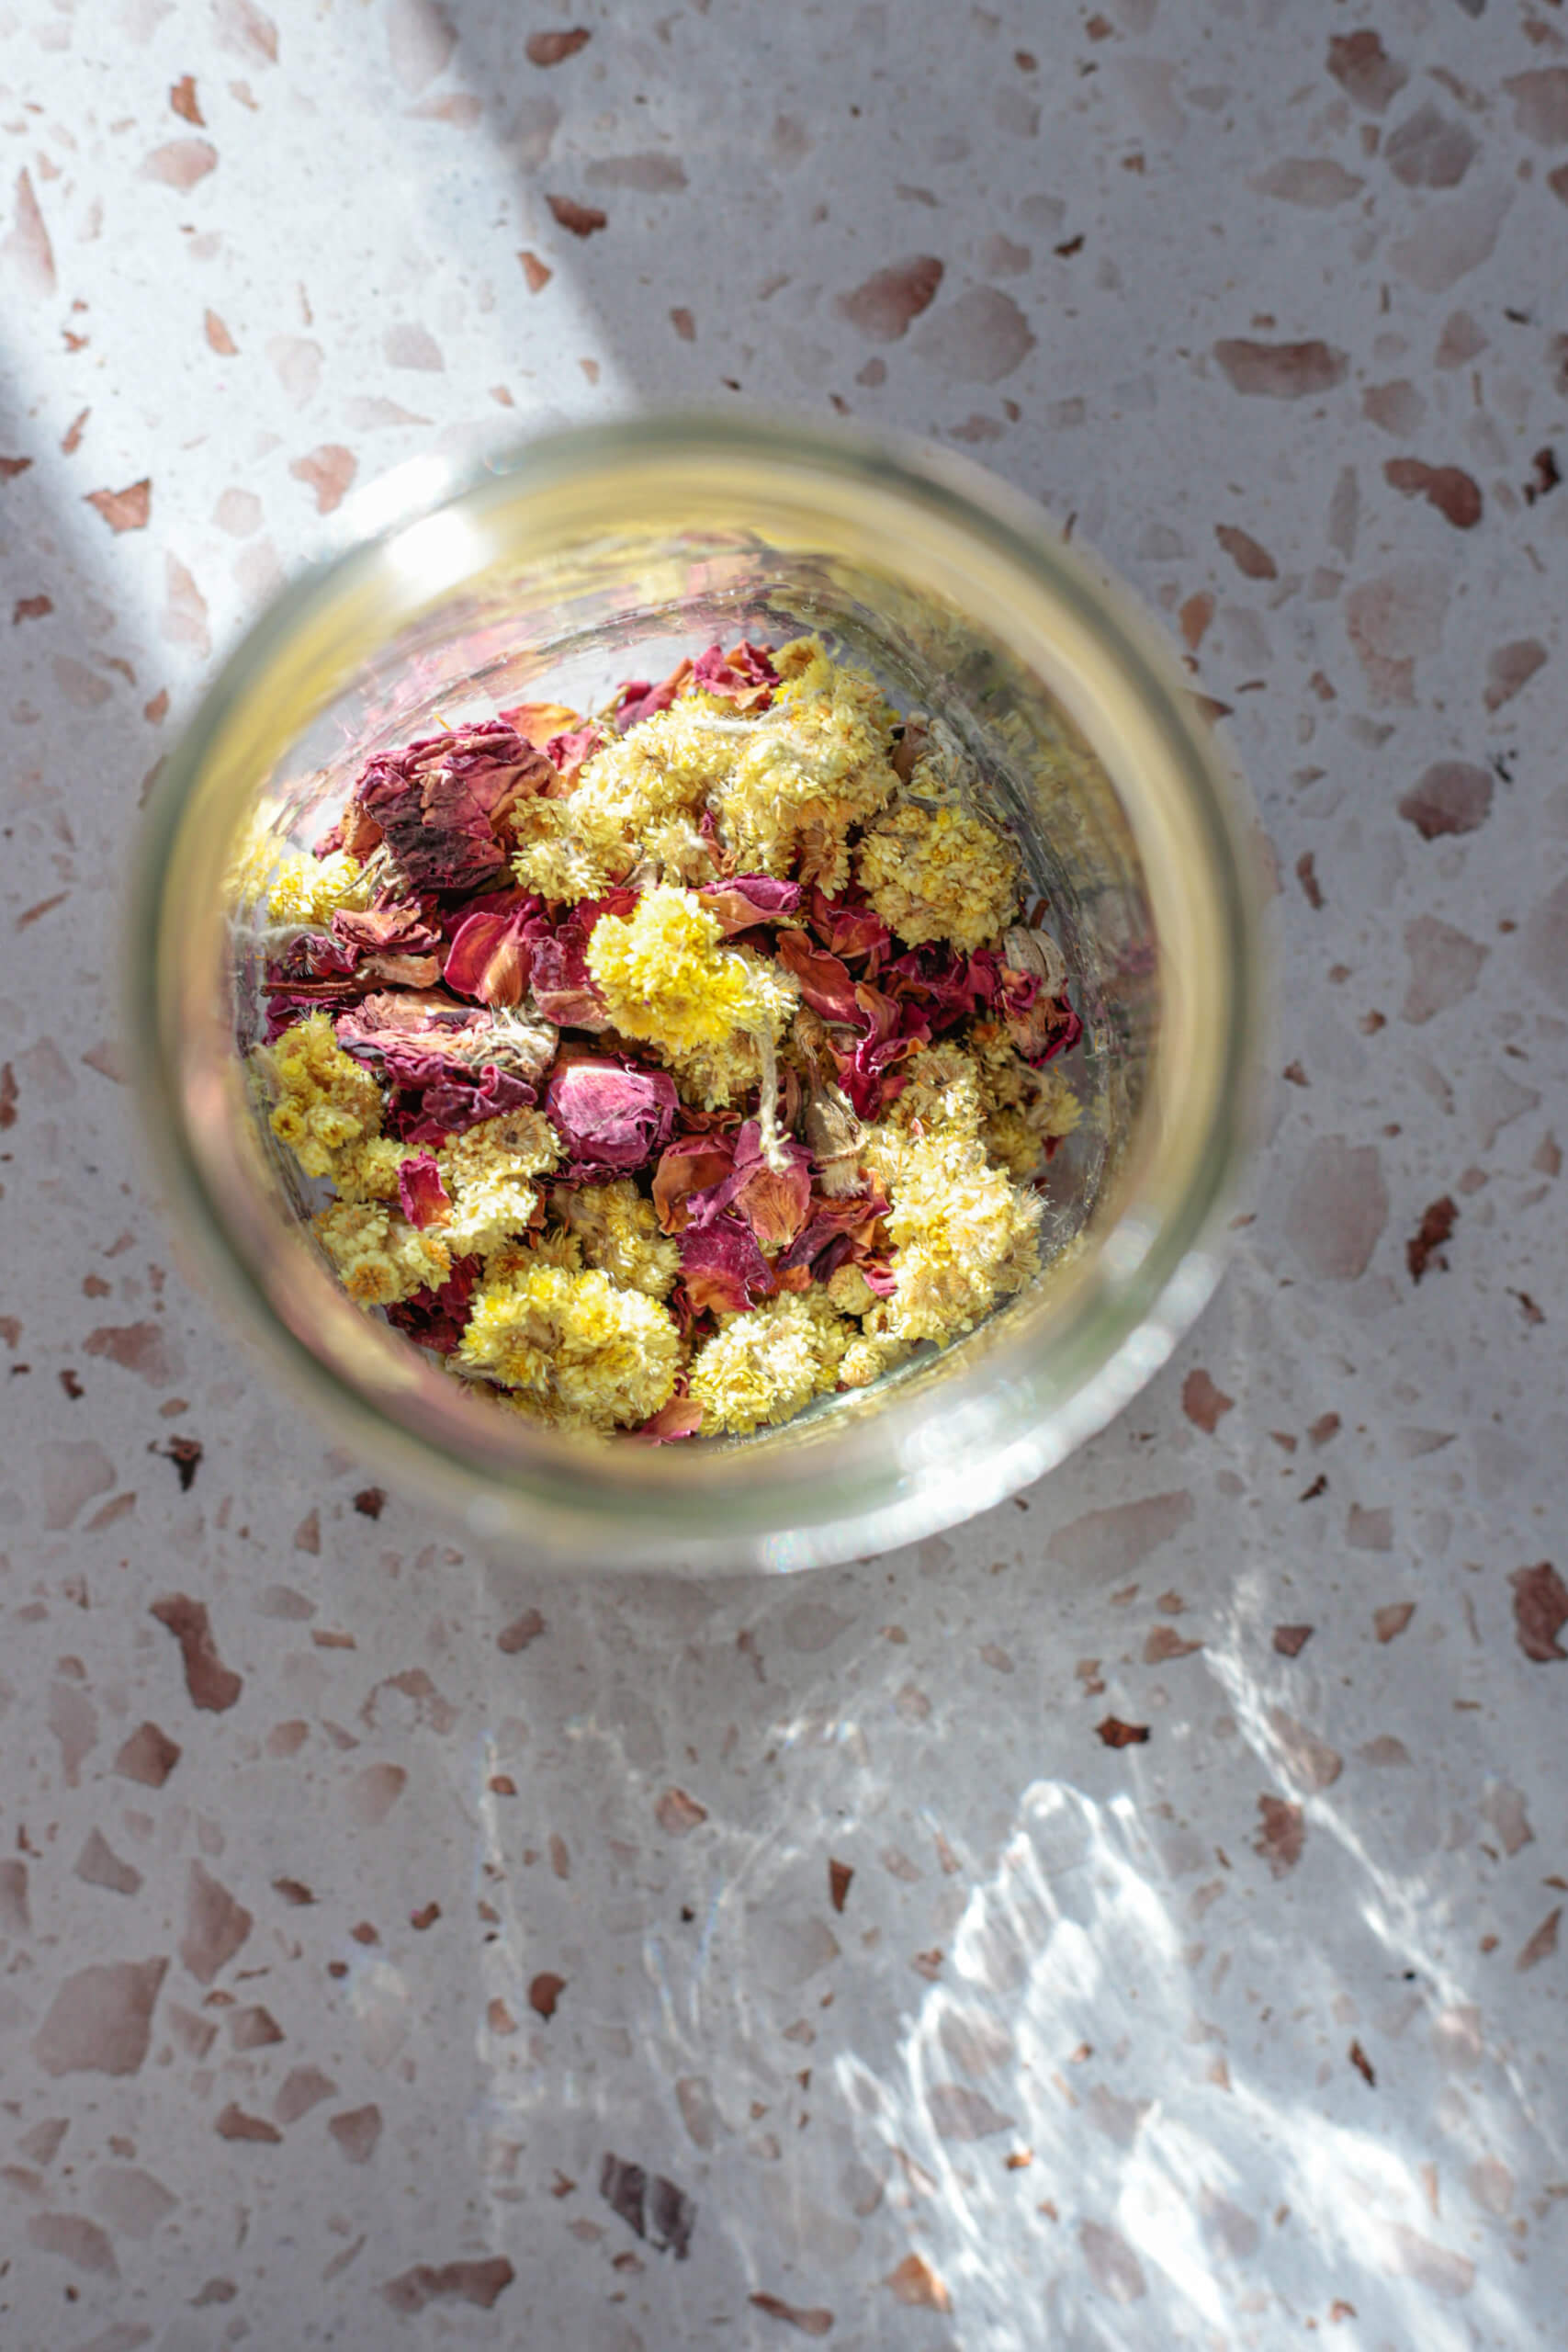
Autumn Skin Poultice
With changes in weather, we can notice changes in our skin. Use herbal remedies to care for your skin In skin care terms, an herbal “poultice” is an herbal mask, made with healing herbs Create this blend for skin that needs warmth, moisture, and a boost of circulation Autumn is settling in – and with…
-
Good Night Tinctured Bath Salts
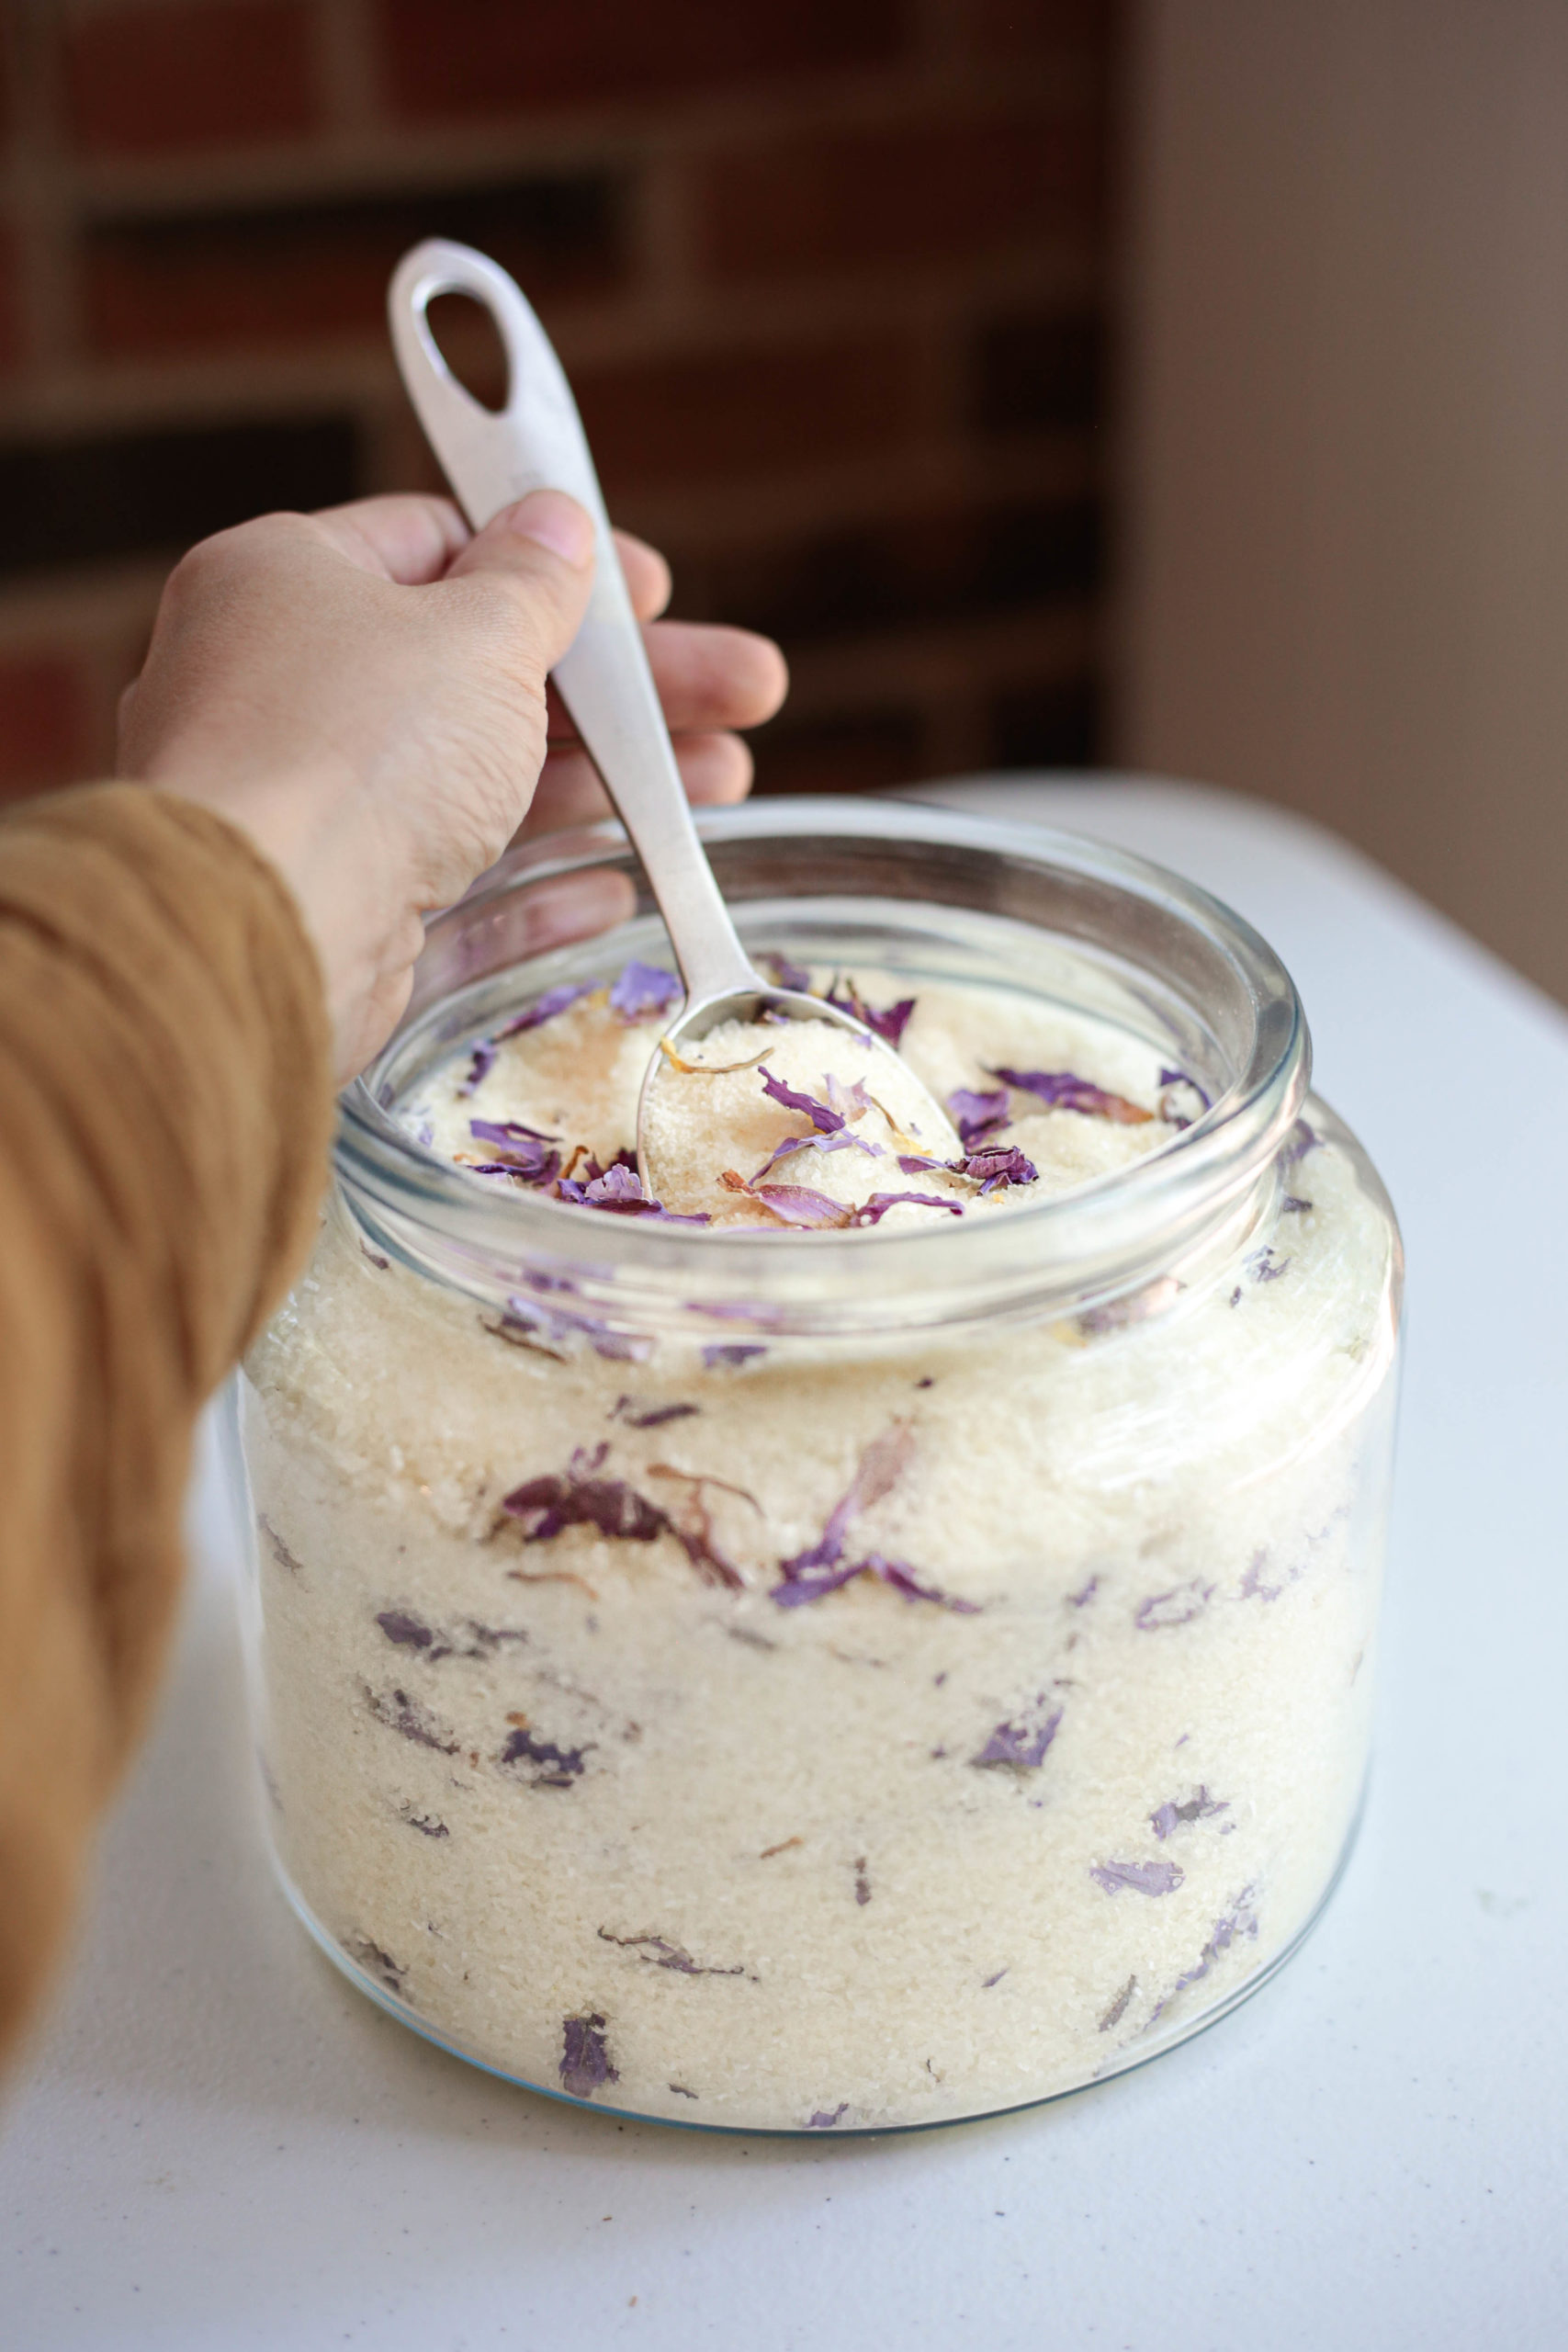
Are you tossing and turning at night? Waking up feeling tired? I’m excited to share a skincare herbal remedy that can help you to create a supportive routine, that will help you release stress and tension in your body. And, incorporate specific herbs that help you to get the rest you need. And remember, there…
-
Chai Elixer
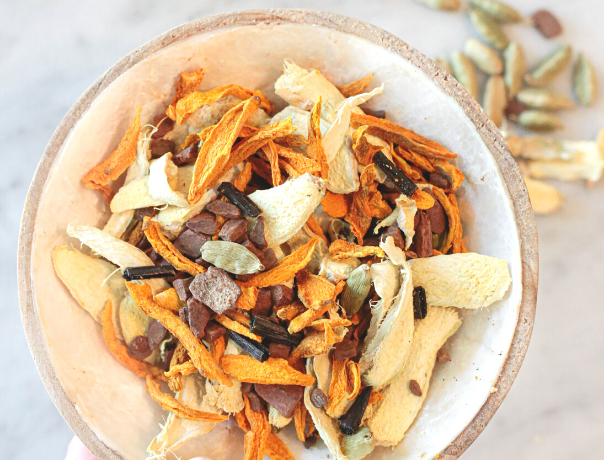
It’s become a regular routine. I add a splash of Chai Elixer into a shot of milk and sip it slowly. It tastes like… if Baileys’ came out with a Chai flavored cocktail. Creamy. You can definitely taste the brandy, it’s deliciously smooth. But the dominating flavors comes from the Chai spices, which not only…