

Whether you want to grow your own veggie garden, windowsill herbs or a simple pot of mint – the secret to healthy, thriving plants is in the soil. A good compost can make all the difference. And, if you grow edible plants, it will produce healthier food for you.
It turns out making your own compost is far easier than I thought. Nature basically does all the work, and you get to recycle food scraps and make use of those greens you forgot about in the back of your fridge.

To learn this process, I went straight to the experts. Edible Gardens invited me on a private workshop headed by Nova who grew up learning from her father, an organic composter since the 70’s.
Nova taught me a simplified version for compost making. For those of us who don’t necessarily have a green thumb, a lot of space or a ton of time – we can still do this!
Composting Made Easy
- cost: practically free
- effort: 5 minutes per week for 12 weeks. Yes!
- benefit: mineral rich, nutrient rich compost for healthy plants
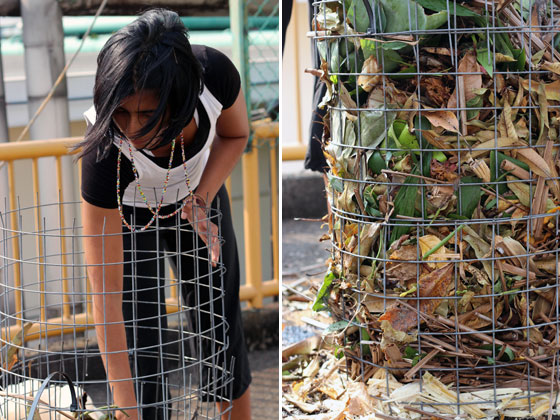
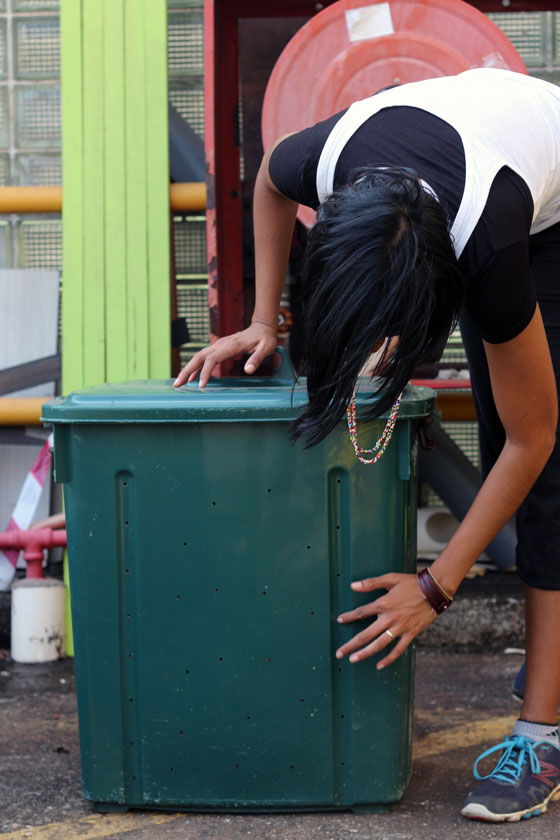
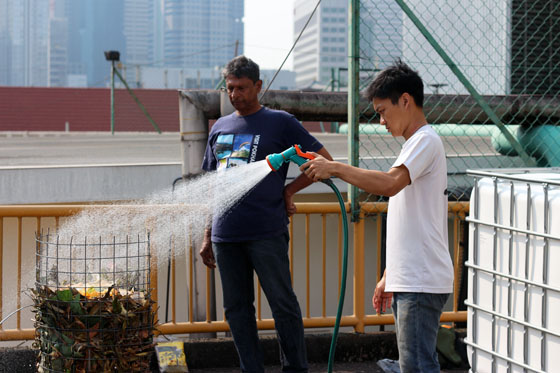
Nova demonstrated the compost in a wire frame, so that we can see the layers going in. But, at home you’ll use a plastic drum container with a lid.
#1. drill holes for ventilation
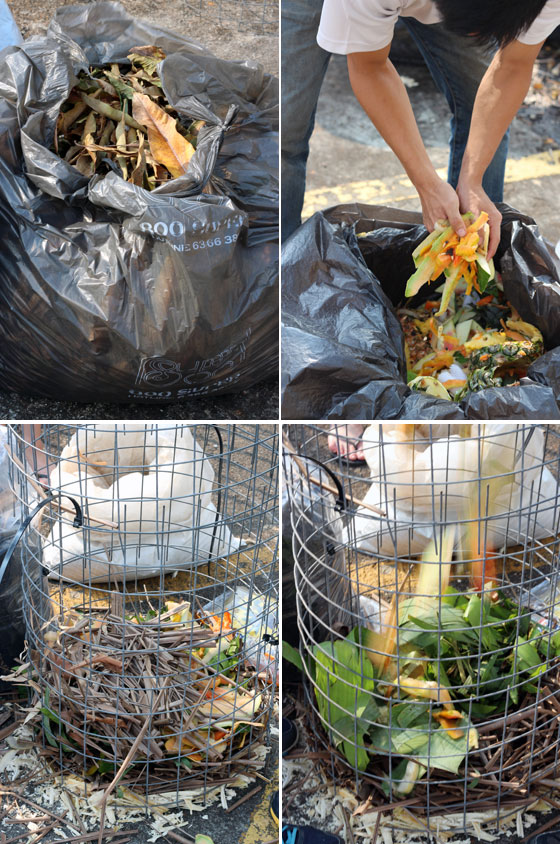
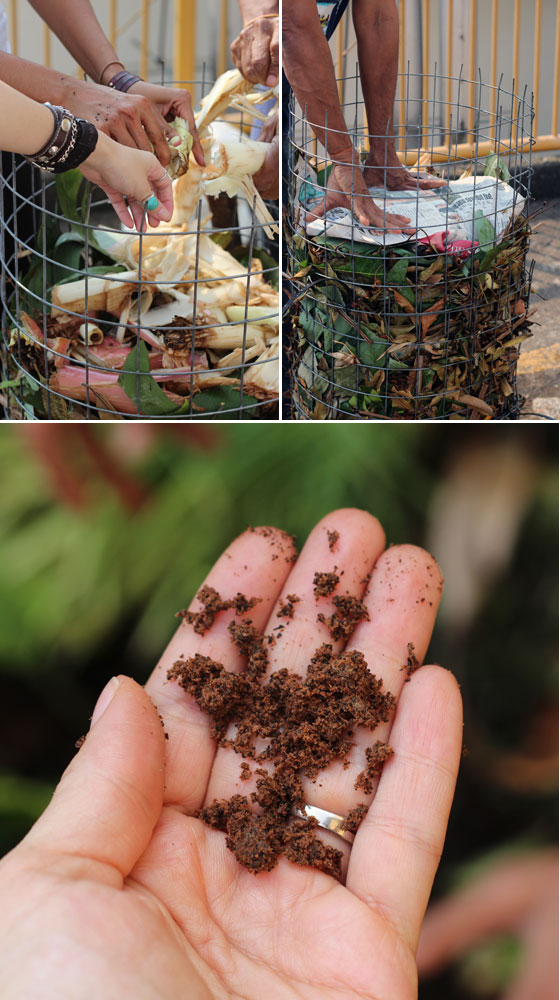
#2. alternate brown & green layers
The brown materials provide carbon, a good source of energy for your compost. The greens provide a good source of potassium, nutrients and minerals. Total ratio is 3:1 dry to wet.
#3. add extras and enhancers
Nova adds coffee grounds, egg shells, chicken manure and ground bones to enhance the soil. Each adds its own nutrients, minerals and the manure is a great fertiliser. For extras – you can add paper cups and cardboard to your pile too – what a great way to recycle them!
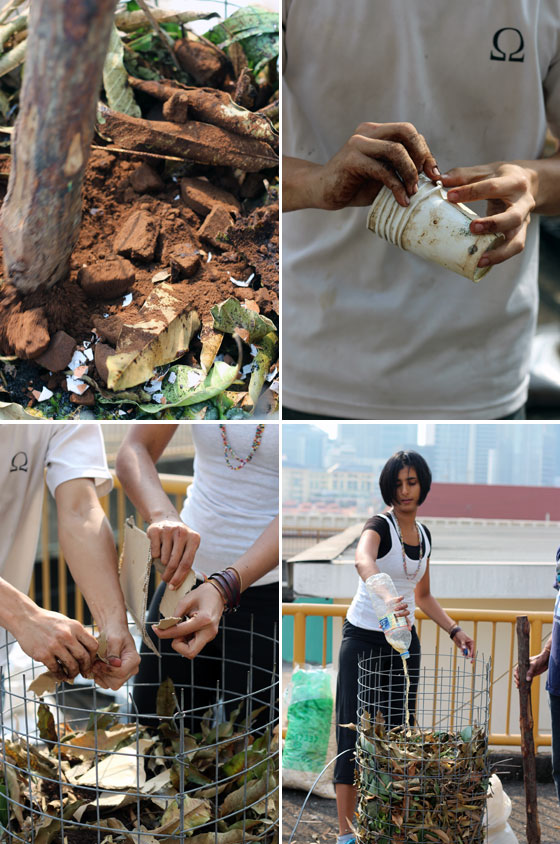
Nova makes her own growth promoter, a solution of effective microorganisms made by fermenting fruit scraps, water and sugar. It’s incredibly beneficial for your soil – She shares the recipe on her blog – check it out here!
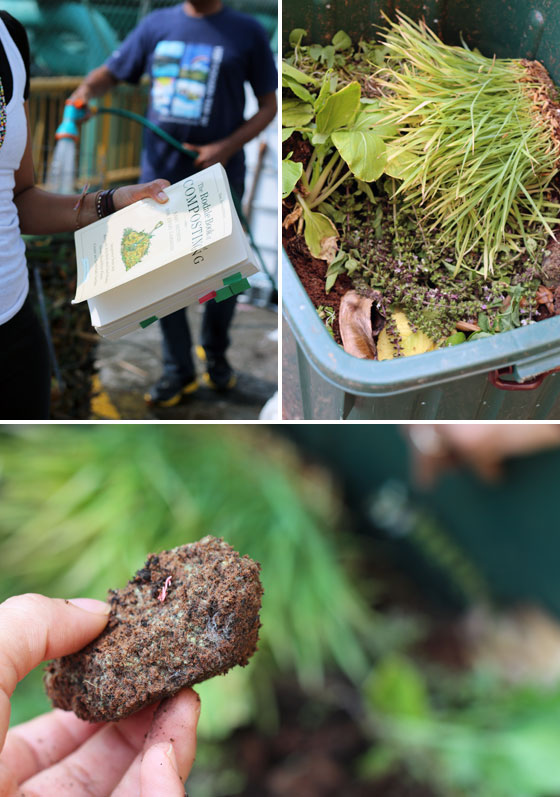
#4. after 90 days – from scraps to compost
it’s magic!
Urban Compost Recipe
think of it like making a stew, you add your layers of flavour, close the lid and leave it alone to slowly simmer…
ingredients:
- brown materials: dried leaves, newspaper, cardboard, paper cups
- green materials: fruit and veggie scraps, green leaves and plants
- enhancers: ground bones, egg shells, Growth Promoter, coffee grounds (fresh or used) Put calcium, minerals and nutrients into your compost!
directions:
- choose your container, something that fits well in your space. Nova recommends a round container, so that you can easily knock it on it’s side and roll it up and down when you need to stir your compost weekly. It can be the size of a standard mop bucket or slightly larger.
- drill holes along the sides and at the bottom to allow for air ventilation. If you’re concerned about compost tea dripping out and making a mess – keep the bucket on a tray – but do keep the area dry as to not attract pests.
- start with a layer of mulch or sugar cane waste. This helps with drainage and to soak up extra moisture
- add a layer of brown
- add a layer of green – the more variety, the more nutrients you’ll be receiving.
- continue to alternate until you reach half way up your bucket
- add your enhancers. It wasn’t so much about measurements here. Treat them like seasonings – you want your pot to be well seasoned.
- give it a good splashing of water
- continue with your alternate brown and green layers
- give it a last splash of water and end with a layer of newspaper
- close the lid
- once a week, stir the pot. You can do it with your hands, with a heavy stick, or better, if you have a round container, simply roll it up and down on it’s side a few times.
trouble-shooting
- white growth. You may see a white fluffy mold growing – it’s harmless and probably means your compost is too wet or hot. Add in more dry material and give it a good turn. Make sure it’s getting enough air ventilation
- not breaking down. If your scraps are too large, they will take longer to break down. Try to cut down the scraps as small as you can
- it smells. Compost should not smell bad. It should smell of earth, but not rotten! Your compost is probably too wet and has too many green layers. Try adding in some more browns and give your compost a good turn. If you can’t bring it back – let it go and start over again.
- too dry. you may have too much brown material or the heat is dehydrating your compost. Add in more greens.
- collecting materials. start storing your veg and fruit scraps in a tupperware container with a lid – no more worrying over lost produce – throw it in your compost and it returns back to you in the form of healthy soil! When you’re out, keep a bag handy so that you can pick up any dead leaves you find along the way. When you have enough material to fill your bin, begin your compost.
- learn more. Nova recommends The Rodale Book of Composting as a good guide to have handy. Also check out her blog, Cultivate Central!
_________________________________________________
That felt like a lot of info to pack in there, but I promise – the process was easy and quick. Once you fill your bin, it’s just a matter of waiting for nature to do its thing. Once a week, check in on it, give it a turn and that’s it. So how do you use your compost? To make the best soil mix for you potted plants! I’ll be asking Nova to share her recipe for that too – so go get started on that compost, and check back in!

6 responses to “Composting Made Easy”
Keep up the good work!
Hi Ernie! Thanks for your comment! I will do, and you keep up the good work of spreading positivity!
This is a great piece! It looks so easy… Will have to give this a go.
Love the images and the writeup too..just one question… does it matter what temperature it is on the outside? For example in countries that have 4 seasons – will this be a factor to consider when creating this sort of composting technique?
Thanks!
Hi Dinesh!
Awesome, I’m so happy to hear it! Please let us know how you get on and if you have any questions along the way, give Nova a shout: [email protected]
yes, temperature does matter. In Singapore I’m only dealing with one season, HOT, to admittedly it’s easier for me. But, that said, this is doable for everyone. Please do connect with Nova along your composting journey – she’s awesome and incredibly informed 🙂
Hi,
Thanks for the tips but unfortunately don’t think I have space as I am living in a condo. Just moved to Singapore and am used to composting so its killing me to not be able to. Are there community gardens here that have composts? Also any suggestions on improving recycling within a condo. It seems that some of what gets put in the recycling bin is going in the trash.
Hi Teresa! Welcome to Singapore 🙂 Yes, check out https://www.facebook.com/EdibleGardenCityProject – they’re a group of urban farmers and you can join them every Sat. to help tend to a community garden. I’ve picked up so many tips from them – and the good news is that they have worked out ways to compost even in our tiny apartments here in Singapore! 🙂
Yes, it’s an issue – many condos are not recycling. Try bringing it up to the building management – hopefully they can help to get a conversation started with the other residents or at least be able to talk to you more about the system and how they manage the rubbish. Hope it works out! 🙂