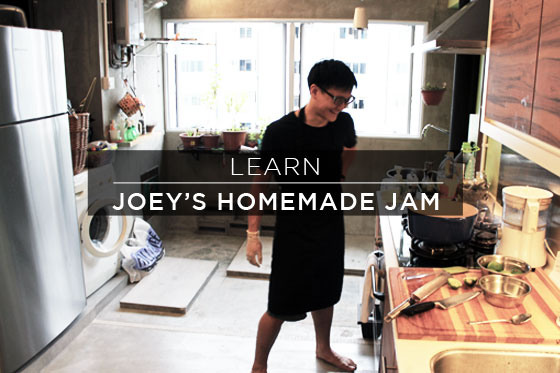
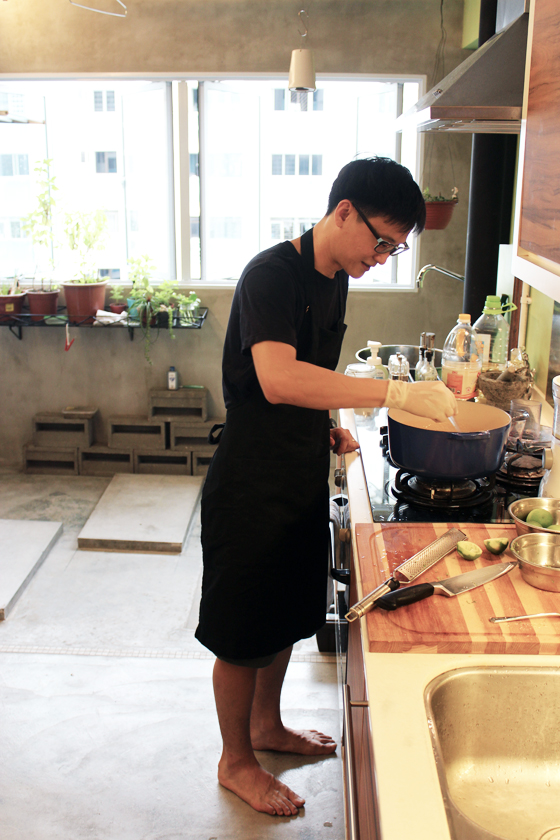
We’re learning how to make the best homemade jam straight from a professional jam maker! Joey produces a line of artisanal jams, GSH Conserves, and brought us into his own family kitchen to share one of his most popular flavours – Mango Lime.
It’s so good that it took great restraint not to lick the bowl – but in my own kitchen, I make no promises!
Making your own jam at home is an experience that I hope you give yourself.
Joey’s passion for it is absolutely contagious – and I think that it’s incredible he’s sharing his recipe and process with us!
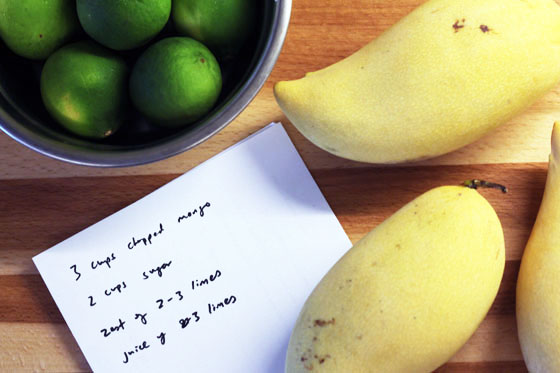
Mango Lime Jam Recipe
- 3 cups of mango, cubed and then blended.
- 2 cups of sugar
- zest of 2-3 limes (depends on your taste for lime)
- all the juice from the 3 limes (should make 1/3 cup)
- 3 jars with lids, 300ml size.
- Wash and dry the jars and lids thoroughly , before placing them into an oven to sterilise at 150 degrees Celsius for 10 minutes.
- Using a large non-reactive pot, heat up the blended mango with the sugar. Ensure that all the sugar is dissolved.
- Bring to a boil over medium heat, stirring constantly.
- Stir in the lime juice and lime zest, and then turn up the heat
- Have the mixture cook at a full rolling boil for 1 minute.
- Take the pot off the heat.
- Plate test to see if jam is set: use a clean teaspoon to drop a few scoops onto a plate that has been chilled in the freezer. Pop the plate back into the freezer for 2 minutes. This should allow the jam to cool down sufficiently. If the jams is set , it will flow very slowly down a plate that is held vertically. It will also form a ‘skin’ if you use a spatula to skim the surface of the jam.
- Scoop the hot jam into the sterilised jars, tightly screw on the lids.
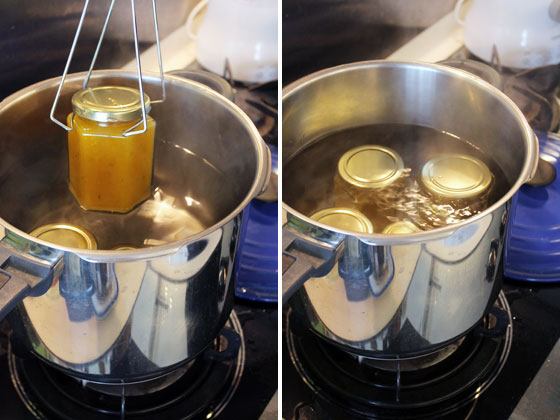
- Water bath canning method: Place the filled jars into another large pot filled with water. Ensure there is at least an inch of water above the top of the jars. Full rolling boil for 10 minutes.
- Remove the jars and allow to cool at room temperature.
- You are now ready to immediately enjoy or store your own home made jam!
Unopened they’re good for 1 year. Opened jars should be kept in the fridge and consumed within 1 month.
Jam Making 101: How to Make Jam From Scratch
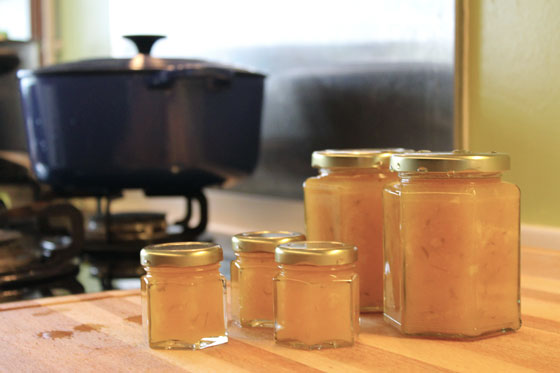
Making jam is a 3-step process. Prep. Cook. Bottle. The entire process takes 1 hour and you’ll end up with jam for months! This method of preserving food has been part of the way we eat since the beginning. It’s how we preserve the season to enjoy throughout the year.
Thanks to my friend Joey, I’m here to tell you that you that making jam is beyond easy! You don’t need any fancy equipment, you don’t need a complex recipe.
Fresh produce, patience and presence is all that’s required!
#1 PREP INGREDIENTS:
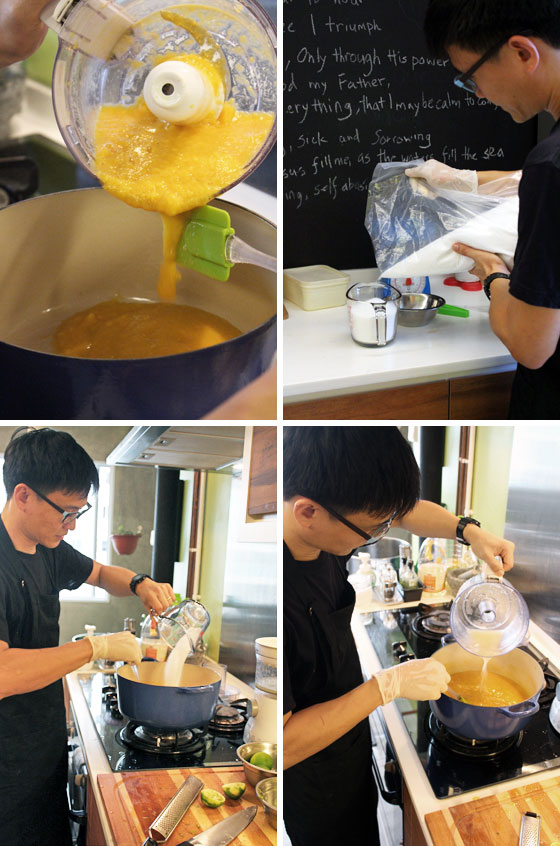
Pureed mangoes, freshly squeezed lime juice and sugar. Simple. The lime zest, we leave right to the end so that it keeps its bright color. In this recipe the lime juice adds flavour but also reacts with the sugar to help the jam set.
#2 COOK
Let it cook for about 20 minutes, boiling away the moisture and reducing it to fruit and sugar. You’ll see your jam transform from a puree, to a gel like consistency.
It’s a bit of science a bit of magic. Joey warns us (and we should listen up!) to watch over the jam as it cooks. This is where the practice of presence comes in – if you get distracted and leave the pot bubbling away, you can burn the sugar!
Give it a good stir and watch over it lovingly.
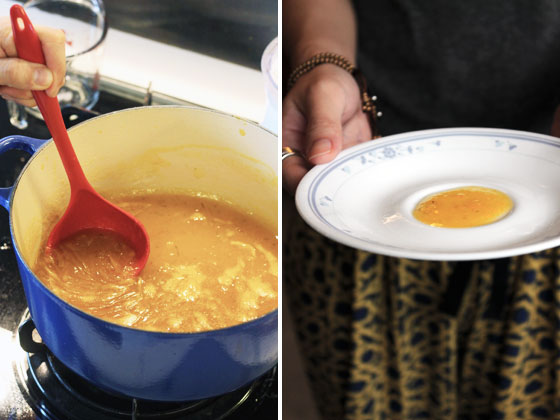
When jam cools, is when it becomes firm. So, to test the readiness while it’s still hot – you can preform the Frozen Plate Test. It’s very technical stuff, here’s what you do: Before you start cooking, place a plate in the freezer.
When your jam start to form into a gel, drop a bit onto the frozen plate, it will cool very quickly and give you an indication of how firm it’s going to be.
#3 BOTTLE
If you can’t find dedicated canning jars, you can use basic glass jars that have a lined cap. Make sure to sanitise your jars first, it’s easily done in a hot oven for about 15 minutes. Then you’re ready to fill them up with delicious jam.
Don’t touch the jars, they’re hot!
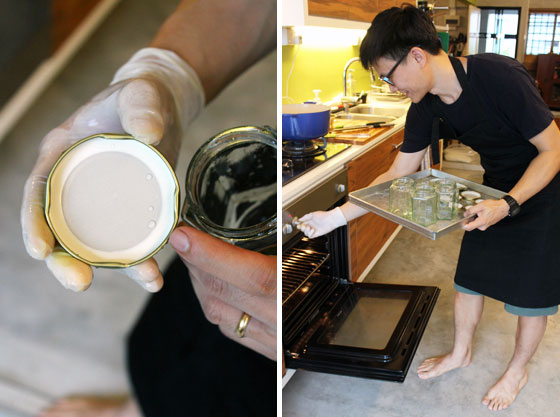
The jam inside expands during the canning process, so important to leave a little room between the jam and the lid.
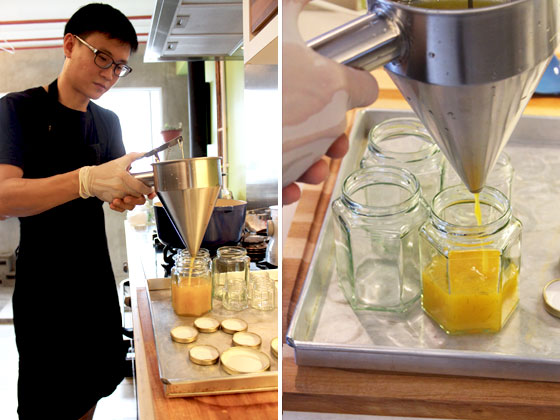
Joey has his professional tools to fill his jars, but at home a spoon or ladle will do!
Again, you don’t need special equipment for canning – you’re simply submerging the jam jars into hot boiling water to kill off bacteria and seal the jars. But, you do need plan for how you’ll get them in and out without burning yourself!
Bring your pot to a boil, then turn it down to simmer. At that point submerge the jars in and make sure they are fully covered with water. It takes about 15 minutes for this pressure to seal the jar shut. To get your workflow right, while you’re cooking the jam set a large pot of water to boil so it’s all ready to go.
And you’re done! So, what do you think, will you give jam-making a try? I hope you do and let us know how it turns out! A big thanks to Joey and his adorable sidekick for sharing!
Do check out his shop, GSH Conserves and his full range of jams!


3 responses to “Learn: Jam Making 101”
This is very cool!
Hi Pooja!
So glad you liked it – let us know if you try it and how it turns out! 🙂
Good afternoon, are those 8oz jars your using? Want to see how much this recipe makes.