-
Chai Elixer
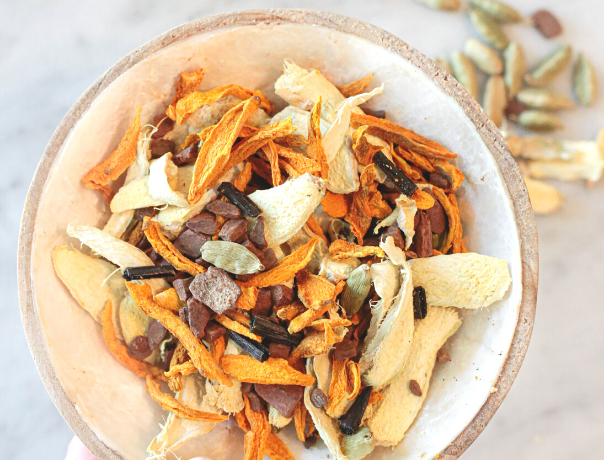
It’s become a regular routine. I add a splash of Chai Elixer into a shot of milk and sip it slowly. It tastes like… if Baileys’ came out with a Chai flavored cocktail. Creamy. You can definitely taste the brandy, it’s deliciously smooth. But the dominating flavors comes from the Chai spices, which not only…
-
Fall Apothecary List
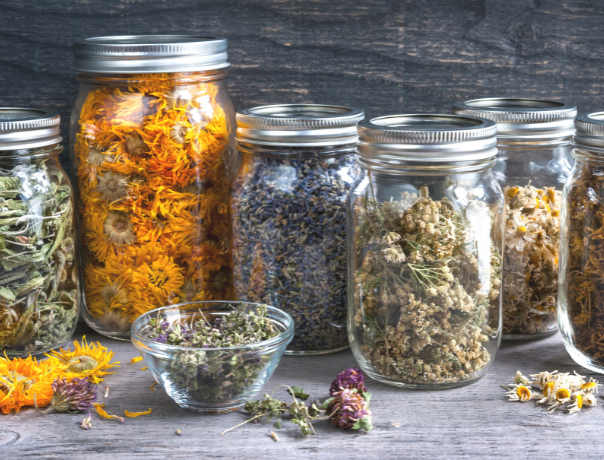
The change of season is a good reminder to freshen up your home apothecary. Go through the kitchen pantry, look through your herbs and spices – and organize what you need for the coming season. Fall is all about creating warmth and coziness, protecting your skin from the dry and cold weather and boosting your immune…
-
Lemon Balm Anxiety Elixer – for internal & external use!
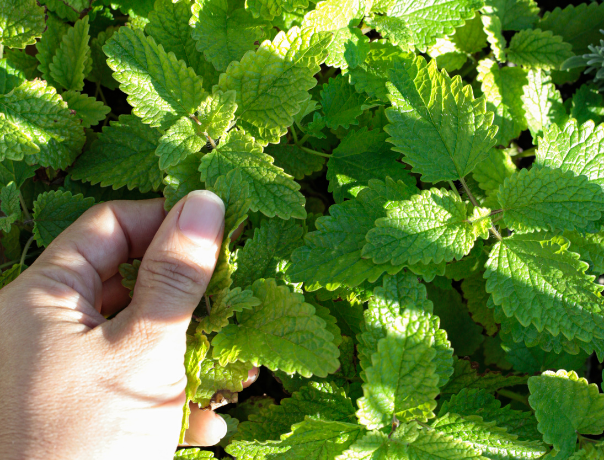
When I started herbal school, that first week I developed a big cold sore on my lip. I’d been suffering with them for years and every time I’d get a sore, I felt so embarrassed and self-conscious that I’d stay home until it went away. But I had just paid for and signed up for this…
-
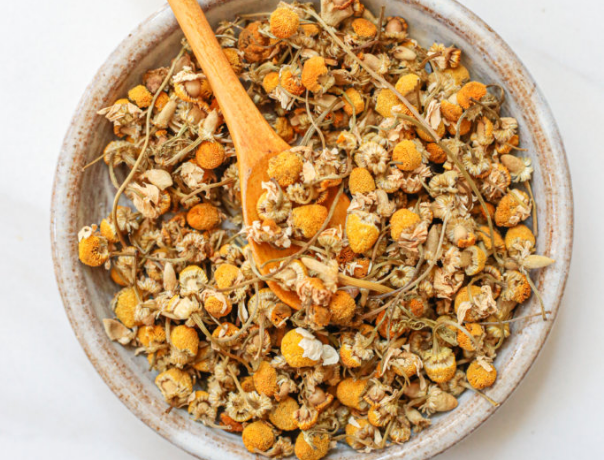
Lemon & Chamomile Bitters for Gut Health
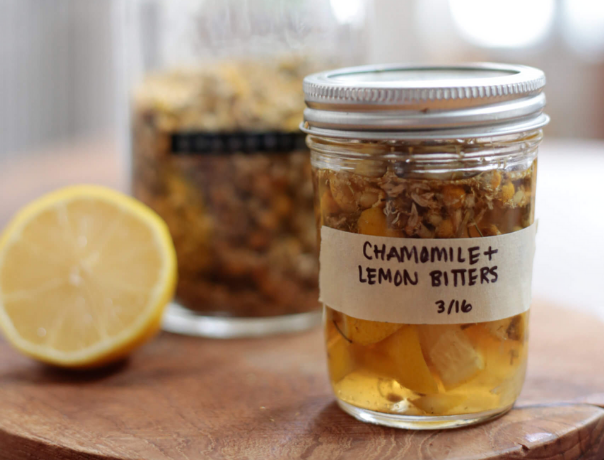
These are stressful times, and emotions can show up in the body – and create physical imbalances. For many people, like myself, stress can trigger what I can only describe as a grumpy belly. Bloating and loud gurgling noises after eating, you might feel indigestion, heartburn, gas or cramping. And often too, our skin tells…
-
Herbal Tea Infused Oil for Stress in the Body
I love herbal oils. They’re one of my favorite (most healing) forms of skincare to make. The process of making an herbal oil is uncomplicated, and it produces a product that will not only support the health and beauty of your skin – but being so nutrient-dense – it also supports and strengthens your overall…
-
Resourceful Remedies for Dry Hands

“Help, my hands are dry from so much sanitizer use! ” Last week, I would have told you to go buy some shea butter, mango butter and cocoa butter and make a whipped body butter… But this week, it’s not that simple. The coronavirus disrupted normal life. Online orders are delayed. Going out for cocoa…
-
I wrote a book! And 3 lessons learned.

Three months ago, a publisher emailed me with a proposal – they wanted me to write a book. And I seriously almost fell out of my chair because I have dreamed of writing a skincare cookbook for YEARS. I scheduled a call with the publishing company – to talk things through – but it was…
-
July’s Theme of the Month
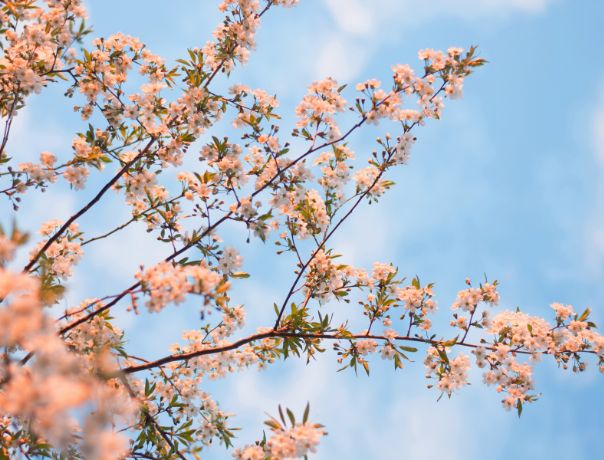
In a lot of ways, Summer defines my learning style. I learn by seeing, hearing, doing – then it really sticks. And that’s why I love the way Summer creates this perfect interactive classroom. The long days invite us outdoors to spend time in nature, to see, hear and do new things… all the while teaching…
-
April Wish List
Happy April! I’m feeling such a breeze of energy in the air… although it could be all the grapefruit I’ve been diffusing lately! I’m definitely in the mood to freshen-up my space and surround myself with more of the things that help me bring in creativity, gatherings, family moments, healthy habits and ease of everyday…
-
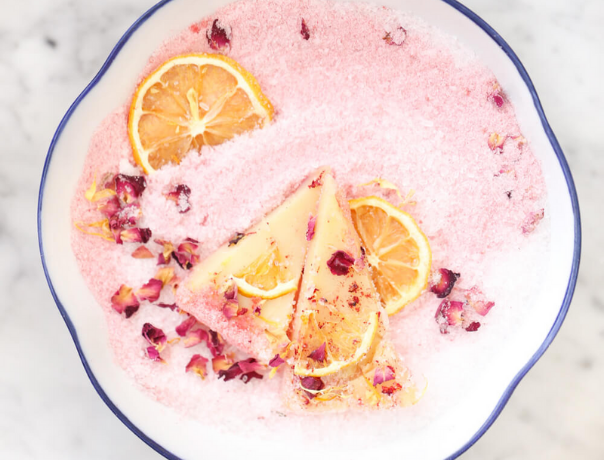
Bath Bowl for New Year Anxiety
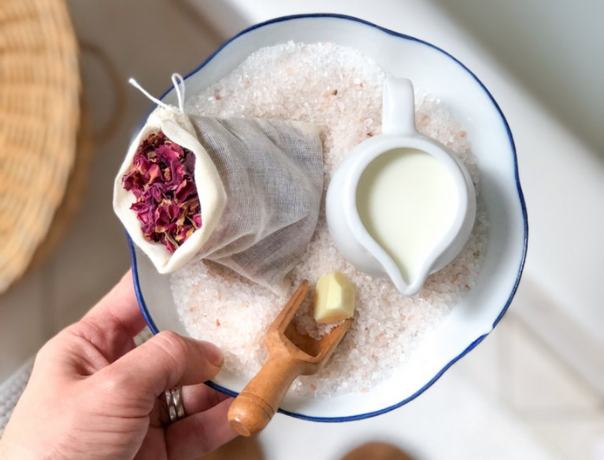
This is a simple bath recipe – that has some pretty powerful benefits. I’m going to share my remedy for soothing away anxiety, with natural ingredients. This time of year is so confusing – there seems to be two totally conflicting messages. On one hand, the season is telling us that this is a time…