-
Base Recipe: Oil Cleanser
What is an oil cleanser? An oil-cleanser is essentially a cleanser that is oil-based, used to remove makeup and impurities off the skin. There’s a lot of ways to make an oil cleanser, but the kind of skincare that I like to make is anhydrous (waterless) and with simple ingredients. And so from those terms,…
-
Balm/Salve Base Recipe
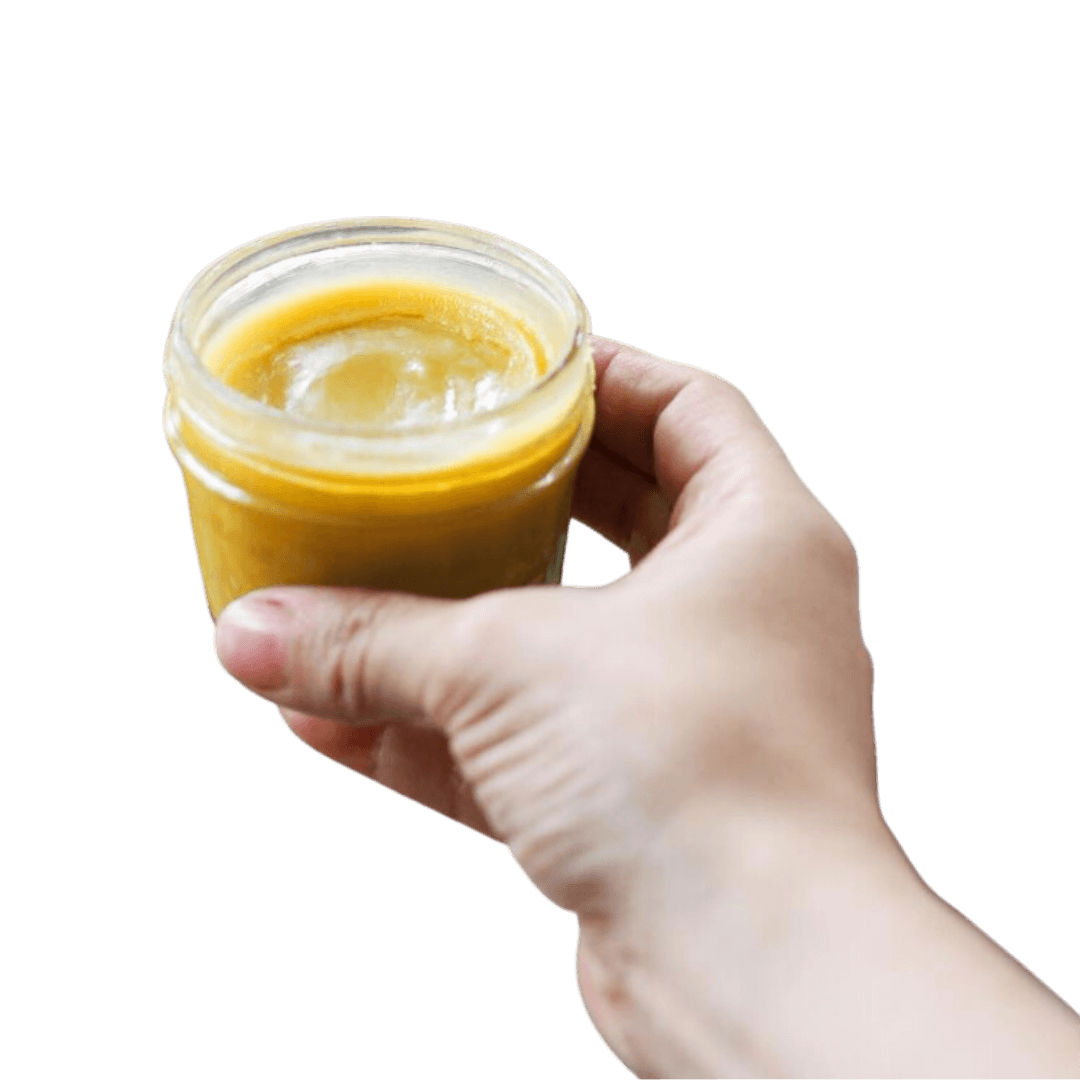
Balm/Salve BASE Recipe Balms and salves are old, traditional household remedies. They’re so useful and effective, you’ll find some sort of balm or salve in most homes today. And they’re simple to make! Here on this page, I’ll share the base recipe to make a balm and salve, and helpful information to help you make…
-
My current special interests…

I thought it would be fun to share the botanicals that I’ve been especially interested in lately, when it comes to making DIY skincare. I’d love to know, what’s been on your radar at the moment? GOLDENROD I moved to North Carolina at the start of goldenrod season. It grows like a weed here, and…
-
Series: Making Wellness Accessible
Herbalism is growing FAST – in just the last couple of years, we’ve seen old-traditions making a big comeback as more people turn to herbs to improve their physical and mental wellbeing. If you’re wanting to start a new herbal routine, or reignite an old one – I’m here to help you make wellness feel…