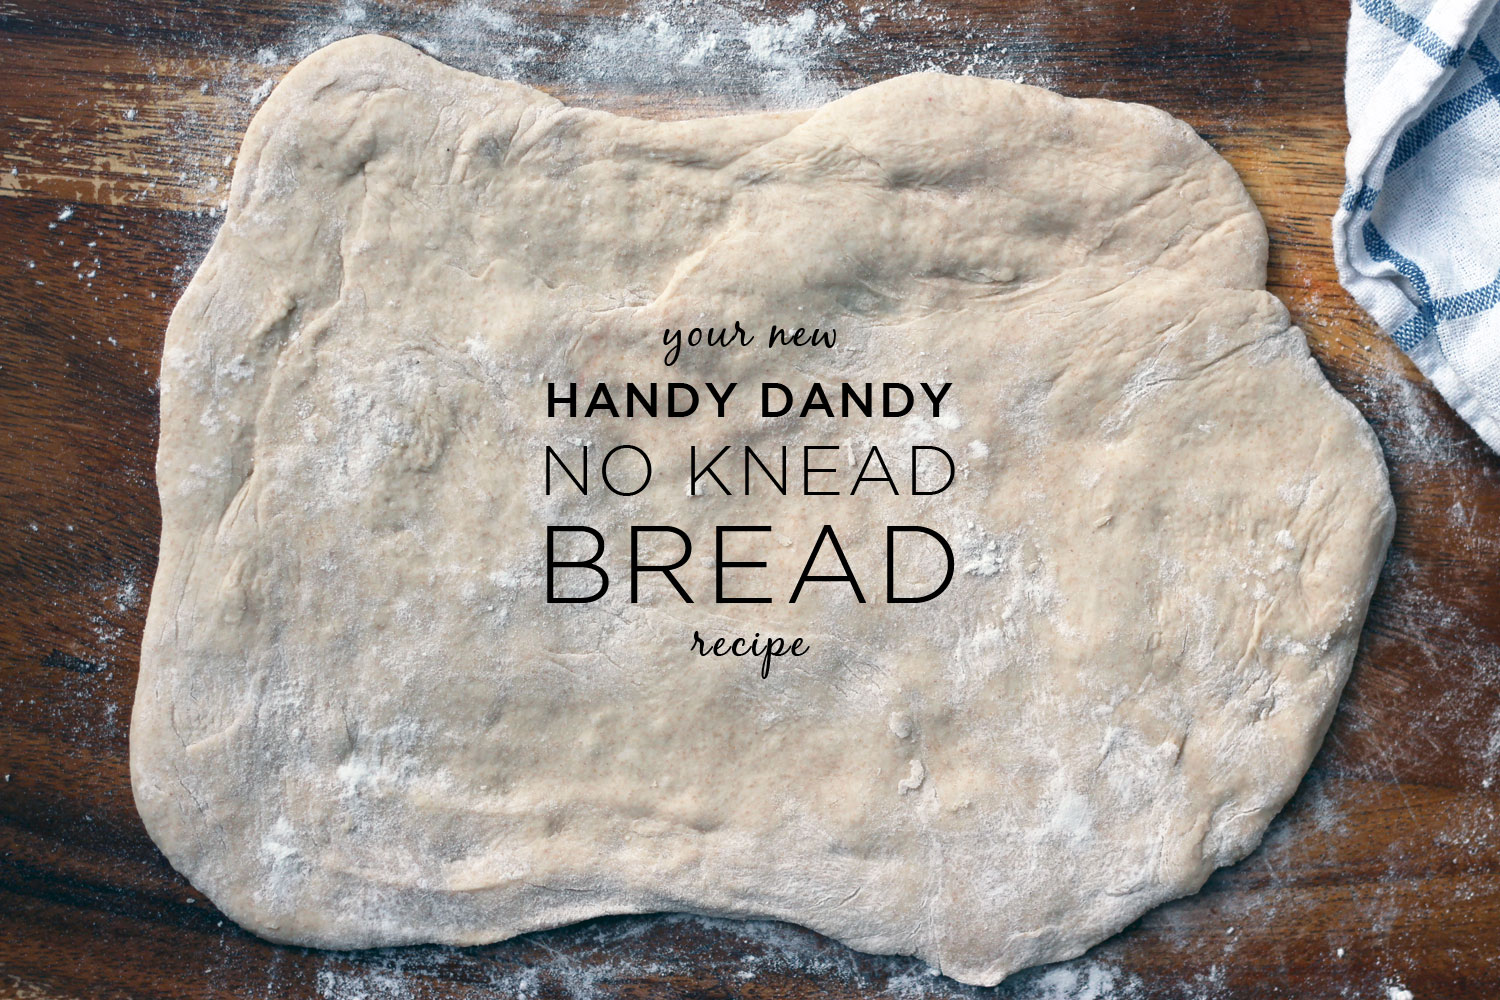
True story: the other night I was prepping my daughter’s school lunch for the next day, when I realised that I was out of bread. Going to the shops was the last thing I wanted to do… then I remembered that I actually had a batch of bread dough from a recipe that I was testing. This is not an everyday occurrence for me, I don’t normally have bread dough ready-to-bake. Amused, I pulled it out of the fridge and… baked her sandwich bread.
The fact that baking fresh bread was easier than going to the store made this recipe extra special! I wanted to share this with you – it’s made life easier in my kitchen – it may work for you too!
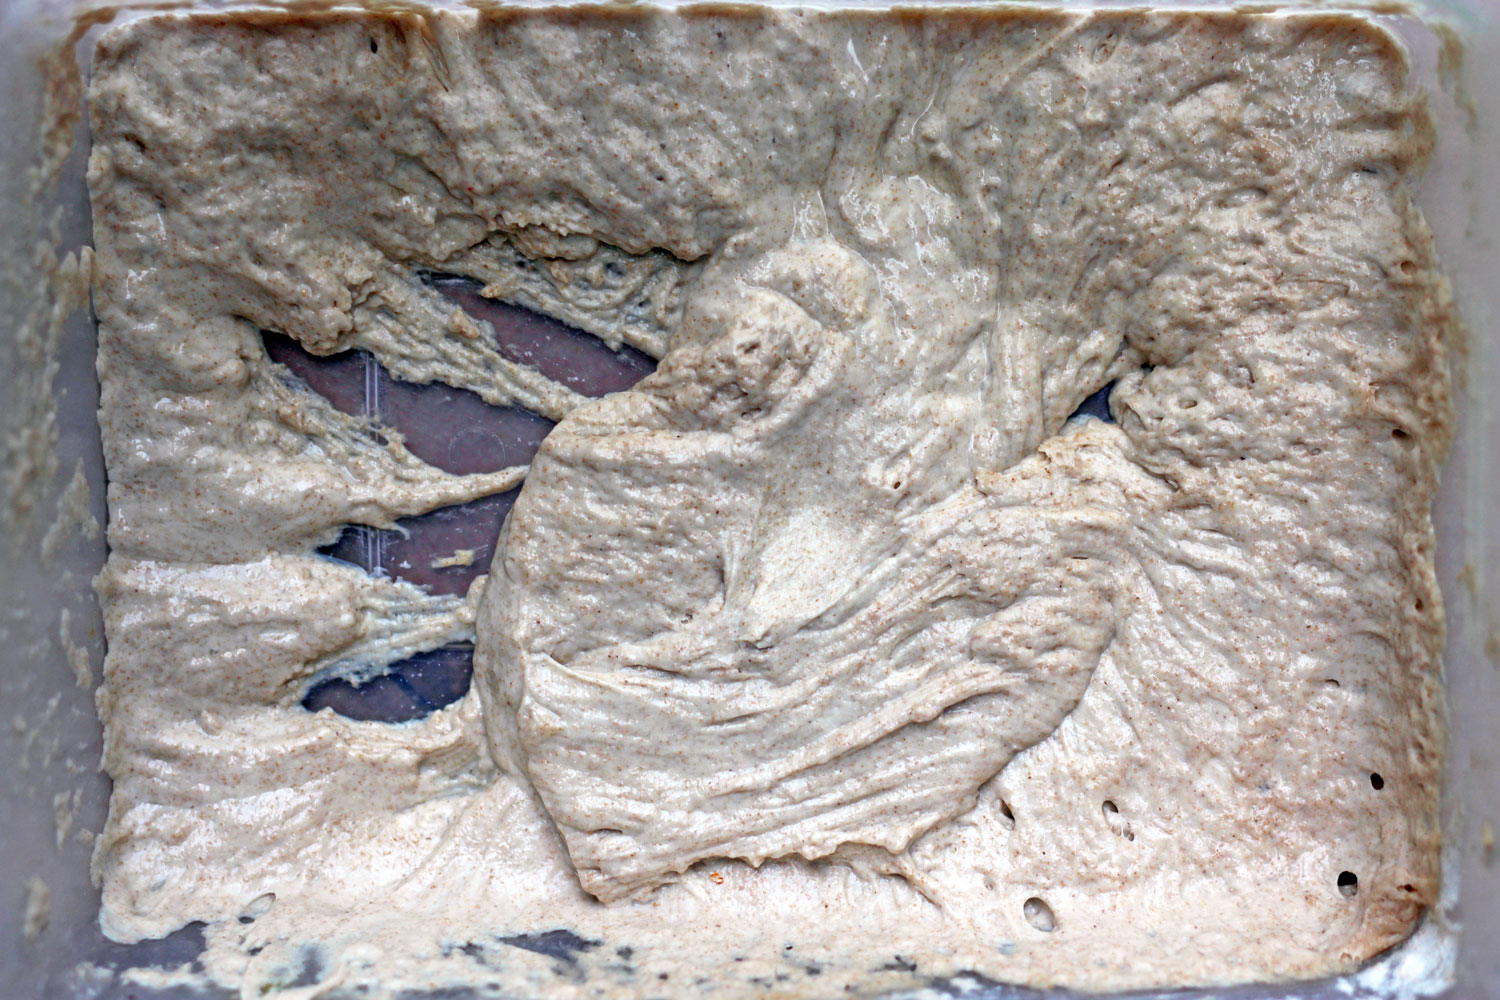
The whole idea behind the recipe, is that you prepare a large batch of dough in advance, to have ready throughout the rest of the week. It takes 5 minutes of active work – there’s no kneading, you just mix the basic ingredients in a container, let it rise once and then store it in the fridge. You can then just grab from your batch when you want to bake up a loaf, making the process really quick and easy.
I don’t know what bread makers think of it, but as a busy mom – I’ll tell you that this recipe is a money maker. It’s already proved itself useful more than once!
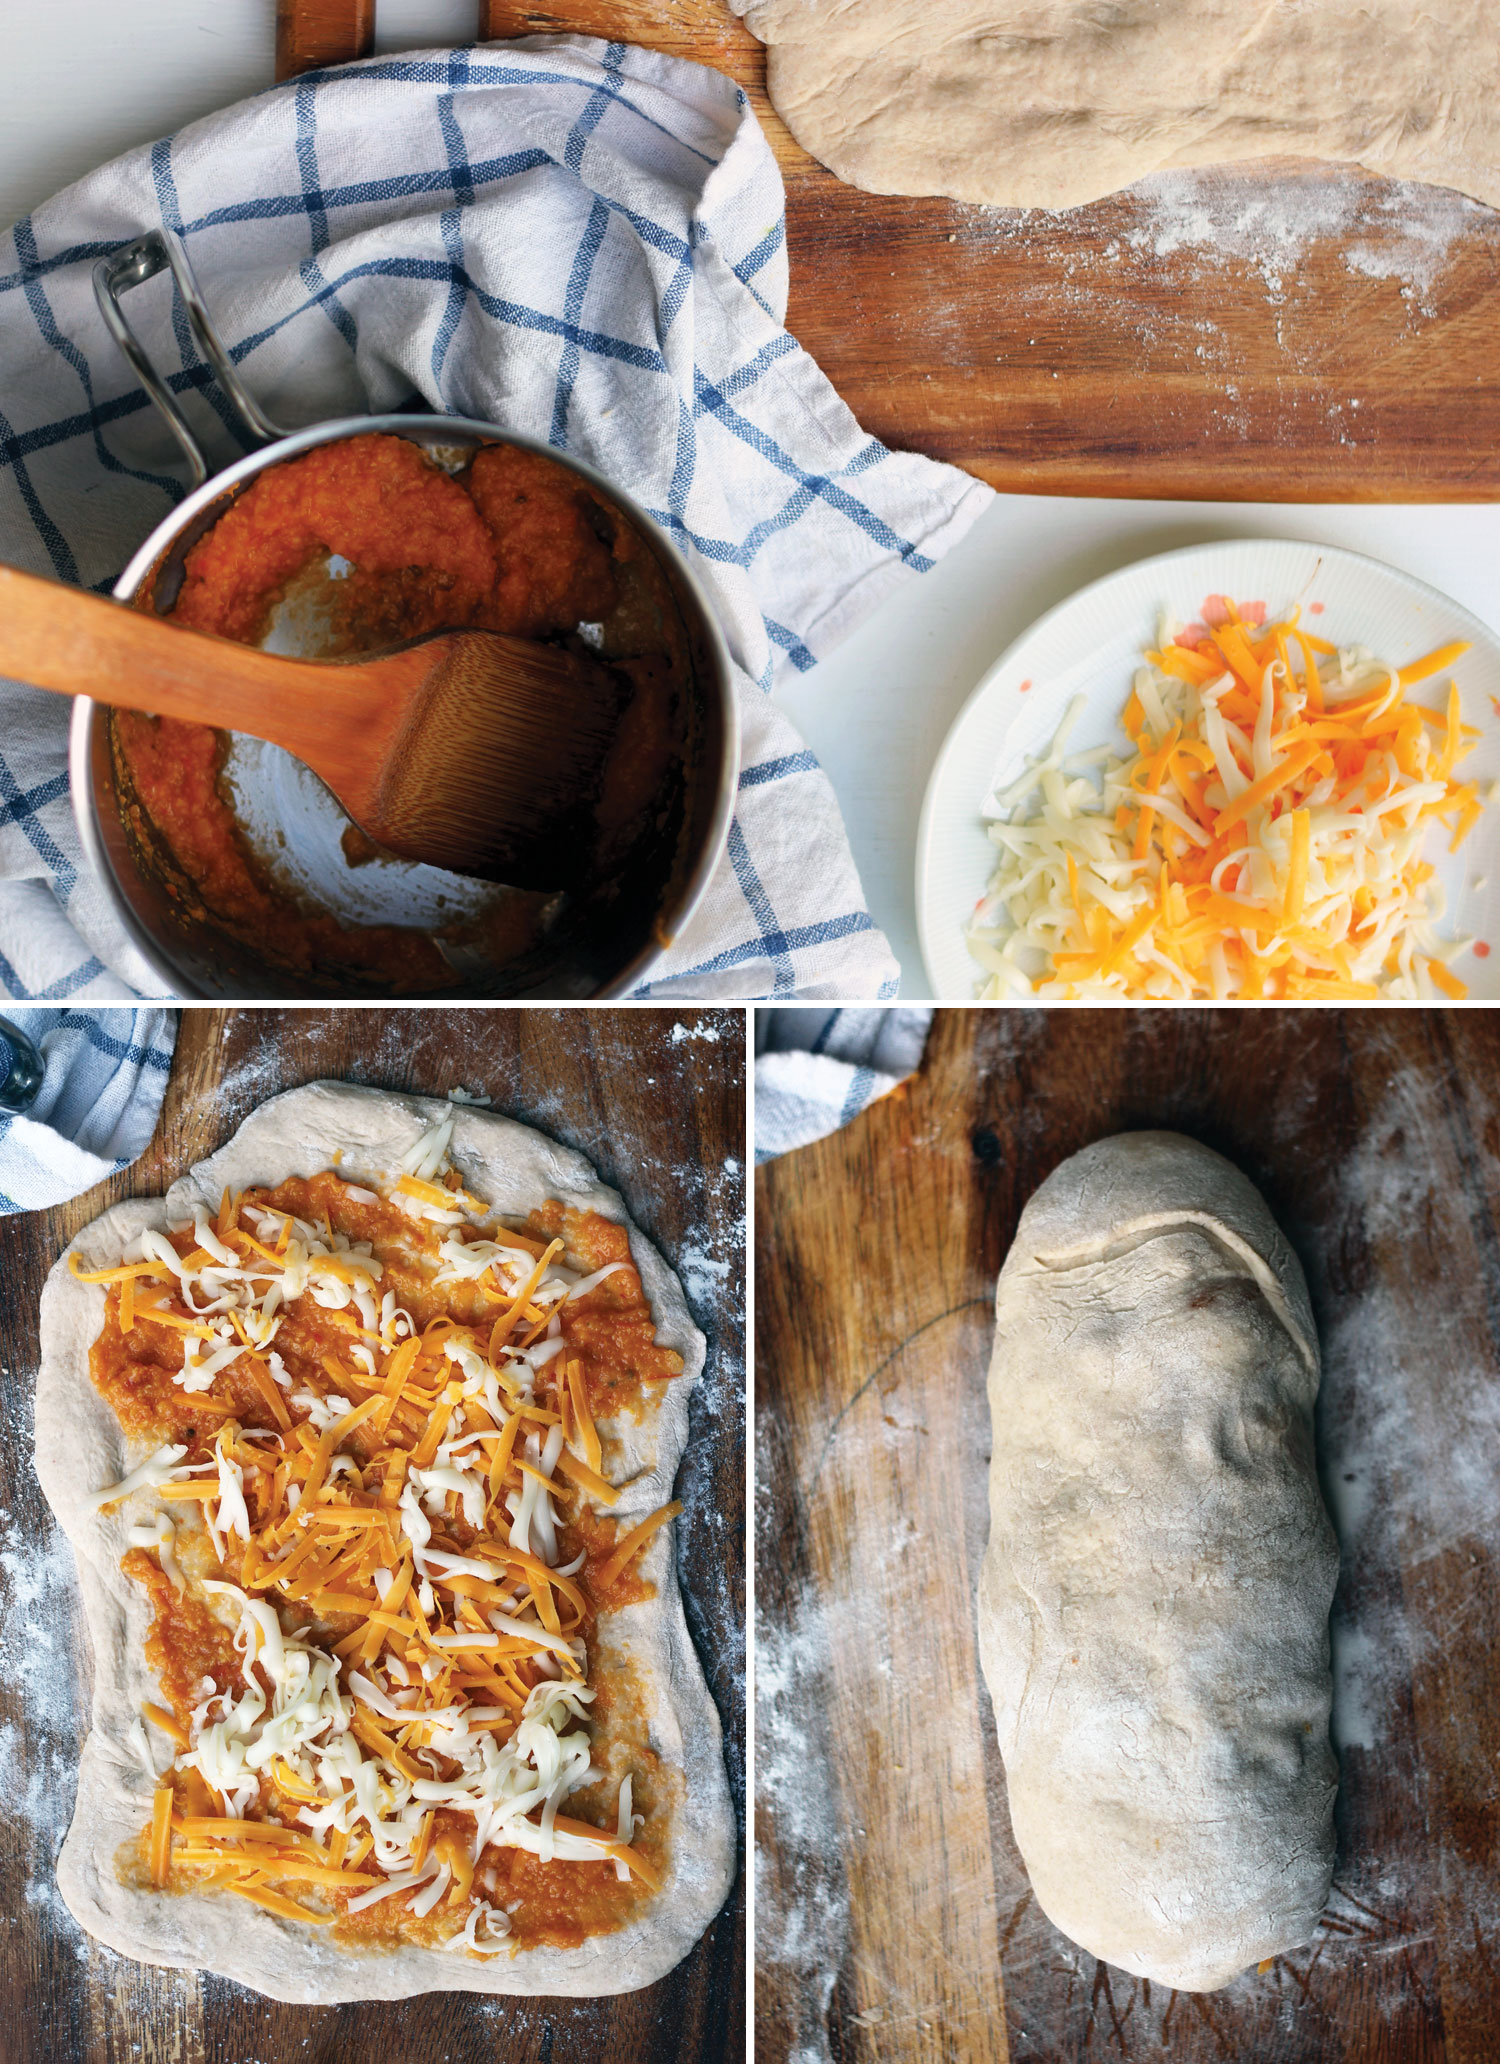
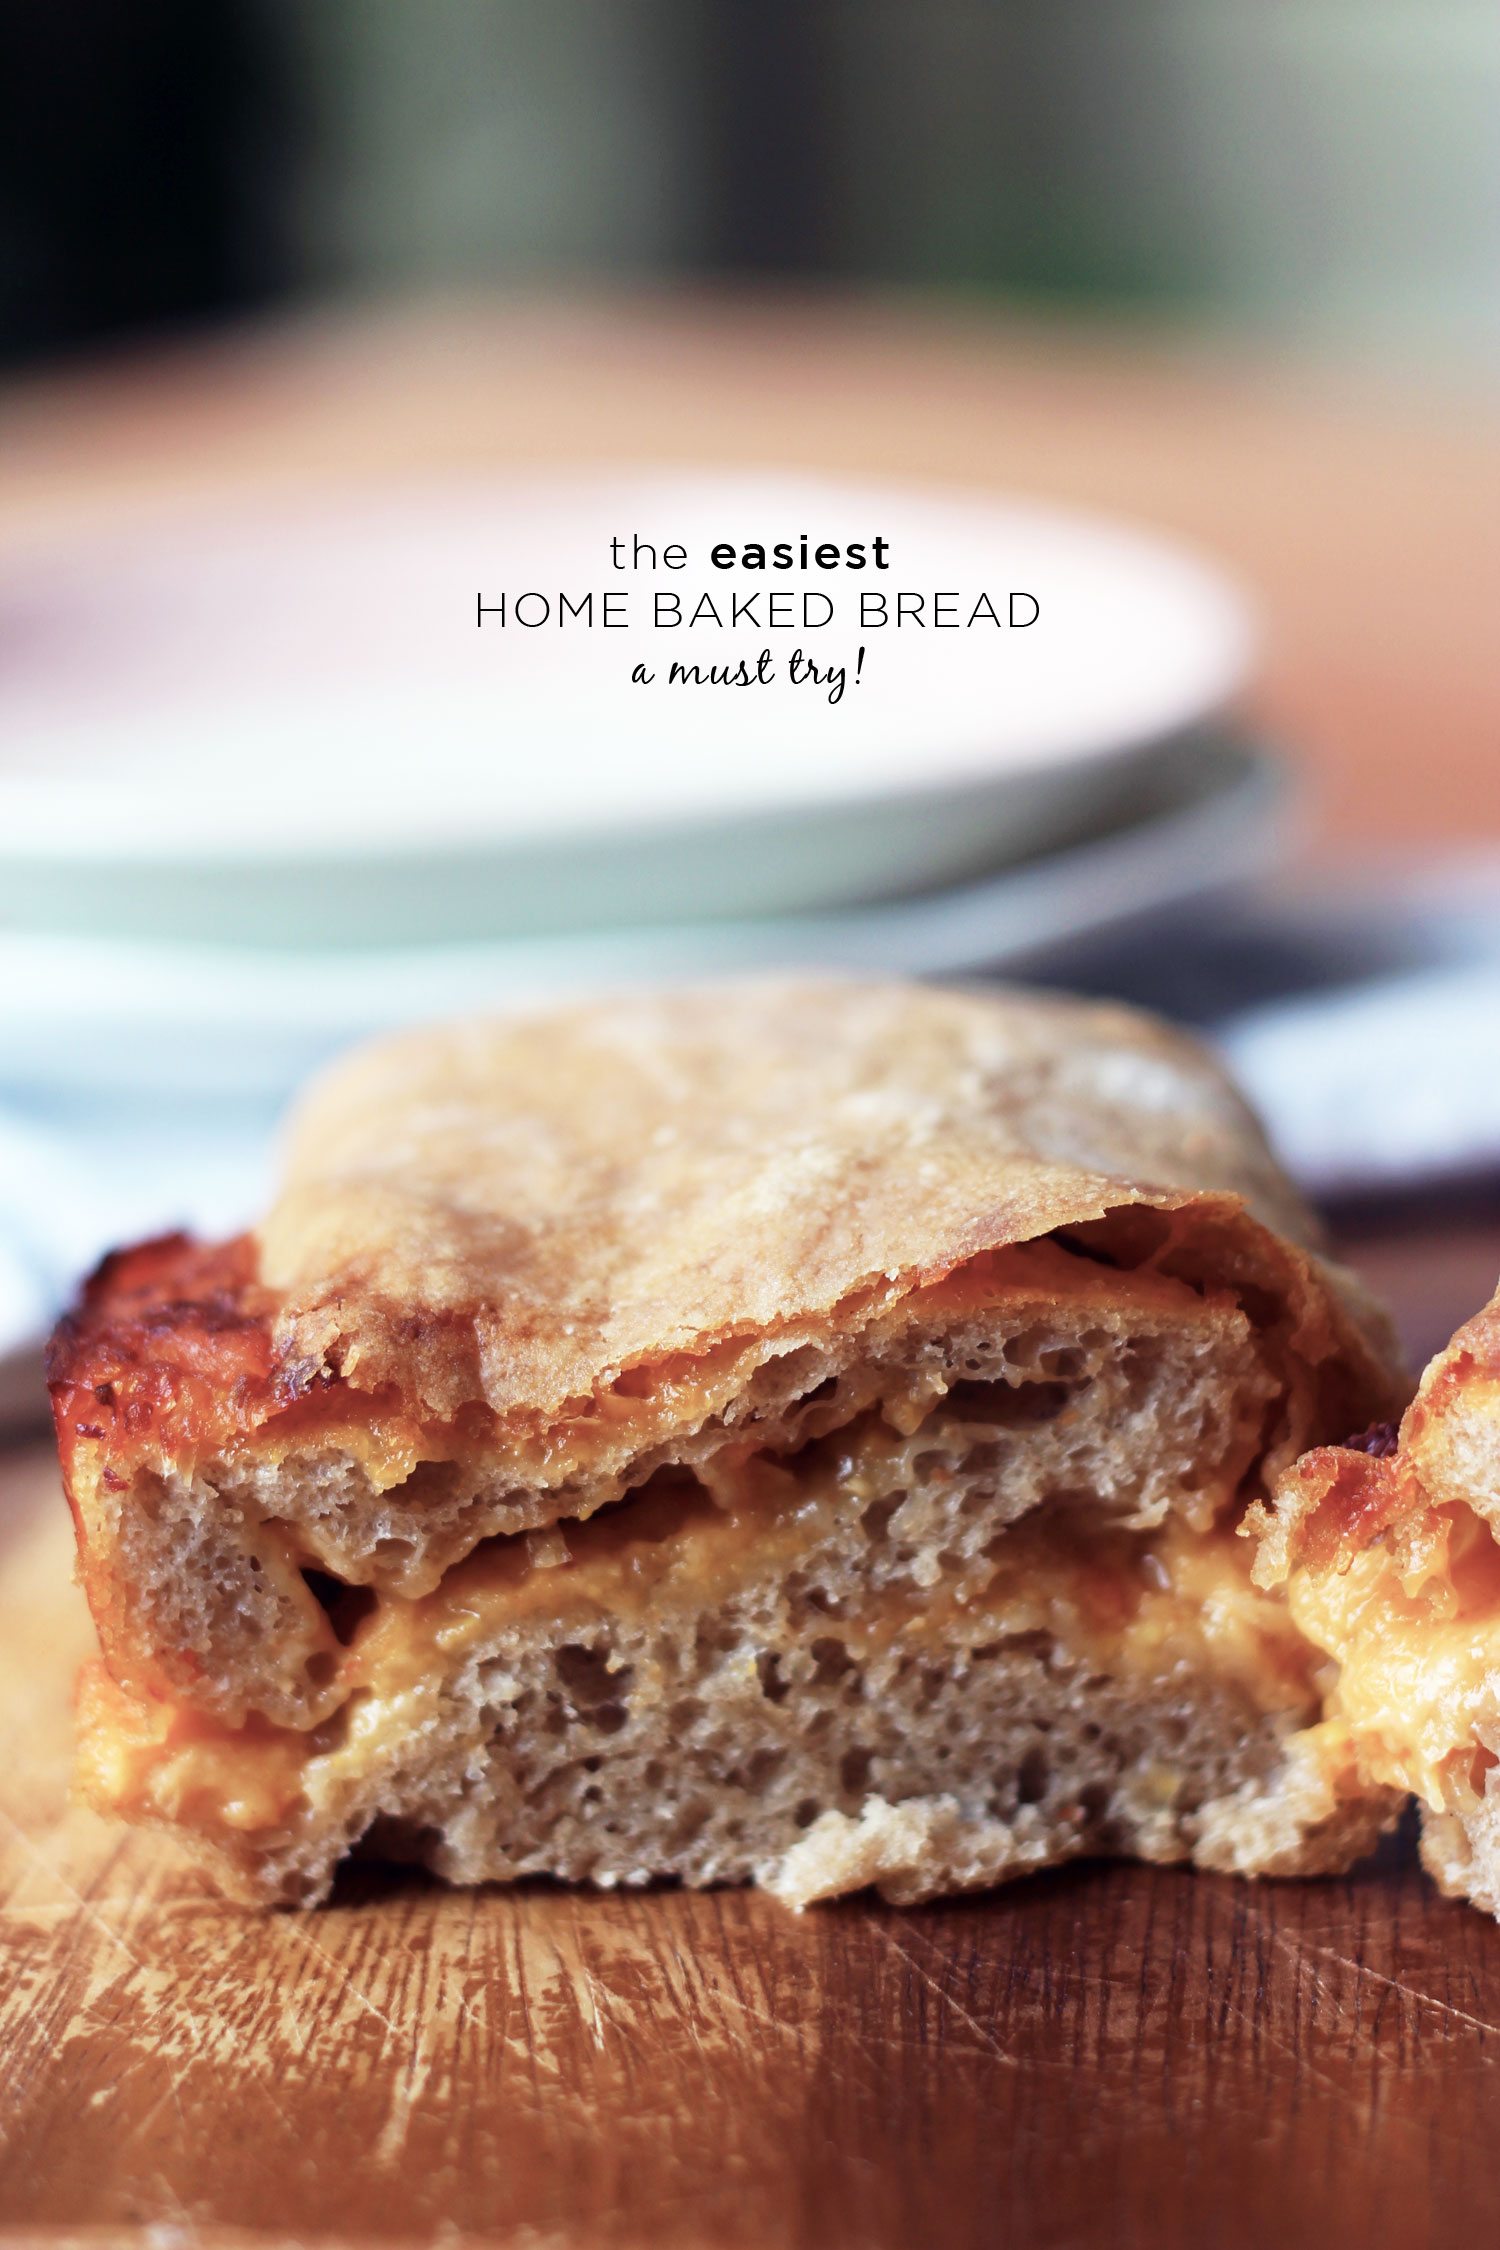
Since that day, I haven’t stopped playing with it – I’ve even been stuffing the bread with all kinds of ingredients! You can go sweet or savoury – once you have that starter dough, the options are endless. Here’s a pizza bread I made:
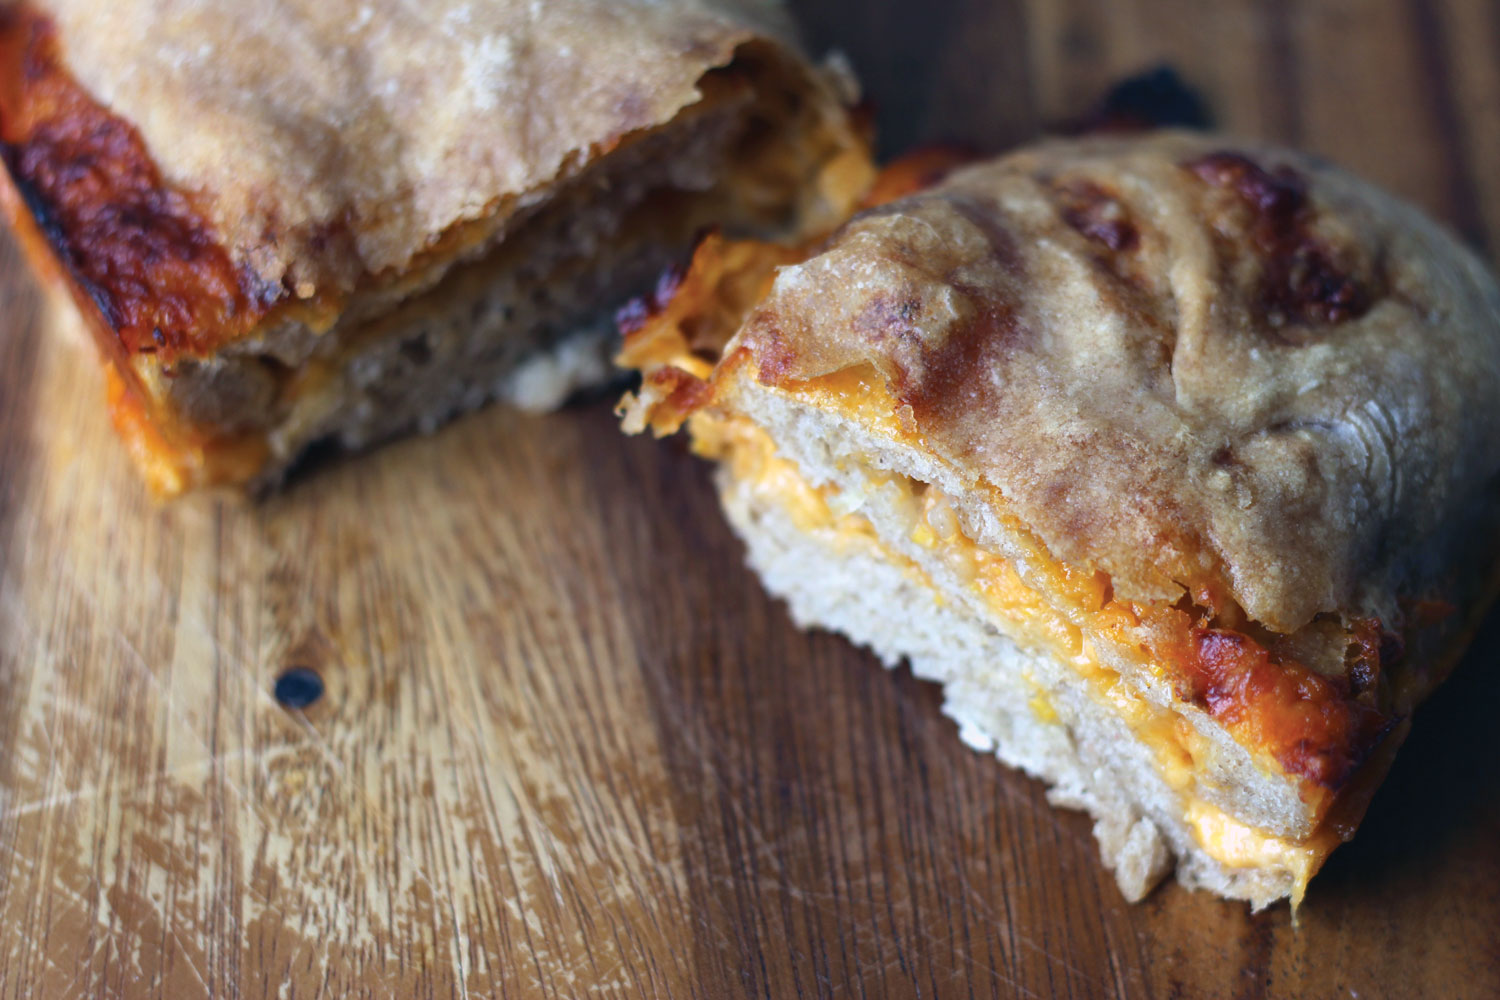
I’ve also tried this same stuffed-bread idea with fruit, sugar and cinnamon, peanut butter and jelly, meatballs and cream cheese (yum!)… basically anything you could imagine sandwiched in-between bread will work! And because you have that dough ready, it makes coming up with snacks and lunches, so easy!
Can you tell I’m excited? Give this recipe a go – check out the creators of Artisan Bread in 5 Minutes – get a sense of how it works, then play. You’ll be surprised how easy it can be!
Make your own Starter Dough: follow this recipe – it’s basically flour, water, salt and yeast. You’ll be able to produce about 3 or 4 loaves throughout the week from it. I did 1 part white with 1 part whole wheat. (they have a gluten free variation, whole grains, pizza dough…)
To make my Pizza Bread, check out my pasta sauce recipe here. Then, all you do is pull off a chunk from your batch of ready-made dough, flour a surface and flatten the dough with your fingers. Spread on the toppings and roll it up. Place it on a baking stone, or loaf pan, seam down. Let it rest for about 30 minutes (up to 90 minutes if you’re patient) then into a hot oven at 425f/220c for another 30 minutes.
Your house smells amazing and you’ve got a delicious treat on the table.

12 responses to “Make This – The Easiest Homemade Bread”
Hi! your posts are always inspiring and I actually proceeded to make the bread dough on the day I read this! (i am really an ambitious novice, lol)
I wanted to add honey and bananas to it but the dough was rather sticky. I couldn’t flatten in onto the surface, so i had to add quite a bit of flour to it… and took some time handling it (the pic of your flattened dough looks perfect, unlike mine). After baking, the exterior looked fab but inside, it was gummy… it didn’t rise enough.
I was wondering my handling of it during the adding the ingredients stage was the cause. So my question is, how did you manage to flatten the dough so perfectly without handling it too much (if you used the same starter recipe) to add the pasta sauce etc?
Hi Lyn!
Thanks for writing in with your experience – instead of giving up! Ha ha, the photo may look perfect, but the process is just as messy 🙂
Yes, this dough is super sticky. You grab a handful, and you can snip it off with scissors. Lay the mass onto a floured surface sprinkle a little flour on top and don’t knead, but massage it just enough… you’ll see, your dough will transform into a more malleable texture.
here’s a video of the technique in action.This is what I watched to learn:
http://www.youtube.com/watch?v=gz8orjV4rGQ
hope that helps! 🙂 Keep going!
Hey Militza,
Your homemade bread looks really yummy 🙂
Would definitely love to one of those if you ever consider baking and selling them.
Hey Militza,
Your homemade bread looks really yummy 🙂
Would definitely love to get one of those if you ever consider baking and selling them.
Hi Deric!
I hope you try it! Ha ha, if I start a bakery, at least I know I’ll have a customer! 🙂
Hi Militza,
Thank you for the fabulous ideas to go with the bread recipe. After baking at 160 degrees celcius for 45 mins, the bread is crusty on the outside but gummy inside. I tried to bake for another 10 mins at 170 degrees celcius but the inside was still gummy. Am I missing something somewhere?
Have enjoyed reading your articles. I have been doing the Lemon and water for a couple of years. I make an artisan bread using four c. Flour, half tsp. Fast rising yeast, tsp. Salt and two cups of tap water. After it rises over night in my microwave I turn the oven on to 450 and put a big stainless steel pot with lid in the oven for ten minutes. I then put cornmeal on the bottom on the pan, add the dough, cornmeal on top and swab the sides with a little oil. It helps prevent sticking on the sides. Bake 25 minutes with lid on and 25 with it off. Also a nice looking bread.
Hi Nancy,
Sounds like an easy bread recipe to try! It has to be easy in my house 🙂 thanks a million for sharing!
Hi Militza!
Thanks for replying with that video – it was such a great help! I finally managed to do it, yeay! But the crust is harder and thicker than when I baked the basic dough. Why does yours look so sooo goood? Aside from your natural talent, are there any other tips? hehe
You just became my fave blog!
yum!
Yay – a good home baked bread will do it! :))
Hi Militza,
Thank you for the fabulous ideas to go with the bread recipe. After baking at 160 degrees celcius for 45 mins, the bread is crusty on the outside but gummy inside. I tried to bake for another 10 mins at 170 degrees celcius but the inside was still gummy. Am I missing something somewhere?