-
Hair Detox: Mandarin + Jamaican Black Castor Oil Hair Scrub
This recipe is sponsored by Tropic Isle Living Fall is about to get extra amazing! Because, let’s be real – a good hair day is always an amazing thing 🙂 Seriously – Grab your fruit bowl. We’re making a fresh food, mandarin + Jamaican black castor oil hair scrub (like a body scrub, but for your…
-
Soothing Vinegar Bath

It’s no surprise that I love turning food into skincare. So much. I can happily spend my days surrounded by herbs, fruit, butters, oils, honey, grains… lost in the process of making. Every time I discover a new way to use a pantry ingredient – it just lights me up. And this vinegar bath, as strange as…
-
In the Pantry – How to Use Lemongrass in DIY Skincare
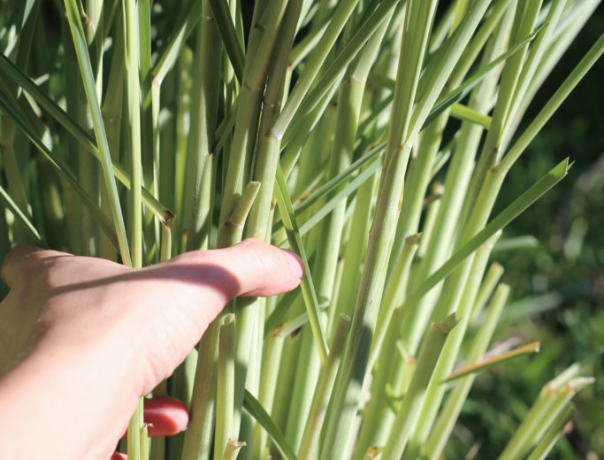
For a lot of us, lemongrass is one of those special occasion ingredients that we might buy for that one recipe… and end up with stalks leftover in the fridge thinking “what can I do with this?” Lemongrass is such a beautiful plant, full of surprising skincare benefits – so this article is all about how…
-
Where do I find my natural skincare ingredients?
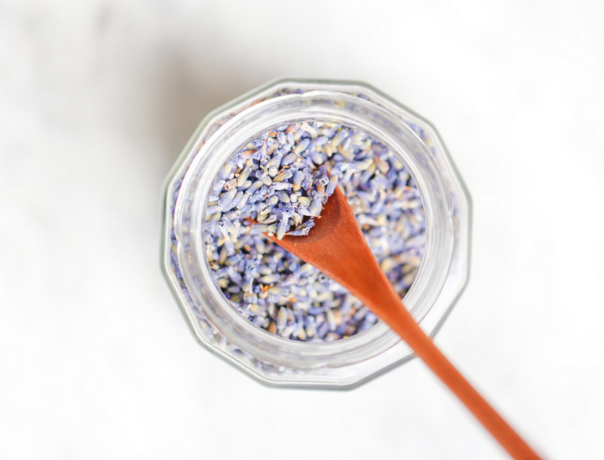
When you see “dried lavender” in a diy skincare recipe, are you wondering where to find it? Let’s talk about how I get my hands on some of the special ingredients that I use to make my own natural skincare recipes. Something you should know: I shop for ingredients the way some people shop for shoes!…
-
Why innovative skincare makers are adding Borage Oil into their serums
Serums are a skincare staple. A serum is an oil blend that you can use as your moisturiser, your under-eye treatment, to soothe, heal and protect your skin. I love using a serum with my mineral powder foundation: you just mix a drop of serum with the powder and it becomes the best quality tinted…
-
Simplify your Skin – Swap 4 Skin-Care Products with these Whole Foods
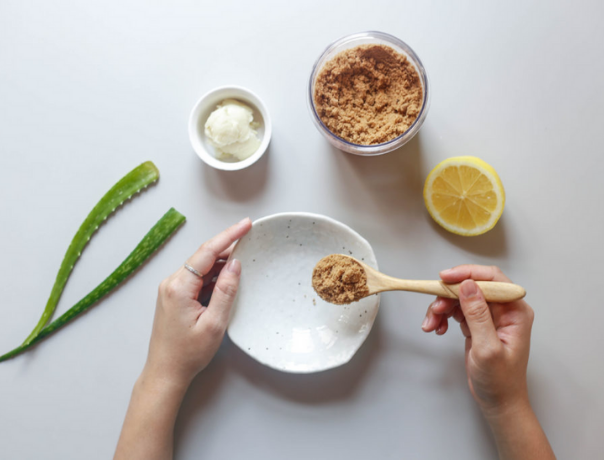
When I got the privilege to learn natural beauty from makers in Bali, it hit me how I had been overcomplicating my life back home. I stood there watching my teacher make this amazing face mask out of three ingredients: she grated a cucumber with all the juice, the pulp and skin. She mixed in a bit of…
-
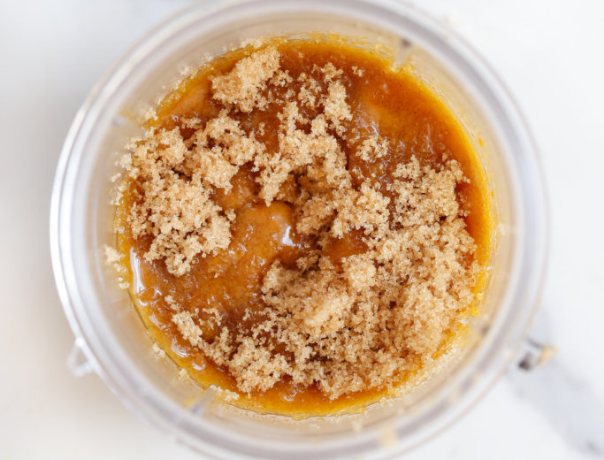
In Our Pantry – Sweet Brown Rice
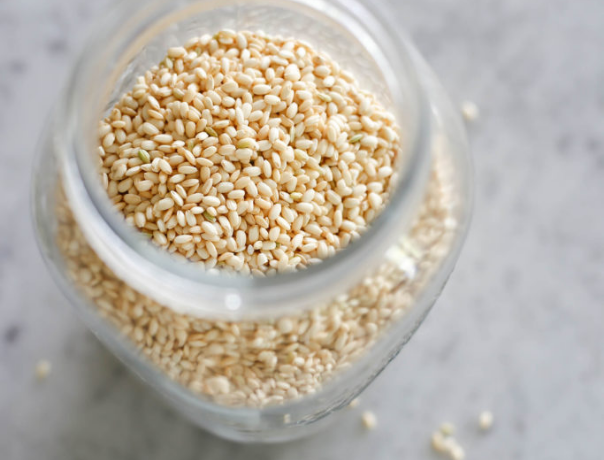
I’ve been on this recent kick of bringing in a new ingredient into my pantry to play with, most recently: sweet brown rice! I’ve also been on a rice pudding kick – so when I saw it in the supermarket – I had to try it out. Today, I’ll show how to cook sweet brown rice and…
-
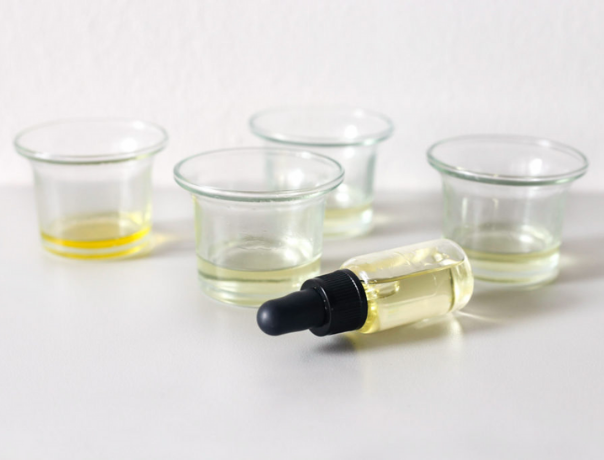
Six supermarket vegetable oils that your skin will love!

For many, the idea of putting something on our skin that we’d normally put onto a salad sounds… insane. But once you get over this mental hump – you’ll find the idea of using overly fragranced, chemical-laden lotions even crazier! Vegetable oils are natural emollients, packed with vitamins and nutrients recognised by our body. Your…
-
Six Essential Oils that Replace Dozens of Products
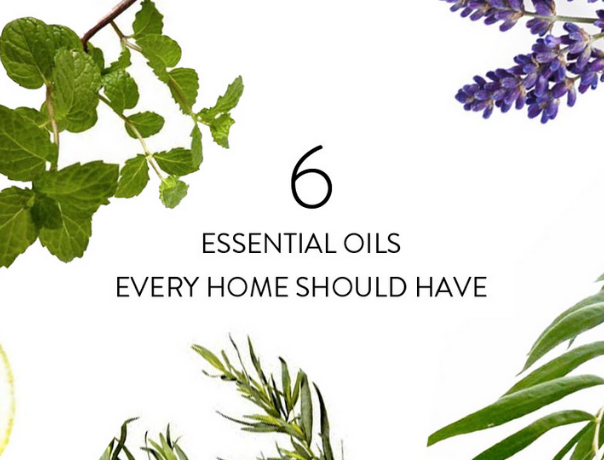
For the longest time, I thought that having a house FULL of products was necessary. We need to clean our windows and wash our dishes and get our hair to behave and prevent b.o. and a million other things… Right? So managing all those plastic bottles just become a part of life. Each product serves…
-
How to make the most of your basil, before it wilts
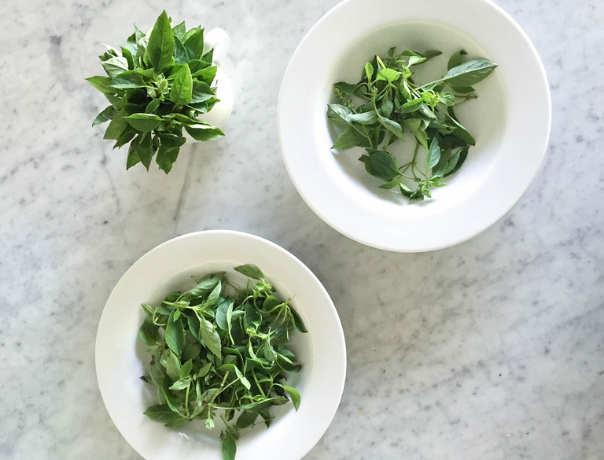
How many times have you picked up a gorgeous bouqet of fresh basil, only to watch it wilt exactly 28 minutes after bringing it home? Unless you’re making pesto, you only really need a few springs for dinner… so what do you do with the rest of it? Put it in the fridge and it’ll turn brown, leave it out…