-
Giftable Holiday Bath Soak for feeling restored
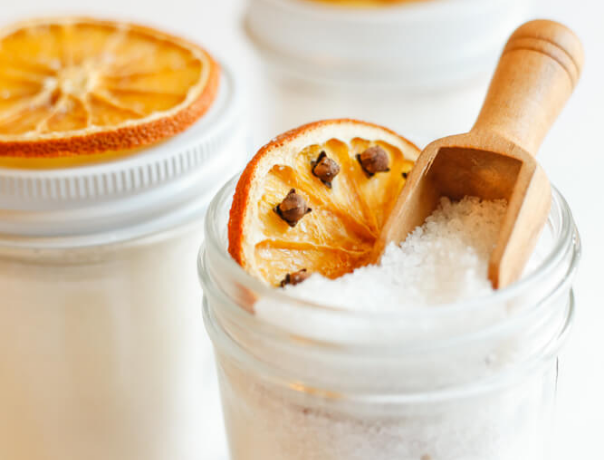
I don’t know anyone who doesn’t feel a little extra depleted this time of year… so for this bath soak, I created a special aromatherapy blend to make that person on your gift list – feel totally restored.
-
Let’s Get Fresh Face Mask
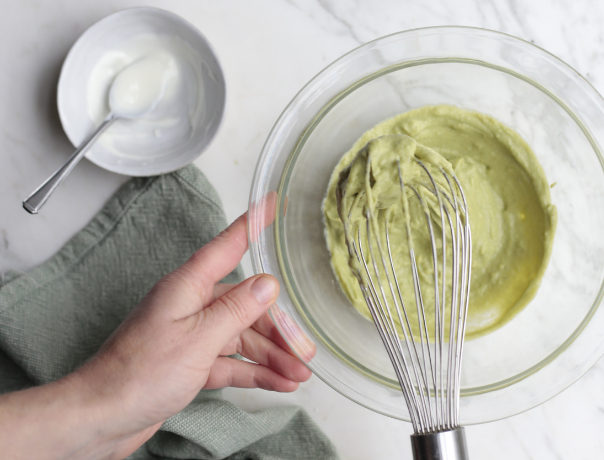
One of my favorite things to do for a good stress reduction, comforting, happy inducing, skin loving moment – are face masks. Do you want to know the secret to having a really good day – start with a face mask. Wake up, blend yourself a mask (because that’s the kind of thing you do)…
-
Coffee Scrub + How to Make it Super Gentle
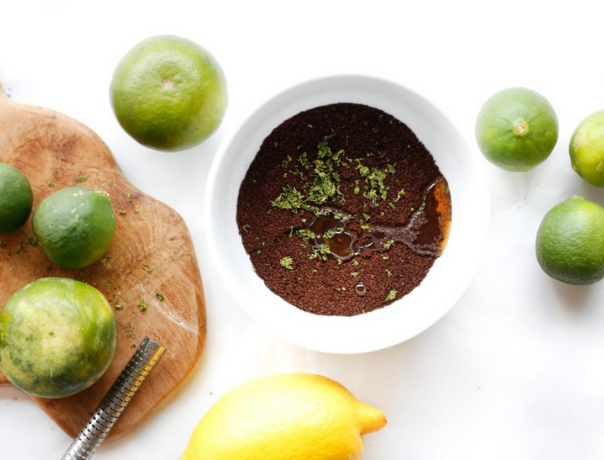
A Coffee Scrub is the kind of recipe that’s a total gem to have – especially on those days when you need it most! No matter how you feel stepping into the shower, a good coffee scrub sends you out feeling amazing – on the outside your skin feels lovely and soft – and it gives you a jolt of energy, that sometimes we need!…
-
How to have more energy
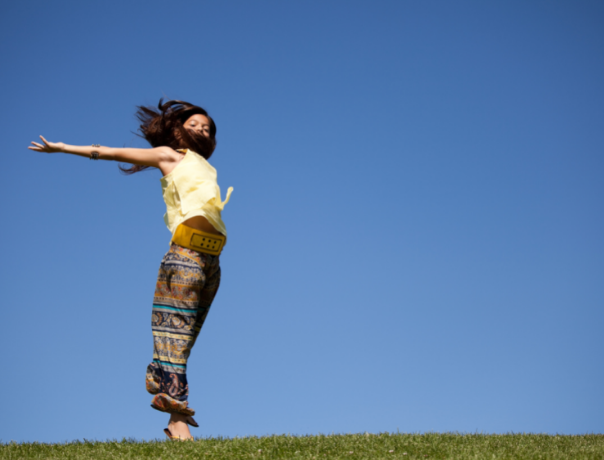
Has it hit you yet? That “I can’t believe it’s the end of the year” stress? 2016 is winding down and the countdown is on. There’s a lot of pressure of time running out and yet so much still left to do… So much going on, so much to prepare and think about – it…
-
Bali’s Famous Bliss Balls – Food for Energy
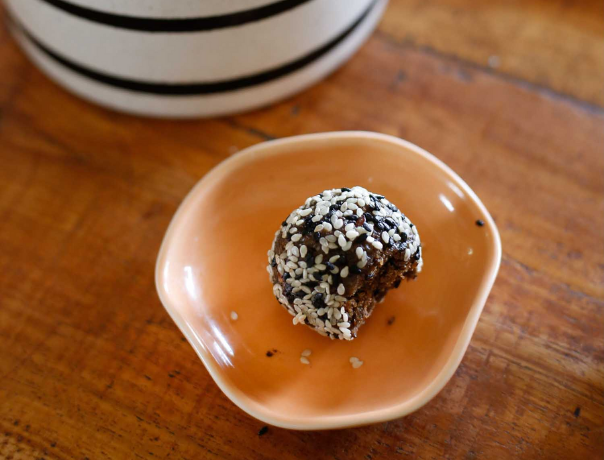
Bali is all about the Bliss Ball. They’re everywhere! Walk into almost any cafe and you’ll find an assortment of flavors to pick from… A lot of people come to Bali for the healthy lifestyle… to rejuvinate. But I’m thinking, why wait for Bali – there’s no reason why we can’t have bliss at home too. Have you tried Bliss…
-
Holiday Guest Checklist
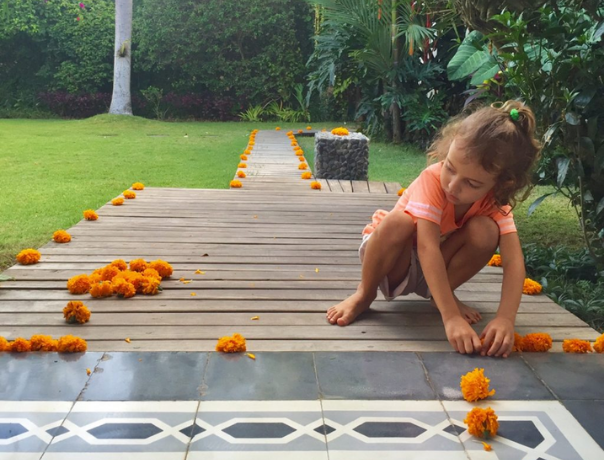
Do you have guests coming in during the holidays? I have a few tips for you to set things up with intention, stress free and feeling good! My youngest loves decorating the house for guests! Since the first day we moved into our villa in Bali, we’ve had a constant stream of friends and family popping by,…
-
No Bake Granola Bar Recipe
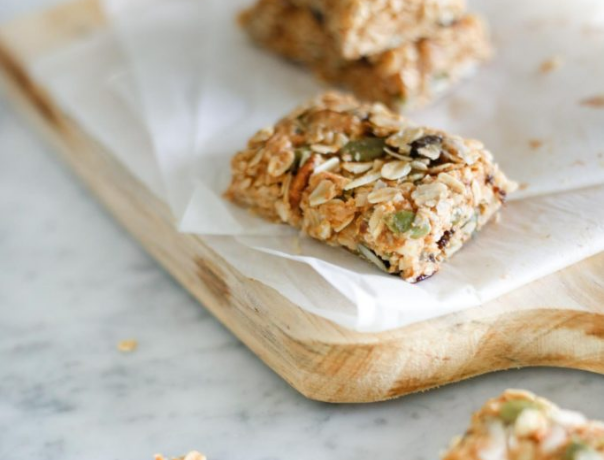
I know that a lot of us are travelling this time of year – and basically running around all year long – so I’m excited to show you this no bake, on-the-go, Granola Bar Recipe! I’ve been thinking about granola bars lately (and other important things 🙂 and just how convenient they are. It’s this perfect little package of…
-
In Our Pantry – Sweet Brown Rice
I’ve been on this recent kick of bringing in a new ingredient into my pantry to play with, most recently: sweet brown rice! I’ve also been on a rice pudding kick – so when I saw it in the supermarket – I had to try it out. Today, I’ll show how to cook sweet brown rice and…
-
Podcasts that make early mornings more fun
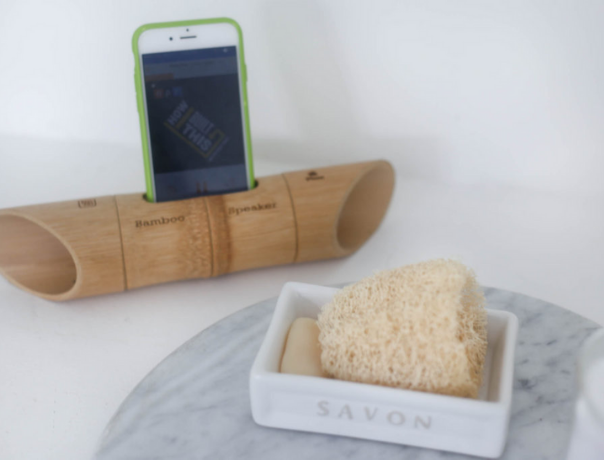
For the last several months, I’ve had this little secret morning routine. My alarm is set one hour before my kids and husband – so that I can slowly start the day listening to one (sometimes two) of my favorite podcasts. No interruptions, no censoring with little ones around… I’ll start the podcast in the bathroom…
-
One Mug Pancakes
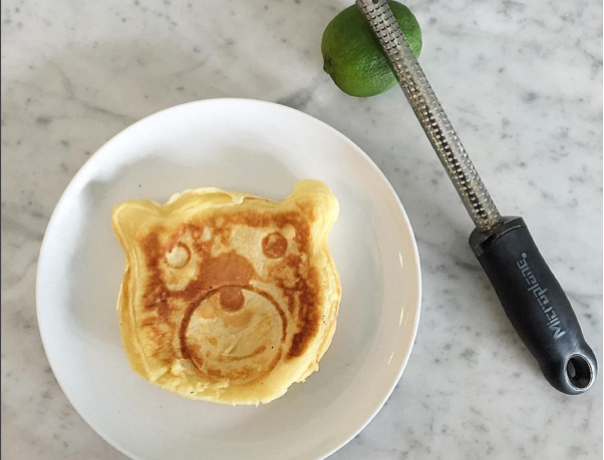
I saw the bear pan, thought of my angel children – and before I knew it, I locked myself into making pancakes for breakfast for a whole month, every.single.day! The good news is that they’ve moved on to french toast. The other good news is that with all that practice, I worked out how to make the…